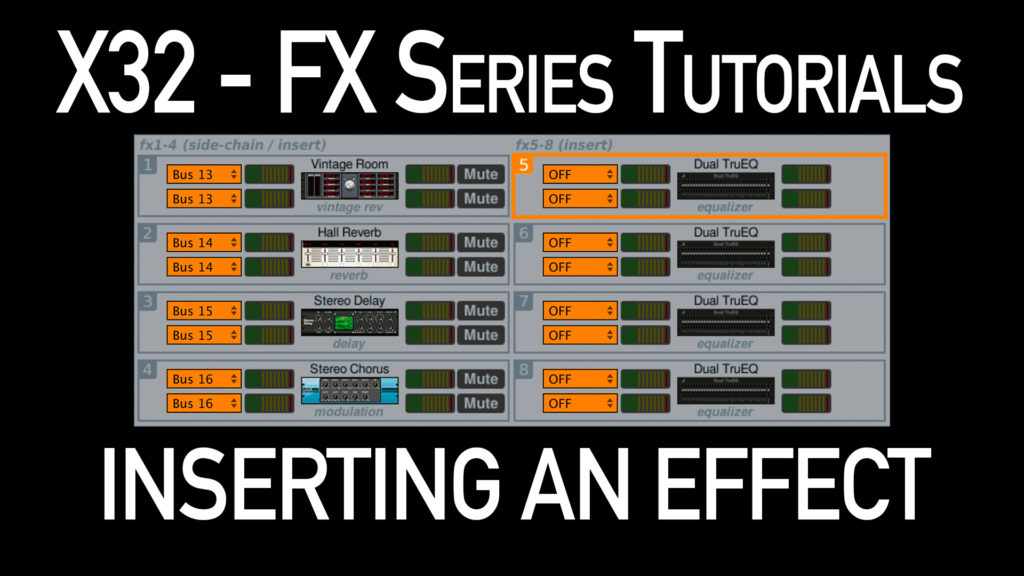
Welcome to my Behringer X32 FX Series tutorials. Today we are going to be looking at how to insert an effect on the Behringer X32.
Inserting an Effect
The Behringer X32 effects section is a very important part of the X32. Not only does it allow us to add some pretty neat effects, but it gives us access to some very valuable tools like compressors, DeEssers and graphic equalizers.
Side-Chain vs. Insert
There are two categories of effects that the X32 gives us access to, ‘Side-Chain’ and ‘Insert.’ There is a big difference between the two, so let’s jump in and take a look.
Insert Effect
An insert effect is just what it sounds like, it is “inserted” into the audio path of a channel or bus. This is an effect where you want to process the ENTIRE signal and you do not want to hear any of the original signal, only the processed signal.
When working with analog consoles, you would need to grab a physical cable and use the Insert Send and Insert Return jacks on the back of the console. Plugging into these jacks would literally interrupt the audio path, send audio out of the Insert Send jack. You would then need to route the signal to the effects unit, then the output of the effects unit would go BACK into the Insert Return of the console, thus returning the signal.
When we are working in the digital world, we are doing the same thing as the analog signal path, just we are doing it without physical cables.
An Insert Effect is like one of the following:
- DeEsser
- Enhancers & Exciters
- Any Compressor (like the Leisure Compressor, Fair Compressor, and Ultimo Compressor)
- Equalizers (like the XTEC EQ1 and XTEC EQ5)
- Graphic Equalizers (like the GEQ and TruEQ)
- Effect Modelers (like the Stereo Guitar Amp and Stereo Tube Stage)
Side-Chain Effect
Very much like the Insert Effect, a Side-Chain Effect still needs a signal path of audio. However, with this type effect, you want to add it as an addition to the original signal. Typically you would use this for Reverb, Delay, Chorus, and Flanger. These are going to be used to fatten up the signal and give another cherry on the top or some more frosting on the cupcake, but not completely replace the cupcake!
When working with analog consoles, you would send audio either out of a direct out of an individual channel, or you would use a mixbus to add multiple channels into that effects send. The return of the effect would then go to an Effects Return and then be blended into the mix using the Effects Return fader.
With the X32, we have 4 stereo effects returns (which can be changed to 8 mono for advanced routing). The 4 stereo effects returns are defaulted to be the returns of FX Racks 1-4 and can not be changed.
A Side-Chain Effect is like one of the following:
- Reverbs (like the Vintage Reverb, Room Reverb)
- Delays
- Chorus
- Flanger
FX5-FX8: Let’s Insert an Effect!
Now that you know what the difference between Insert and Side-Chain effects, let’s take a look at how we go and insert an effect.
There are two places that we can insert effects on the X32, the easiest place is via the Effects section of the console which we would get to by pressing the ‘Effects’ button and then tabbing over to the ‘Home’ tab.
The first two rotary knobs on the console are how you change where an effect is inserted. Take your last rotary knob and select one of the FX racks between FX5 and FX8 (we will get to FX1-FX4 later). Now we can rotate the first two rotary knobs and see that we can select all of the channels, mixbusses, matrices, and main busses on the console. Once you like your selection, depress that rotary knob to confirm.
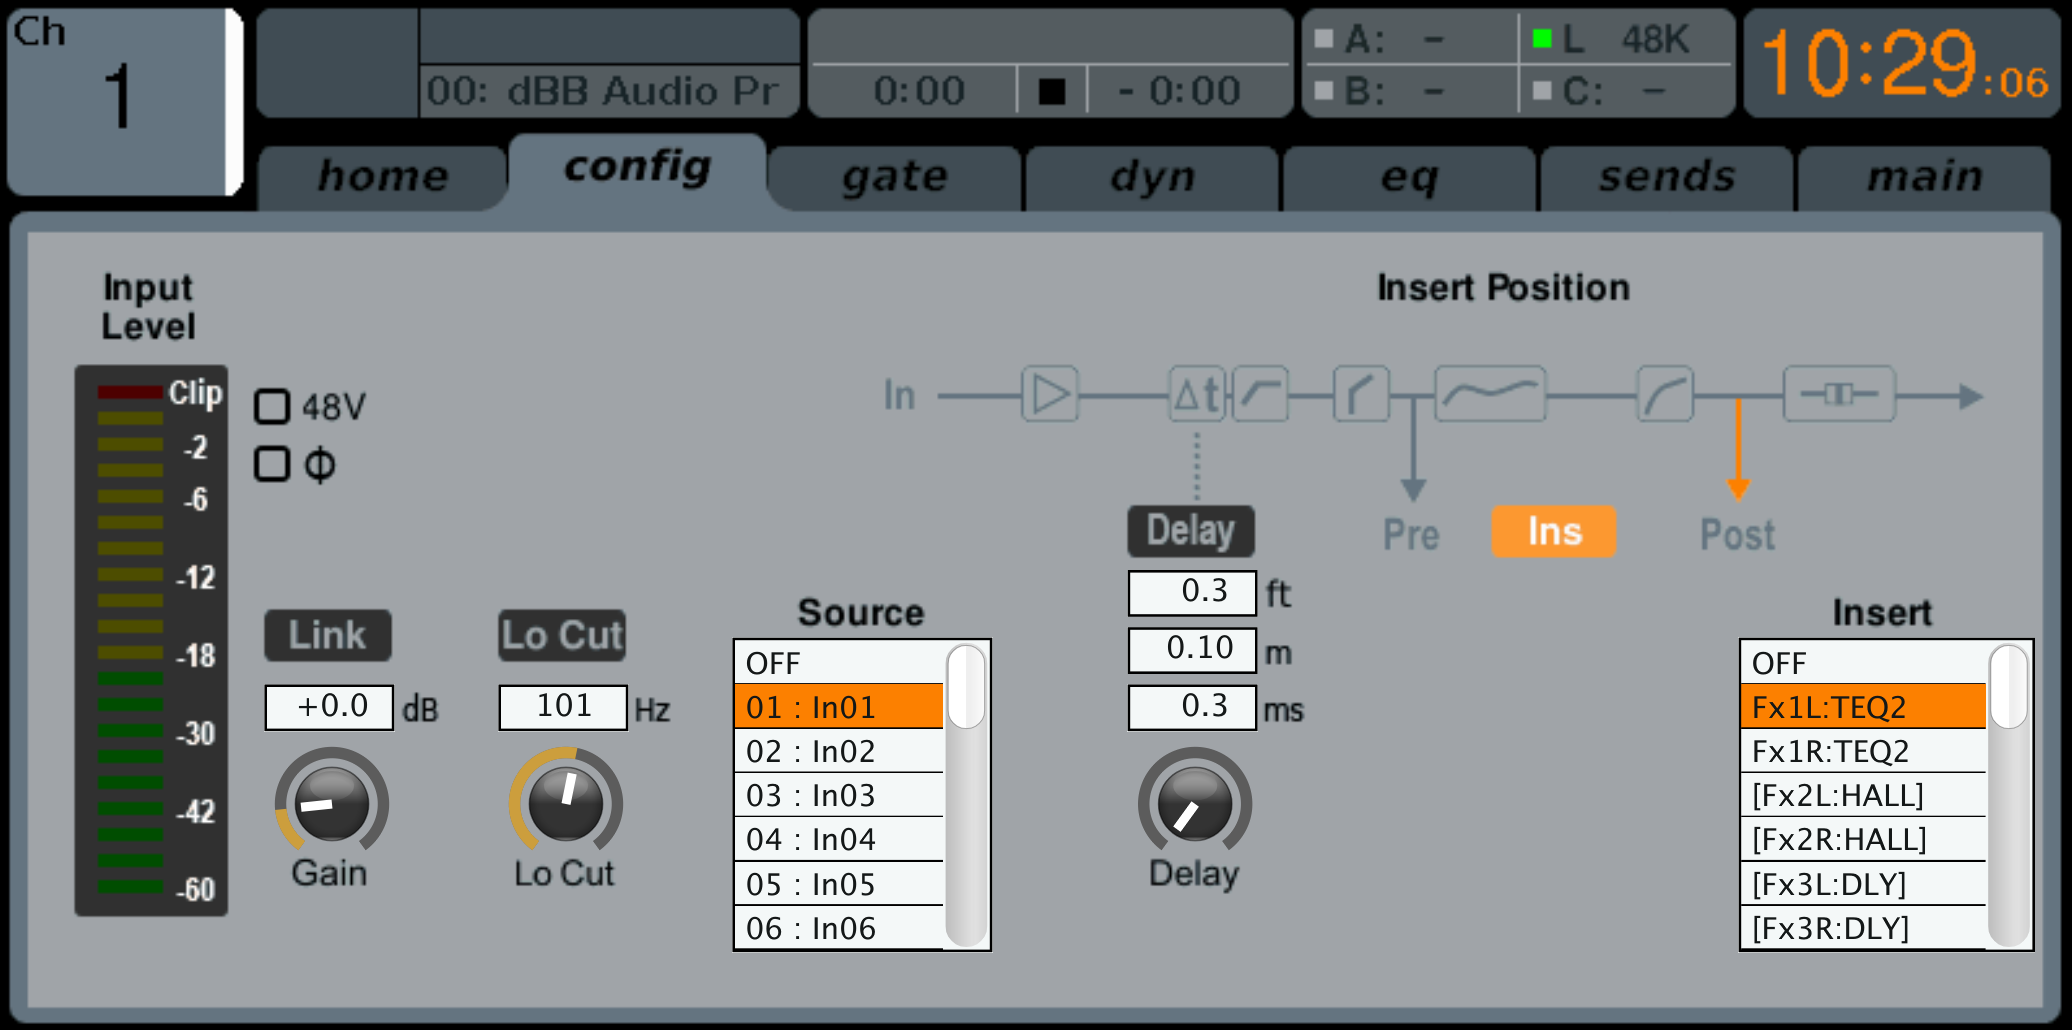
Next, you will need to activate the insert in your selection. Depress either the 3rd or 4th rotary knob and you will see the ‘Ins’ turn orange.
Now the effect is inserted into the channel path of Ch 01 as we can see above!
FX1-FX4: A Little More Tricky!
With FX1 through FX4, it is another step to insert an effect. The reason why is that FX Racks 1-4 are for both Side-Chain effects AND Insert effects.

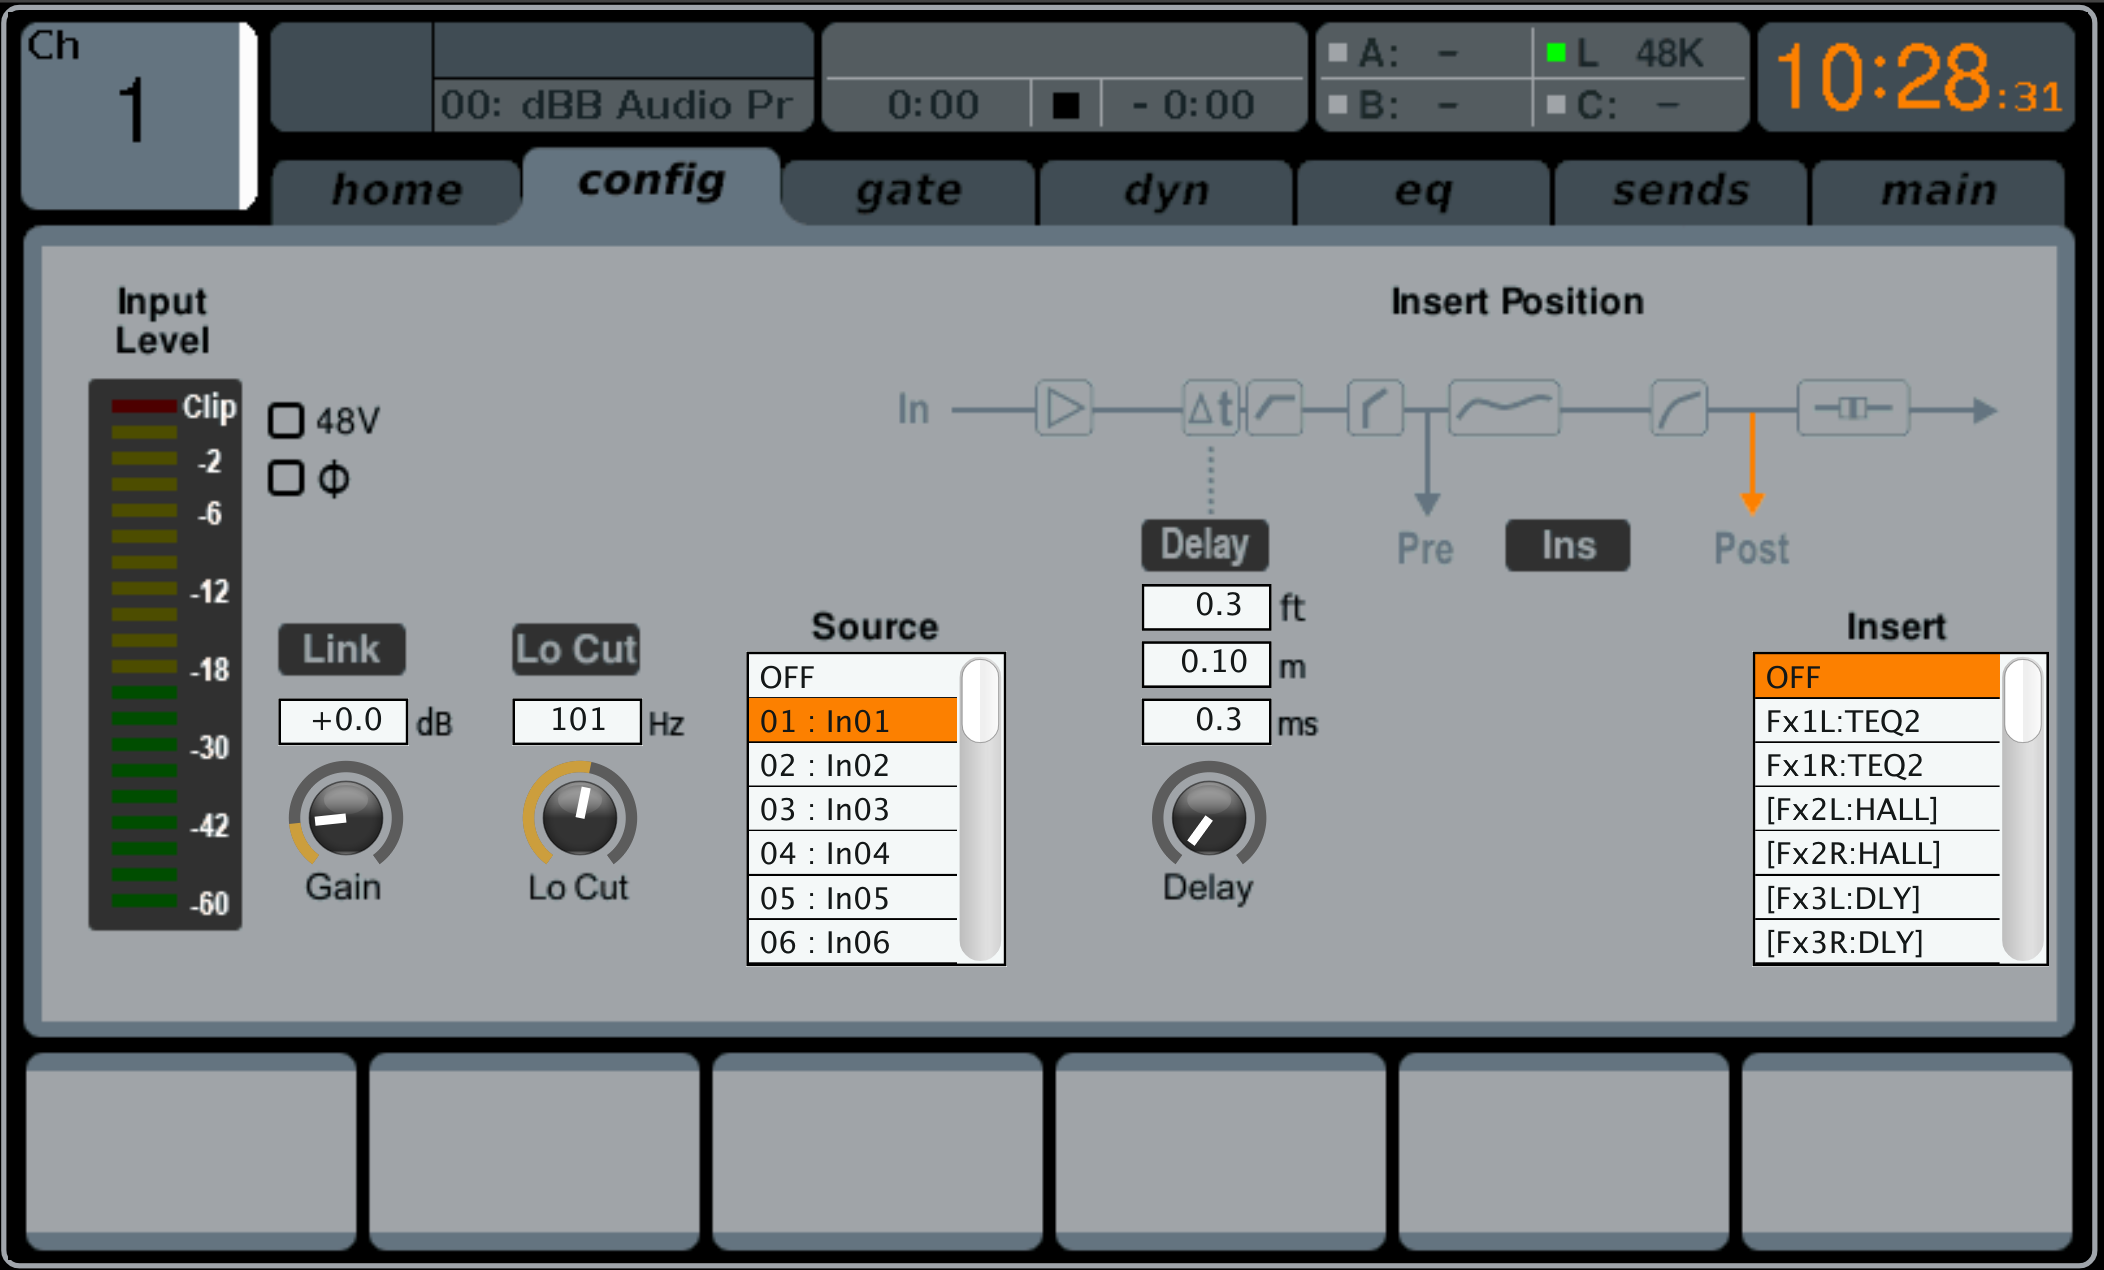
Next, we will press ‘Select’ on the channel that you want to insert this effect on. Then tab over to the ‘Config’ tab.
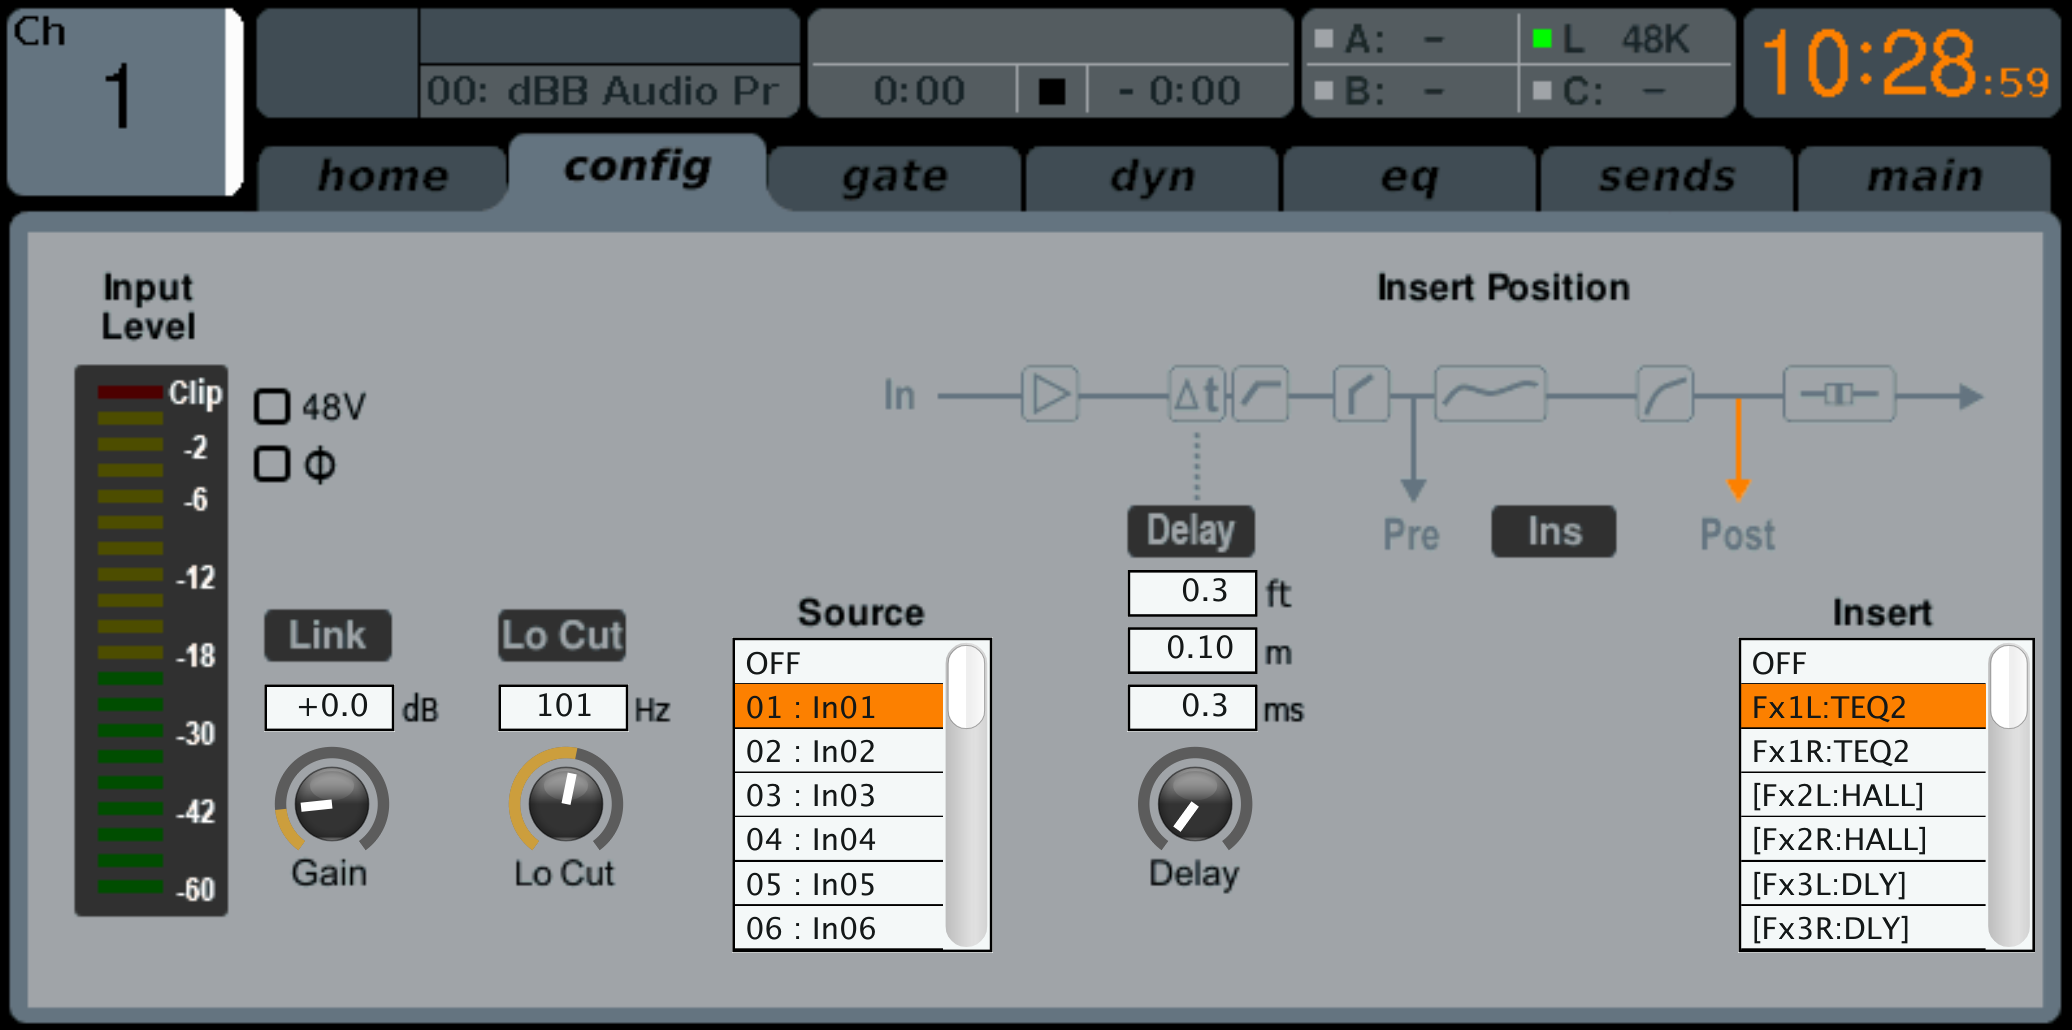
We can see that there is an Insert section on the right-hand side of the LCD Screen. This is where you can do an insert to any of the FX racks and a hardware insert via the Aux in/out. At this point, you will want to select which effect you were planning to insert on the channel, bus or matrix.
Next, you can press the insert knob to activate the insert.
Lastly, we can look at the home tab of the effects section to verify what we just did:
That’s it! But… wait (literally)
Now you can use any of the insertable effects that you wish! One thing that you do need to be aware of is that when you insert an effect. That extra processing that you just added to that one channel takes a bit of extra time. That extra time varies depending on the effect but mostly is around 0.71ms. Depending on how advanced you get with your routing and processing (parallel compression with a group) this can cause a few issues. Just keep it in mind!


