Welcome to my Behringer Wing Effects Tutorials. Today I’m going to explain everything about the Precision Limiter for the Behringer Wing. If you are looking for the Precision Limiter for the Behringer X32 you can find that here!
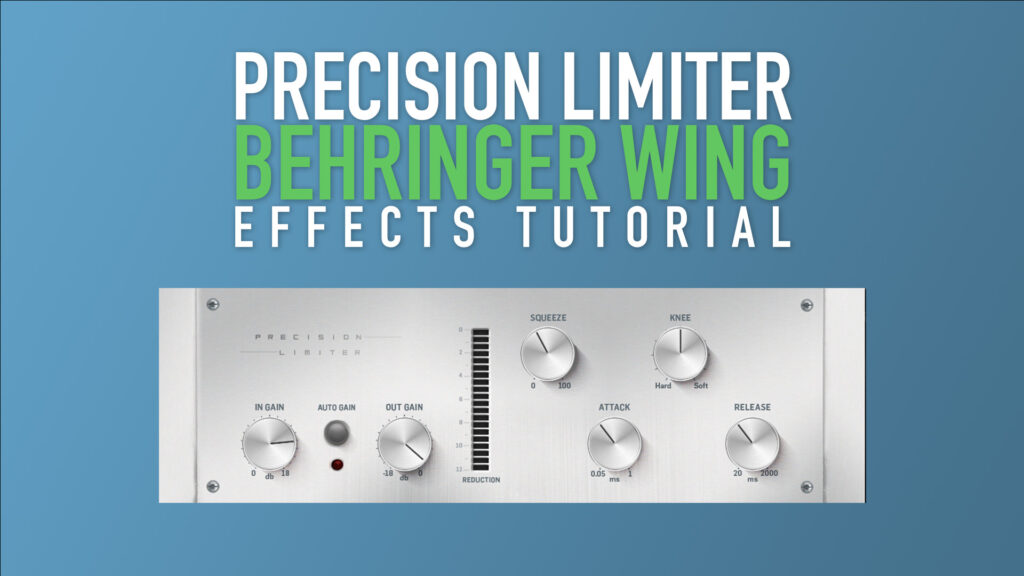
Behringer Precision Limiter
The Behringer Precision Limiter is a mastering limiter which is an emulation of the Sony Oxford Dynamics limiter section. The Sony Oxford Dynamics is based on the impressive Sony Oxford OXF-R3 digital console. The original purpose of the limiter is to “control peak levels and increase the volume, density, and presence of musical programme without an excessive loss of transient and dynamic information”.
One of my favorite parts of this limiter is the output gain which is better thought of as a max output level of the Precision Limiter. The level that the output gain is set to will set the overall output from the limiter, making it that no matter how loud or over-compressed your mix is, it will never go above this level on the output of this plugin.
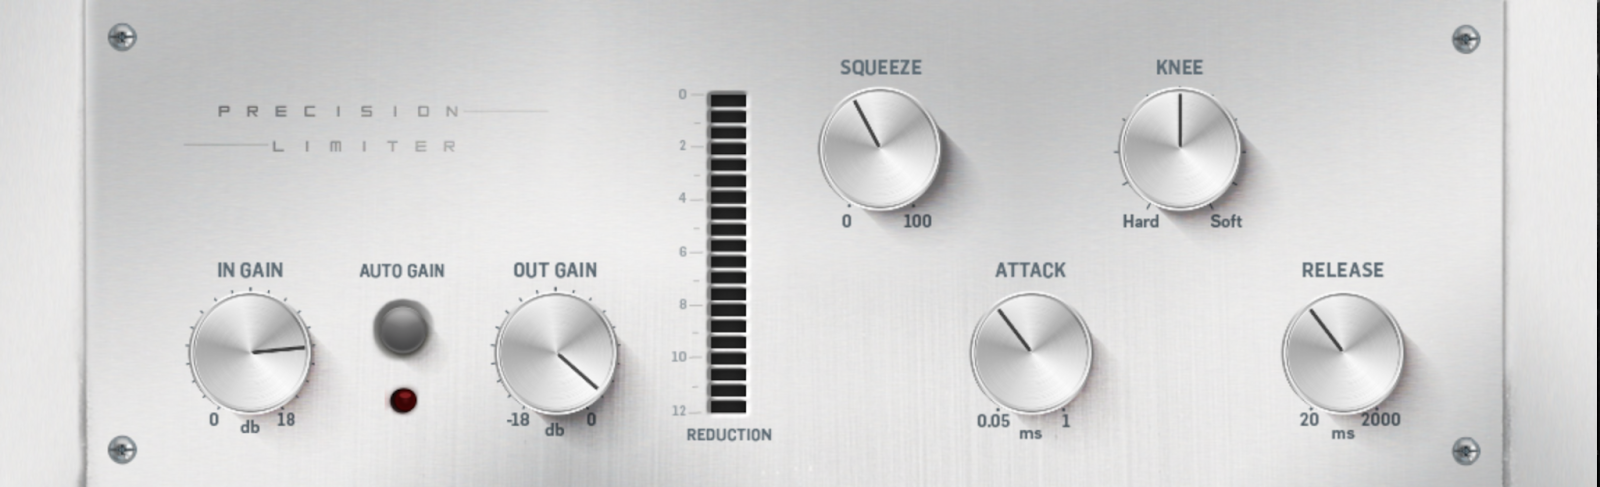
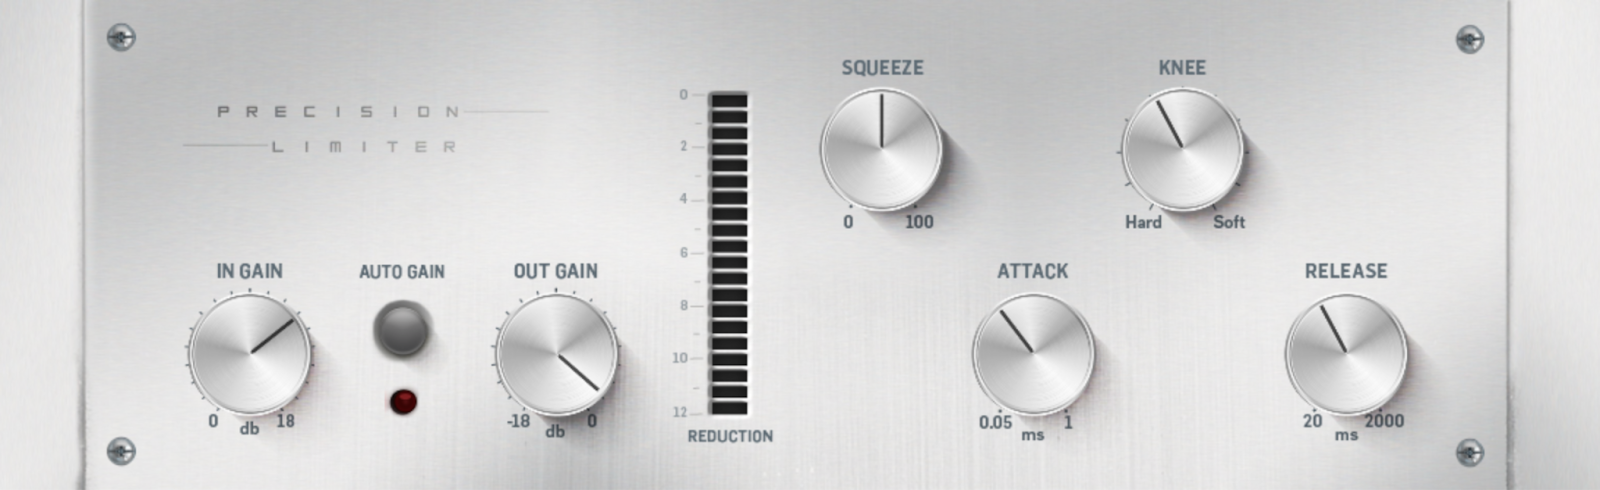
Precision Limiter Controls
- Input Gain – The Input Gain sets the gain going into the Limiter of up to +18.0dB. Control allows for adjustment from 0.0dB to +18dB in increments of 0.5dB.
- Auto Gain – Sets the gain reduction & makeup to compensate for a wider volume dynamic range in the program signal. Allowing for less drastic changes in the short term.
- Out Gain – The Out Gain sets the output of the limiter. This is post compression. Control allows for adjustment from 0.0dB to -18dB in increments of 0.5dB.
- Squeeze – Increases the overall loudness and presence of the program material. Control allows for adjustment from 0% to 100% in increments of 2%.
- Knee – Gives an adjustment for the knee of the limiter which allows for a softer limiting threshold. Control allows for adjustment from 0dB to 10dB in increments of 1dB.
- Attack – Attack sets the attack time on the limiter. Control allows for adjustment of 0.05ms to 1.0ms in a very fine logarithmic scale.
- Release – Release sets the release time on the limiter. Control allows for adjustment of 20ms to 2000ms.
Using the Precision Limiter on the Behringer Wing
The ‘Input Gain’ knob primarily controls the Precision Limiter, as it doesn’t have a conventional ‘threshold’ setting. You’ll use the input gain to raise the program level until compression begins. I usually set the ‘Out Gain’ at -0.5dB when working with this plugin. I typically use this plugin for scenarios where I must maintain a strict upper limit on the output, such as online streaming, recording feeds, or video recording feeds.
Insert Delay
When you employ the Precision Limiter, it introduces a 1.75ms latency to the audio, but Smaart measurements confirm that the phase remains consistent across the entire frequency spectrum.
Input Gain
As previously mentioned, the Input Gain constitutes the primary adjustment for the Precision Limiter, where you determine the desired volume boost. You can increase it by up to +18dB, which proves ample for most audio material. Keep in mind that as you raise the volume in this setting, you’ll experience increasingly greater gain reduction.
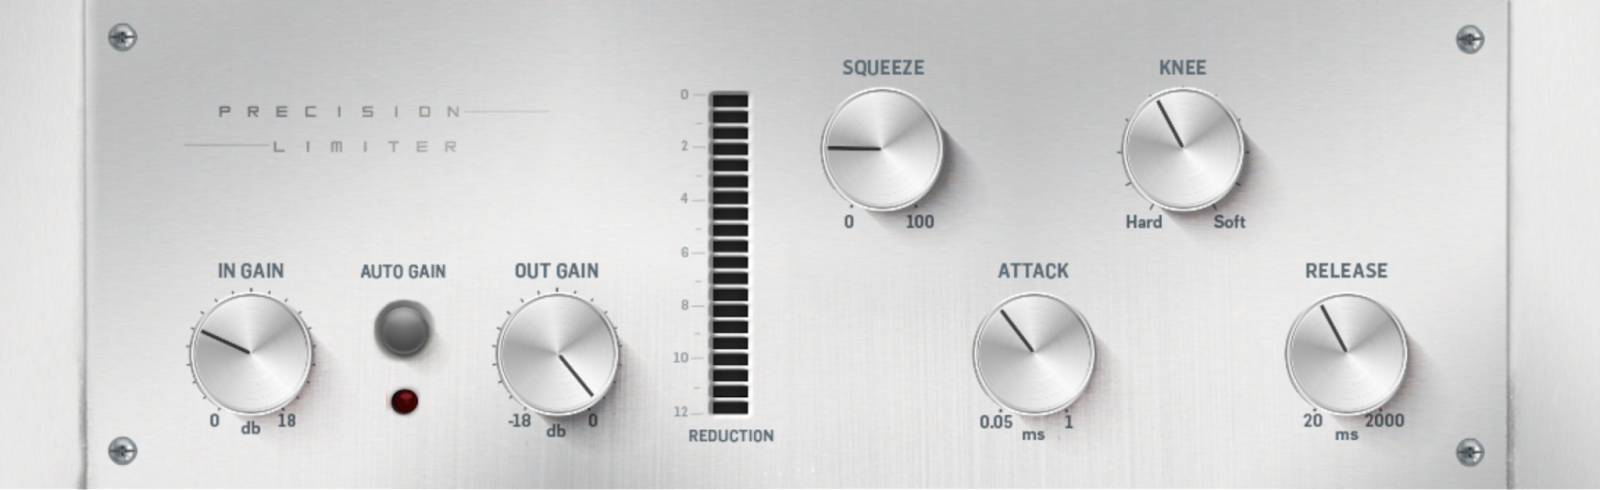
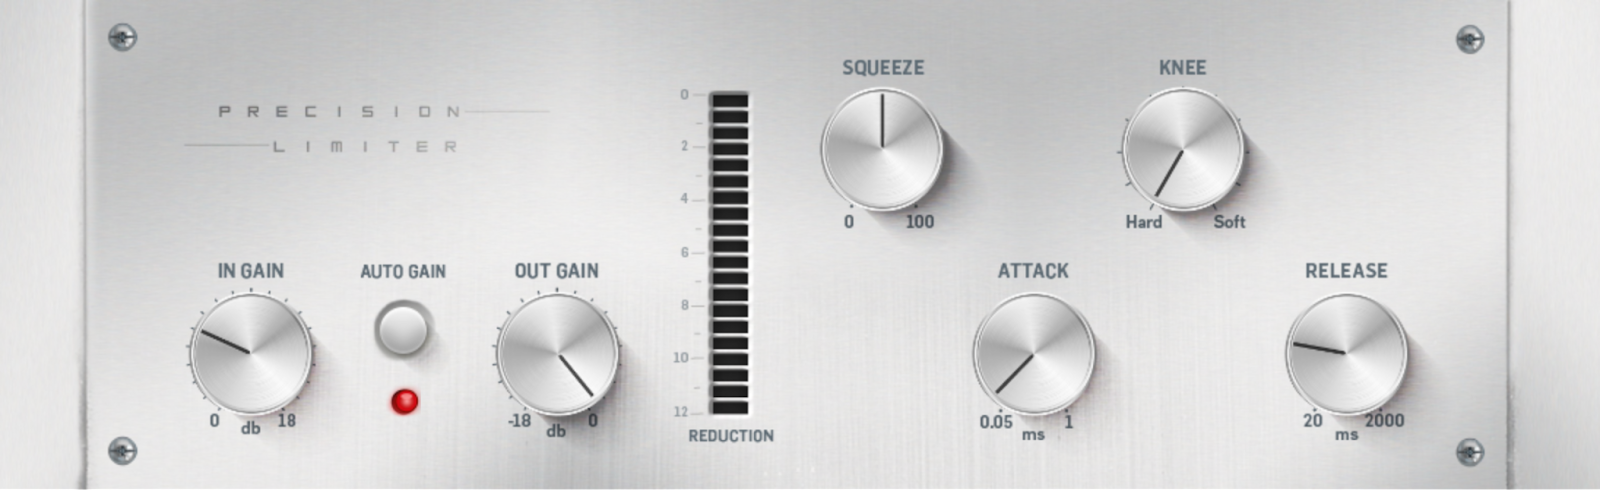
Auto Gain
Enabling the Auto Gain setting provides a more consistent attenuation across a broader spectrum of input volumes. If your program material exhibits a wide range of volume changes within a short timeframe, it’s advisable to activate Auto Gain, as it will average the attenuation more effectively during that time compared to keeping Auto Gain off.
Out Gain
The Output Gain controls the final volume level at the limiter’s output. It operates post-compression. It’s important to note that the Behringer Wing’s metering uses dBFS, where 0dB represents console clipping, and -18 dBFS corresponds to unity gain.
Squeeze
The “Squeeze” parameter is designed to elevate the overall loudness and presence of the program material. Based on measurements using Smaart, I observed that you can apply a maximum of +4.97 dB of gain when the Squeeze setting is at 100%. Here is a list of the squeeze settings:
- 10% = +0.66 dB
- 20% = +1.27 dB
- 30% = +1.83 dB
- 40% = +2.35 dB
- 50% = +2.85 dB
- 60% = +3.30 dB
- 70% = +3.76 dB
- 80% = +4.18 dB
- 90% = +4.55 dB
- 100% = +4.97 dB
Knee
Modifying the knee setting enables a smoother shift from an uncompressed state to a compressed state. If you desire a gentler transition, consider raising this level from 0dB to a range of 4-6dB.
Attack
The attack setting on the limiter determines how quickly the limiter responds to limit the signal. A longer attack setting permits more transients to pass through the limiter, allowing a greater amount of high-frequency content to come through. Conversely, a shorter attack setting restricts more of the transients, compressing the high-frequency elements in your program material.
Release
The release setting on the limiter determines how quickly the limiter decreases the attenuation of the signal once it has crossed the threshold. A very fast release time can result in a pumping sound, rapidly transitioning from limited to unlimited. Conversely, an excessively long release time will keep the material compressed for an extended duration, reducing the dynamic range and making it sound thin.
Base Settings
Using the Precision Limiter can be approached in several ways, and one or more of these methods will produce favorable results for your music. Experiment with all of them to determine which one works best, as it may vary depending on the specific material you’re working with.
Getting Transparency
This setup is designed to deliver the cleanest sound possible from the Precision Limiter and is ideal if you seek a highly transparent limiting effect.
- Input Gain: +5dB
- Out Gain: -0.5dB
- Squeeze: 20%
- Knee: 4dB
- Start with a slower attack time (around 0.4ms) and adjust to taste.
- Start with a slower release time (around 126ms) and adjust to taste.
Hardwall Limiting
This setting is intended for those who want to heavily compress the signal and configure the Precision Limiter as a Brickwall Limiter.
- Input Gain: +5dB (adjust to taste)
- Out Gain: -0.5dB
- Auto Gain: ON
- Squeeze: 50%
- Knee: 0dB
- Start with a faster attack time (around 0.1ms) and adjust to taste.
- Start with a faster release time (around 60ms) and adjust to taste.
Maximum Loudness
This setting is going to give you the loudest impact for your program material.
- Input Gain: +14dB (adjust to taste)
- Out Gain: -1.0dB
- Auto Gain: OFF
- Squeeze: 40%
- Knee: 4dB
- Start with a medium attack time (around 0.4ms) and adjust to taste.
- Start with a medium release time (around 126ms) and adjust to taste.
Regardless of the approach you choose, it’s important to customize the input gain and squeeze settings according to your preferences. If you aim for increased limiting and a louder signal, raise both the Input Gain and the Squeeze.
Where would I use this?
I sometimes use this on the Matrix sends for my PA or the LR Bus. However, it’s best suited for your Stream output. This is an ideal effect to enhance the overall volume of your Live Stream feed when broadcasting on platforms like YouTube, Facebook, or your website.