
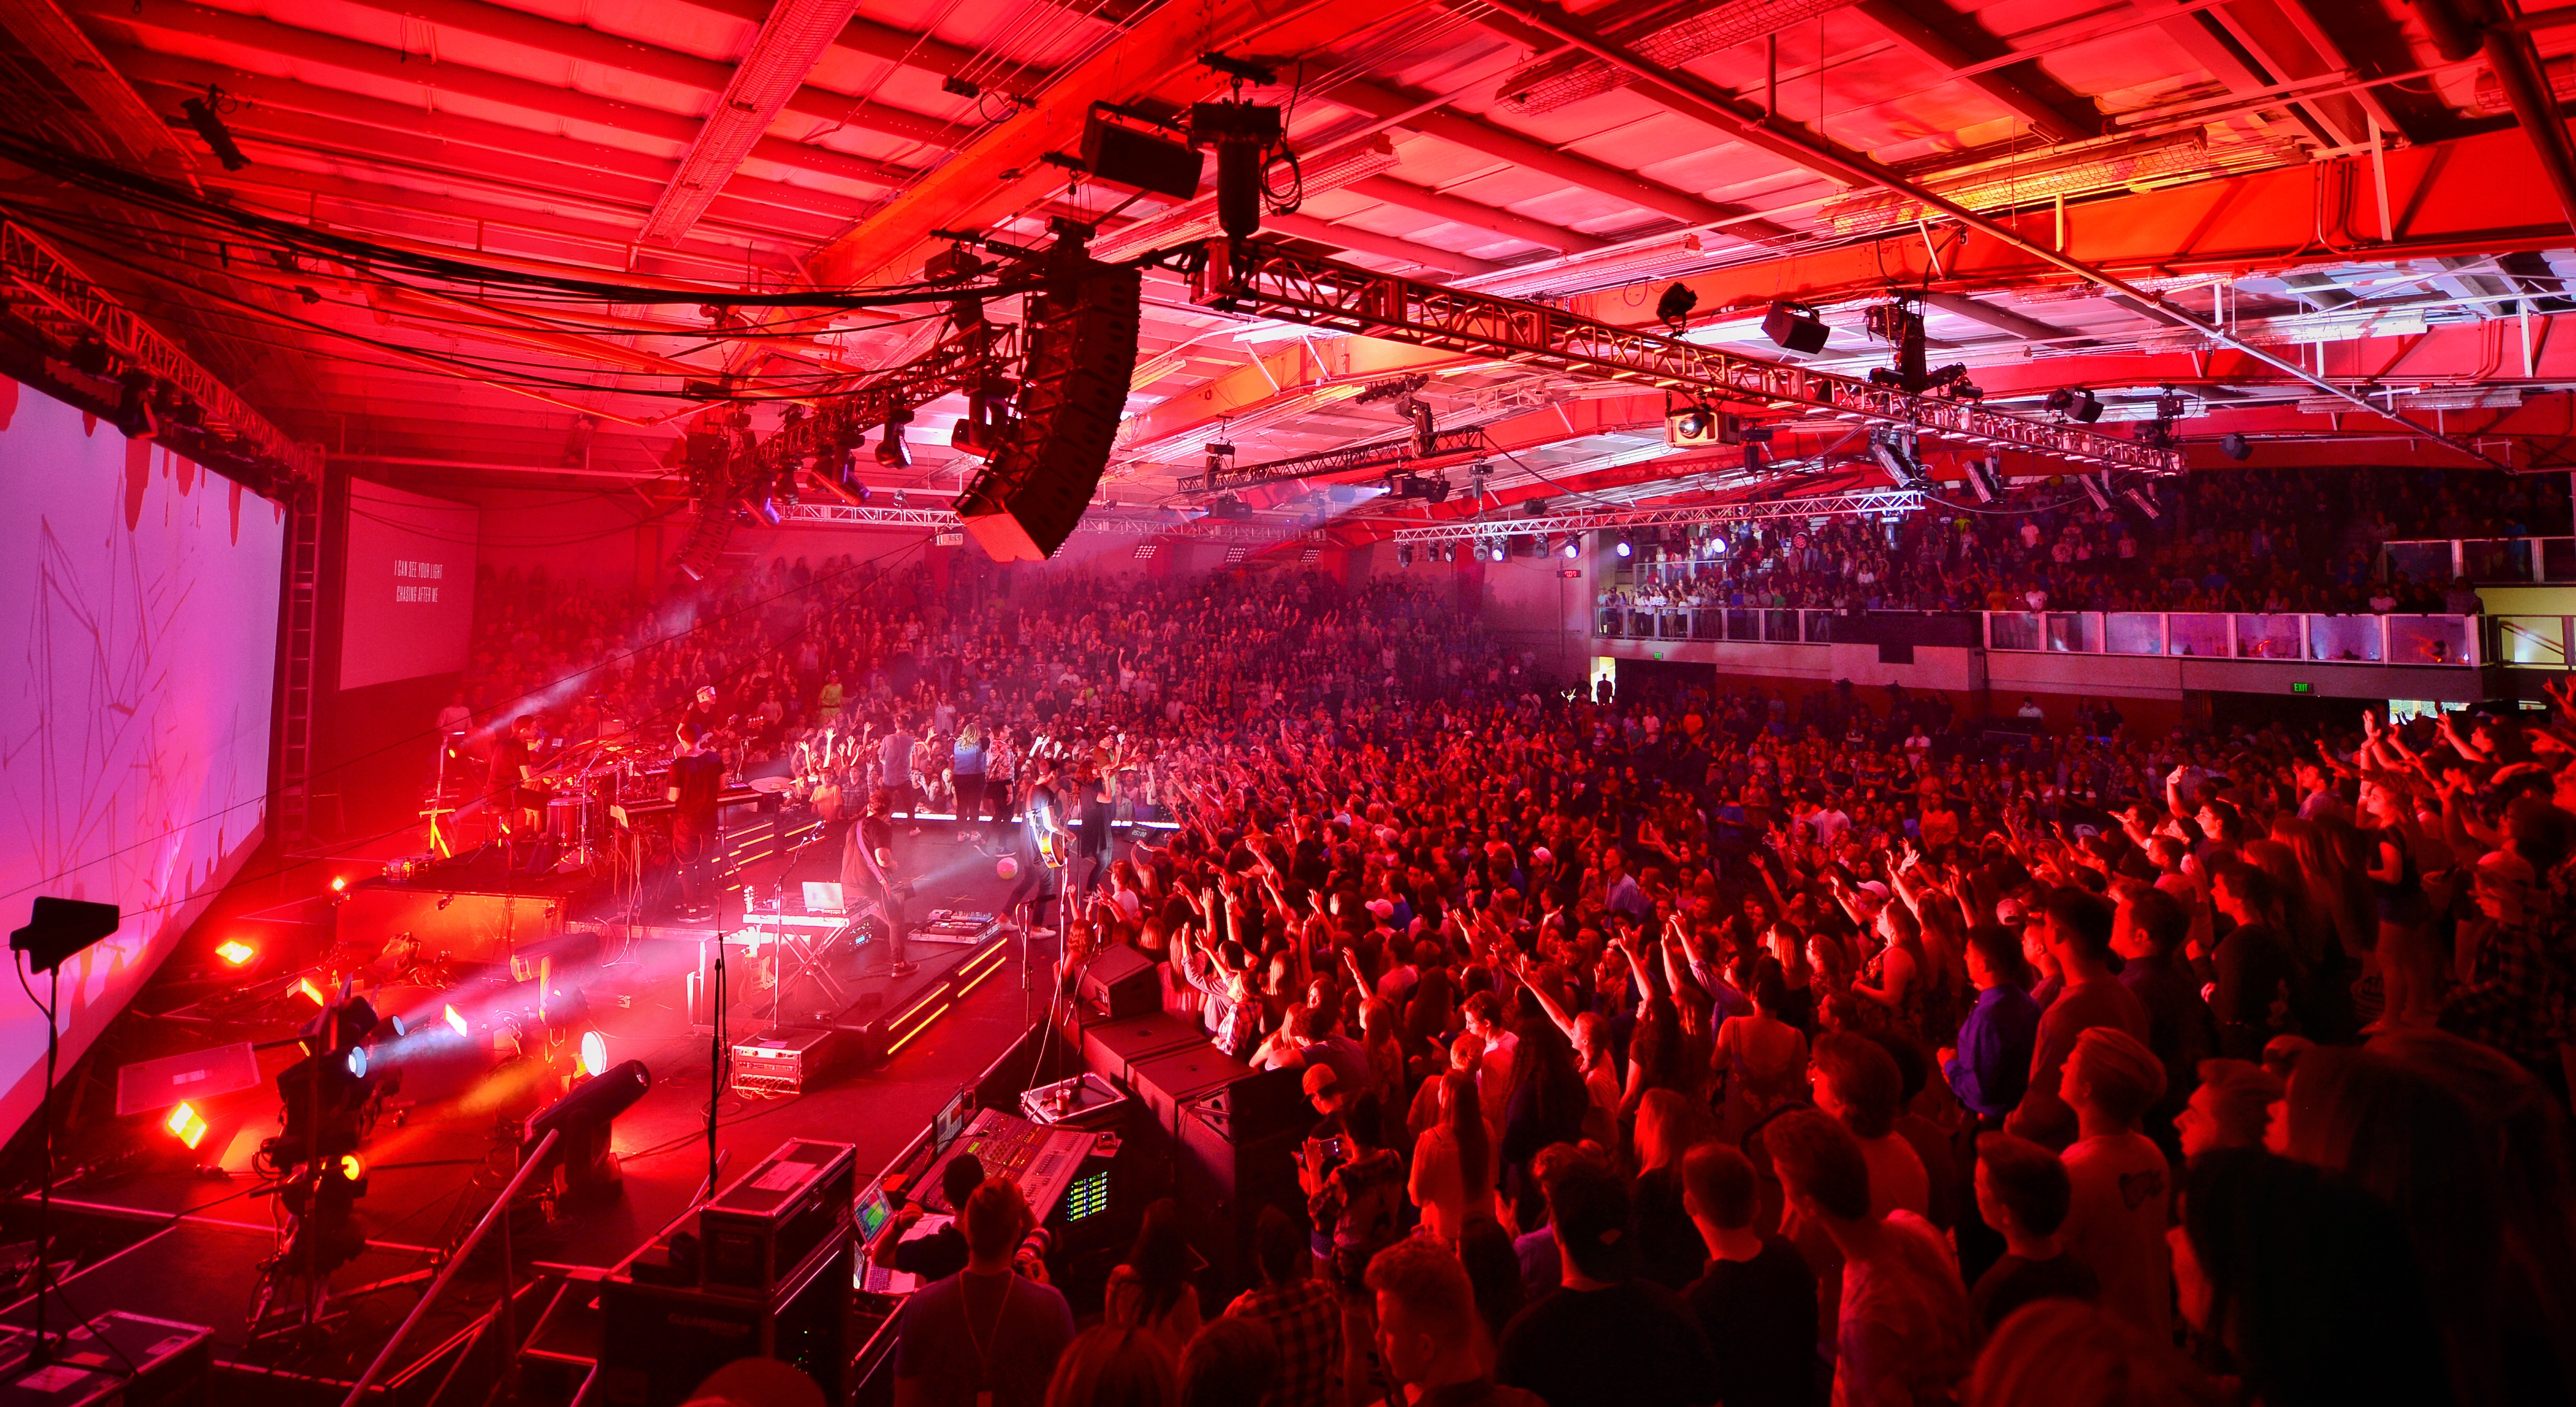
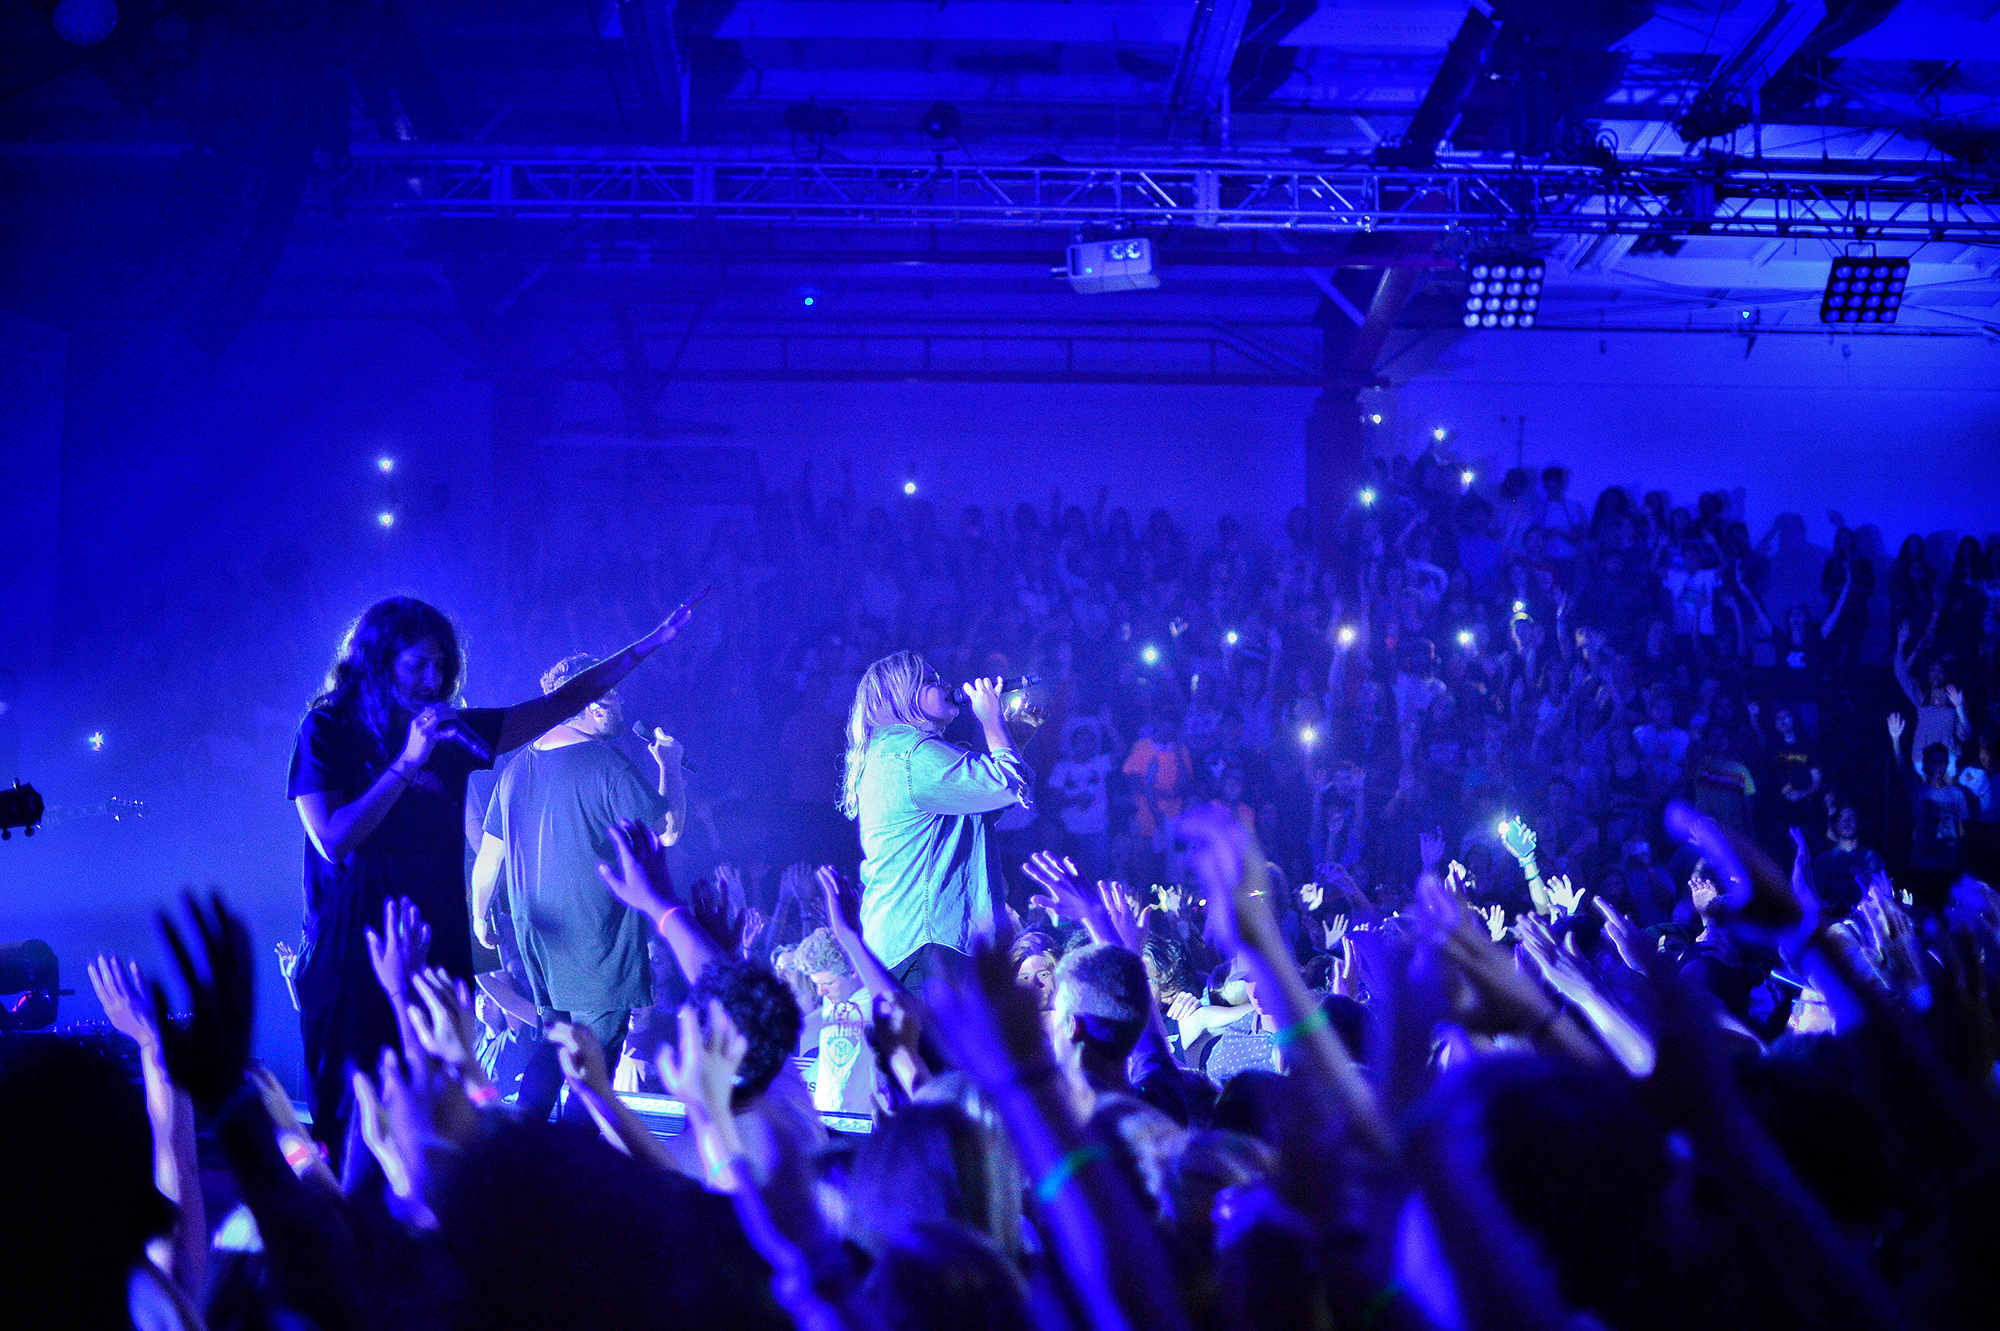
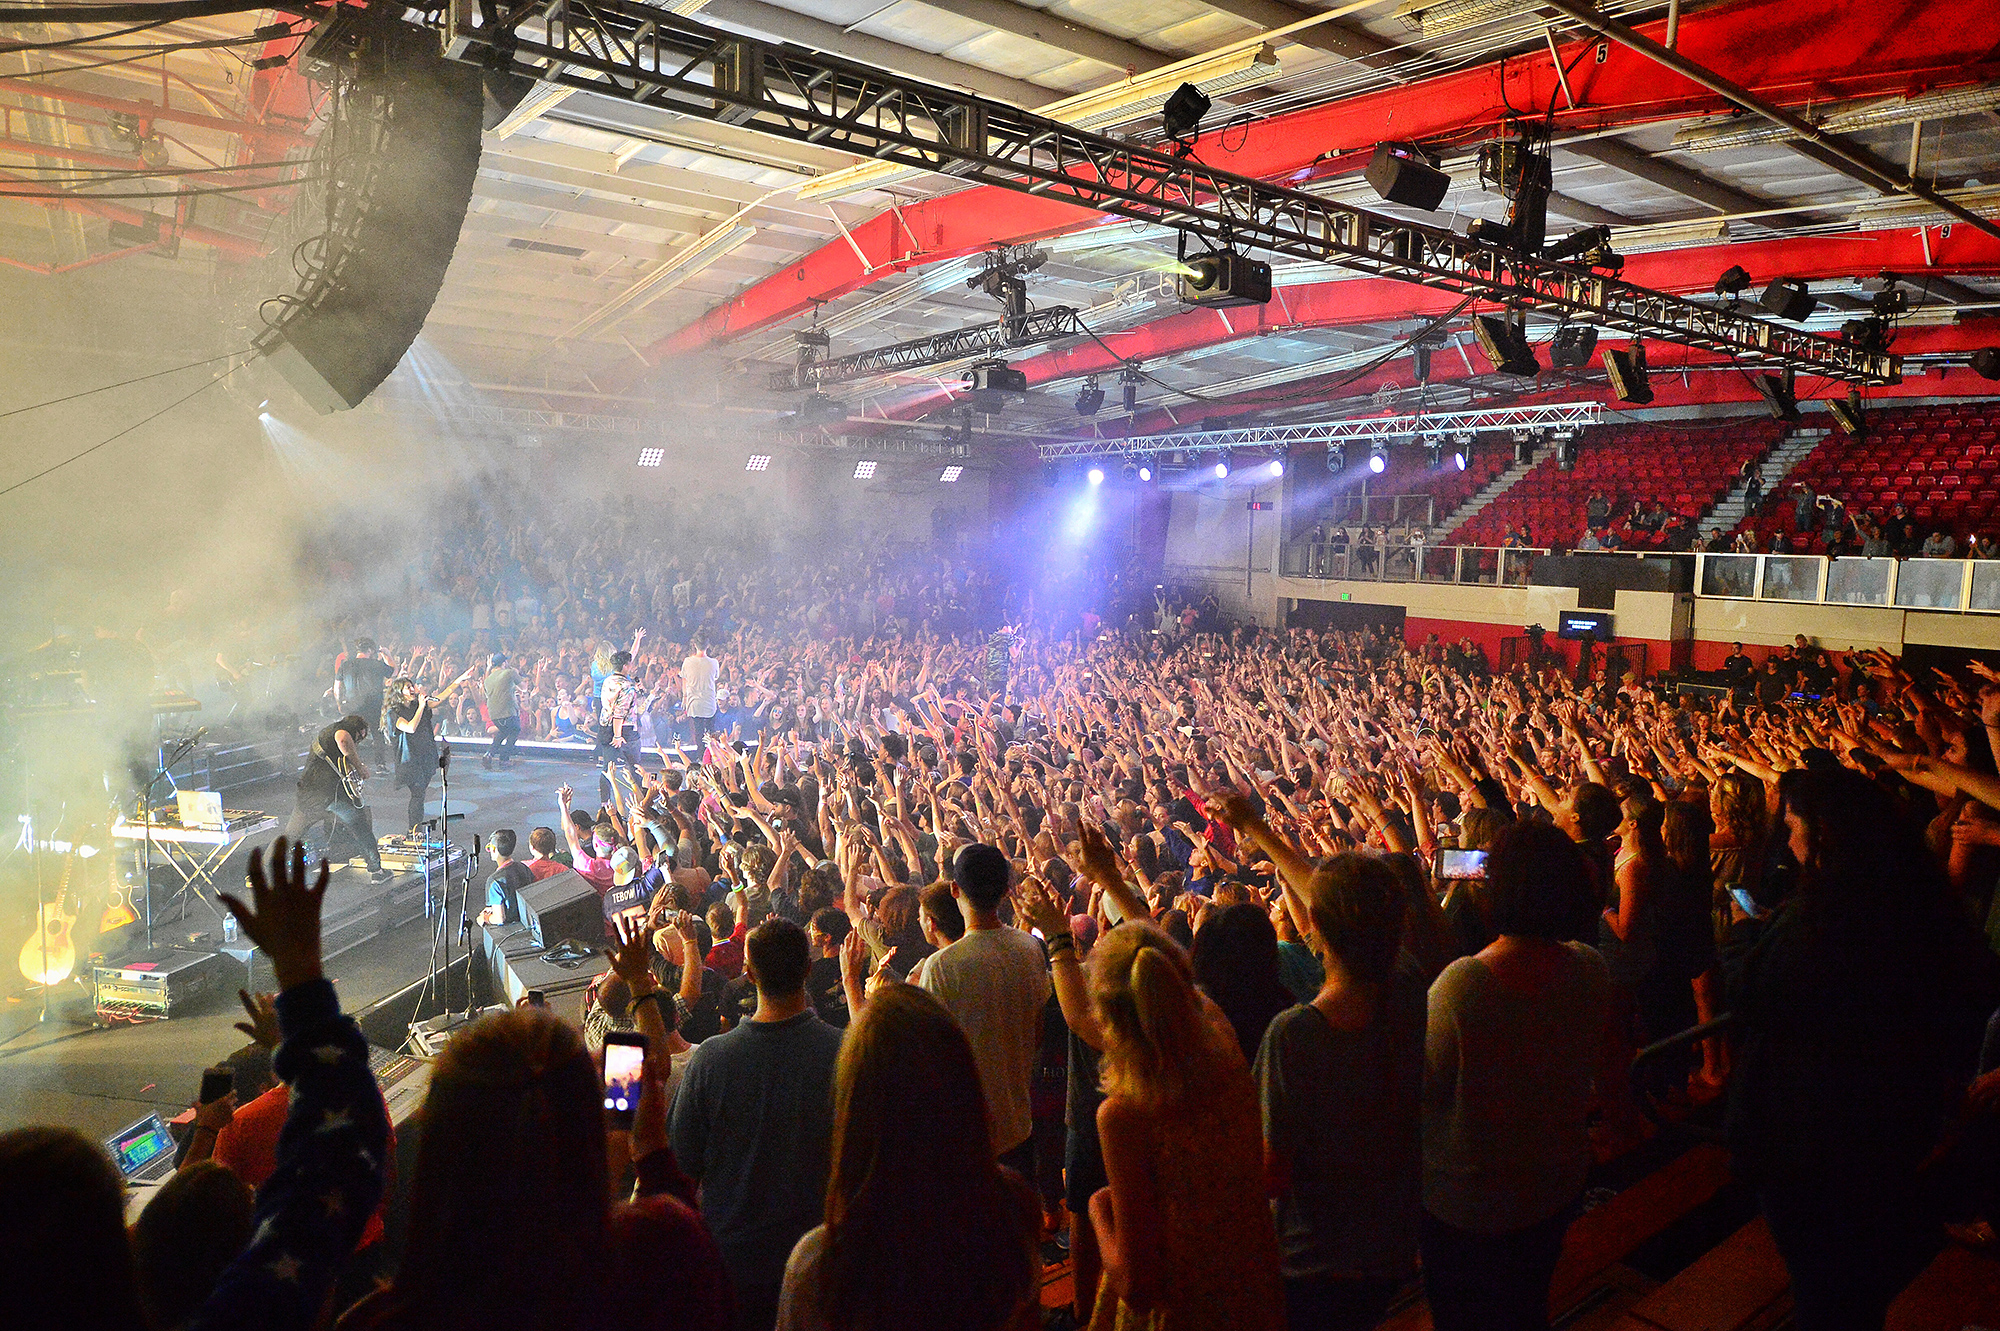
As many of you know, I now work as a Production Manager for Christ’s Church of the Valley (CCV) in Phoenix, Arizona. This summer, our youth group attended CIY (Christ In Youth) at Biola University, which CCV decided this would be a perfect time to record a live album for our Students program. Two box trucks, multiple vans, audio, lighting, projectors, and band traveled to Biola University. Oh, and I can’t forget, 2000 students from across 7 of our campuses!
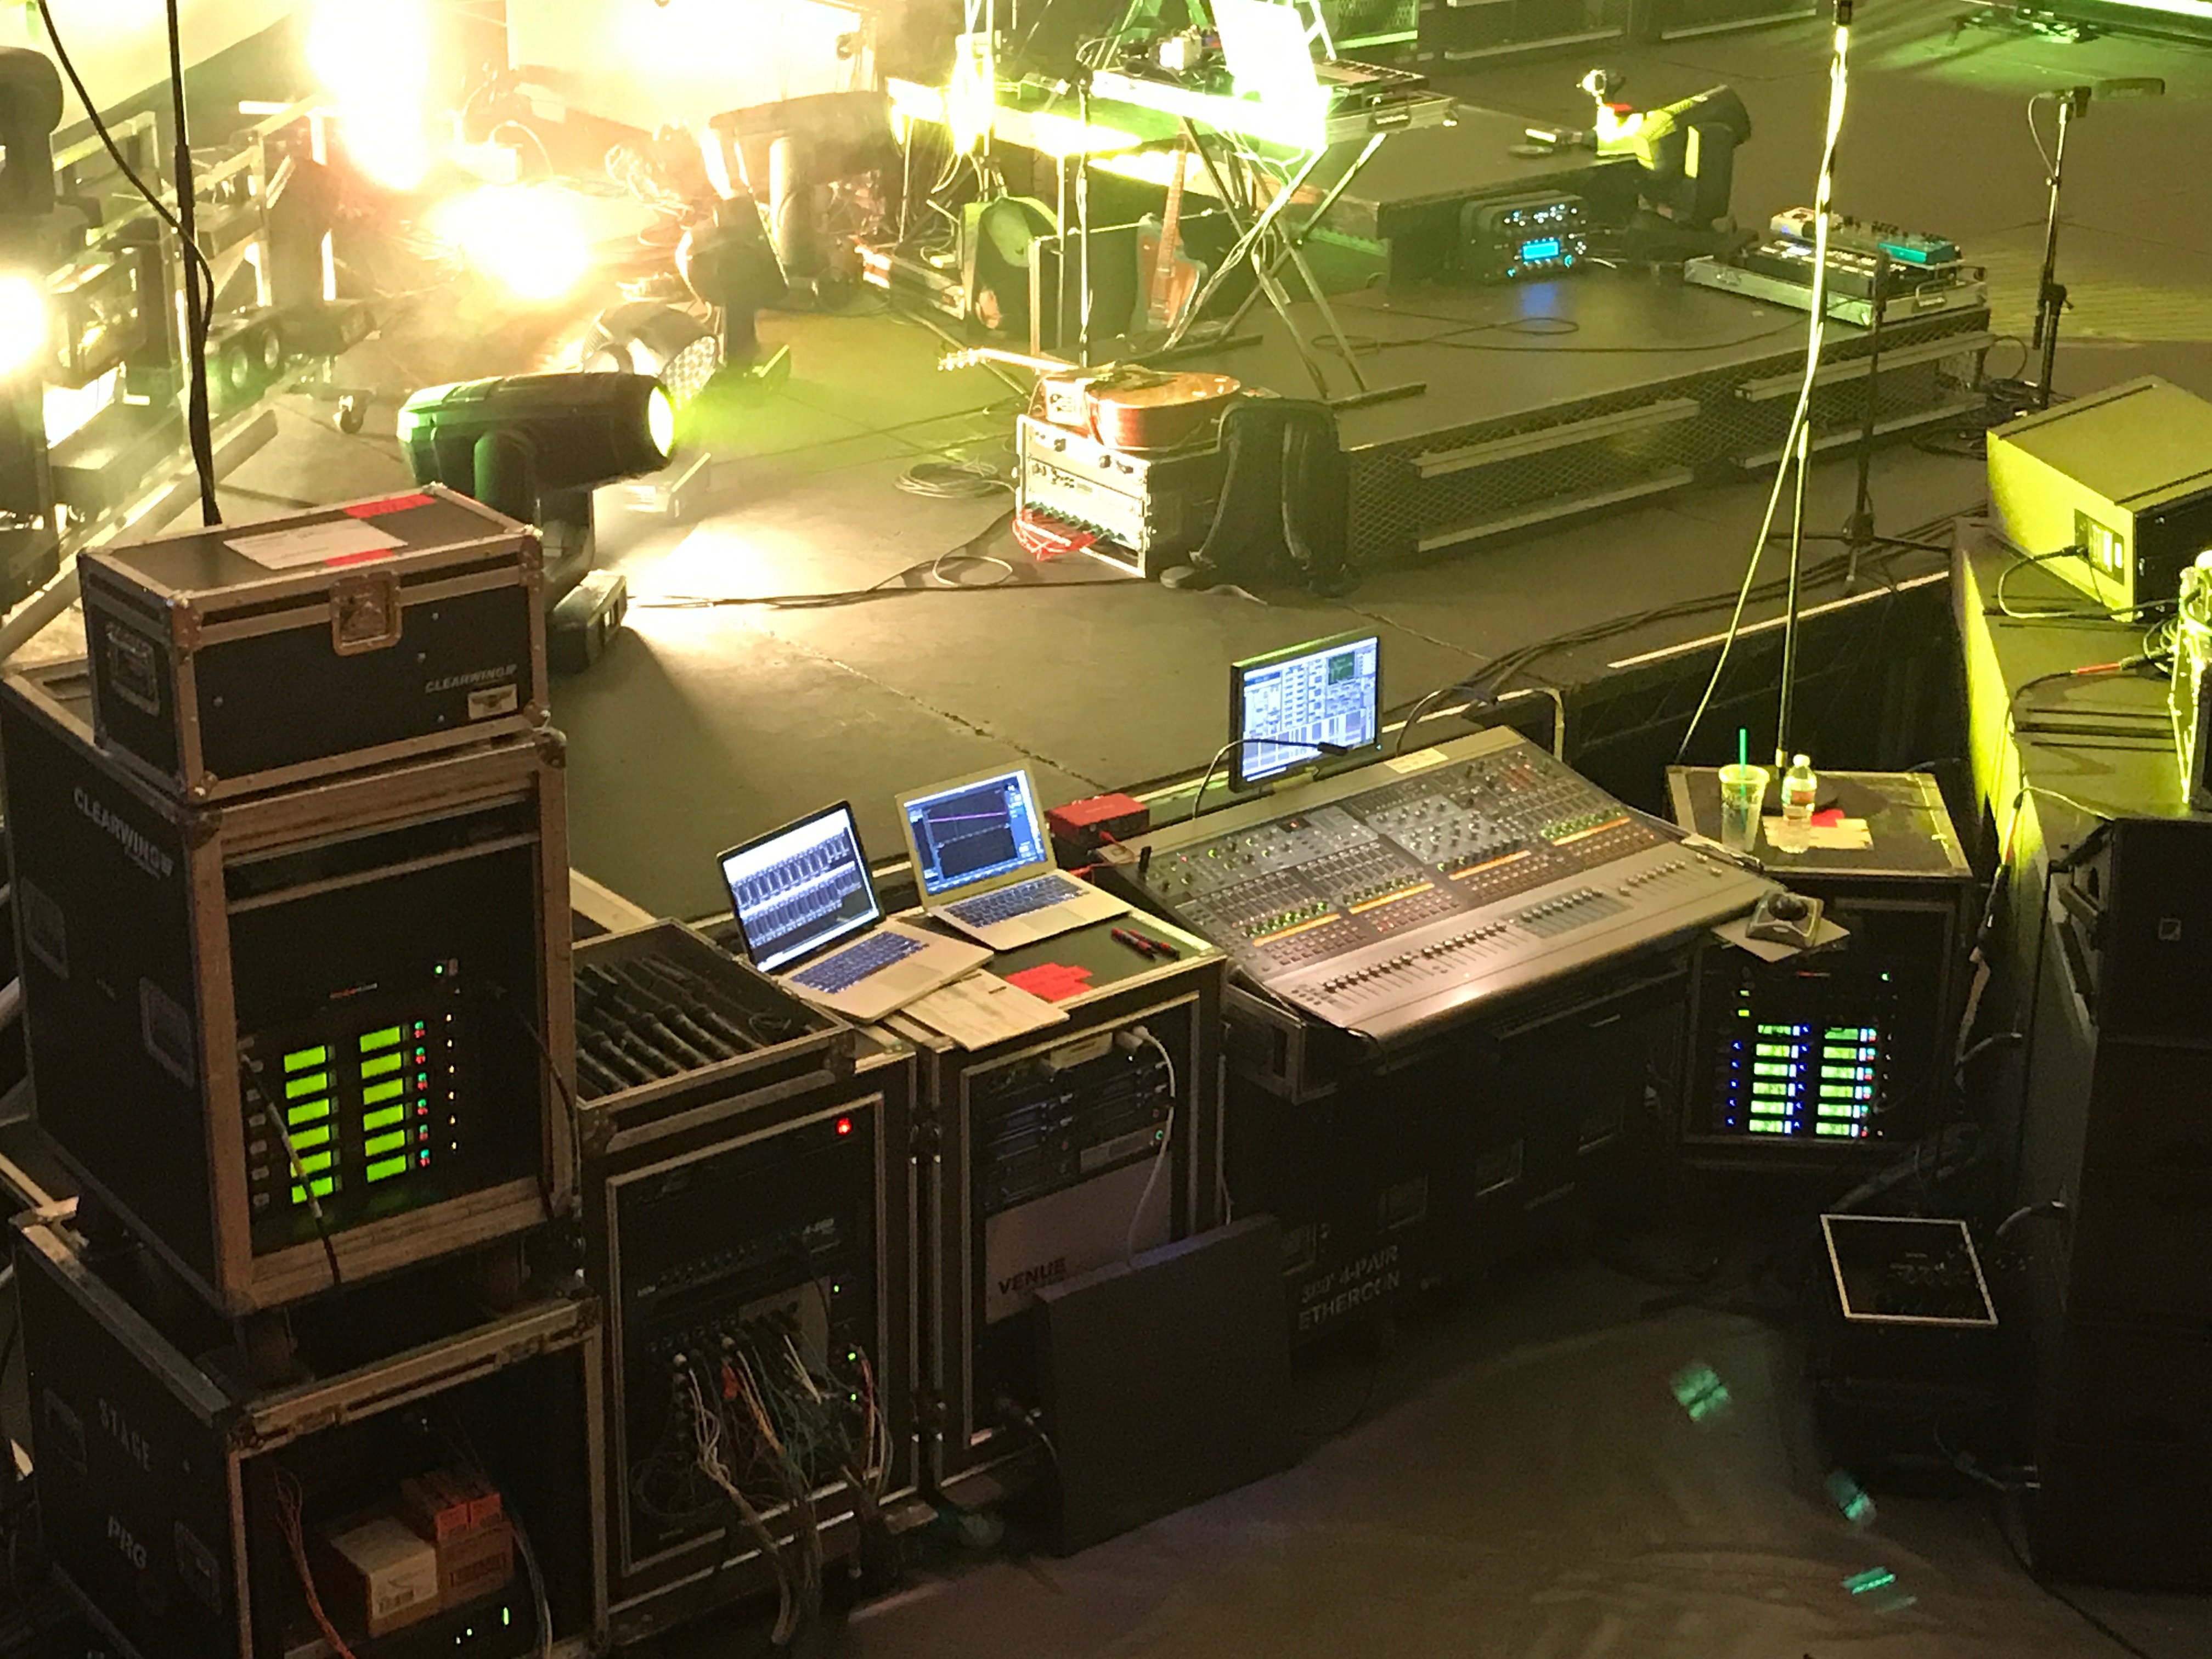
Because of the need to track the album, CCV traveled with a Front of House Desk (Avid S6L), a Recording Desk (Avid S6L) and a Monitor Desk (Avid VENUE Profile). I was asked to join in as the Monitor & RF Engineer as this was going to be quite the complex setup!
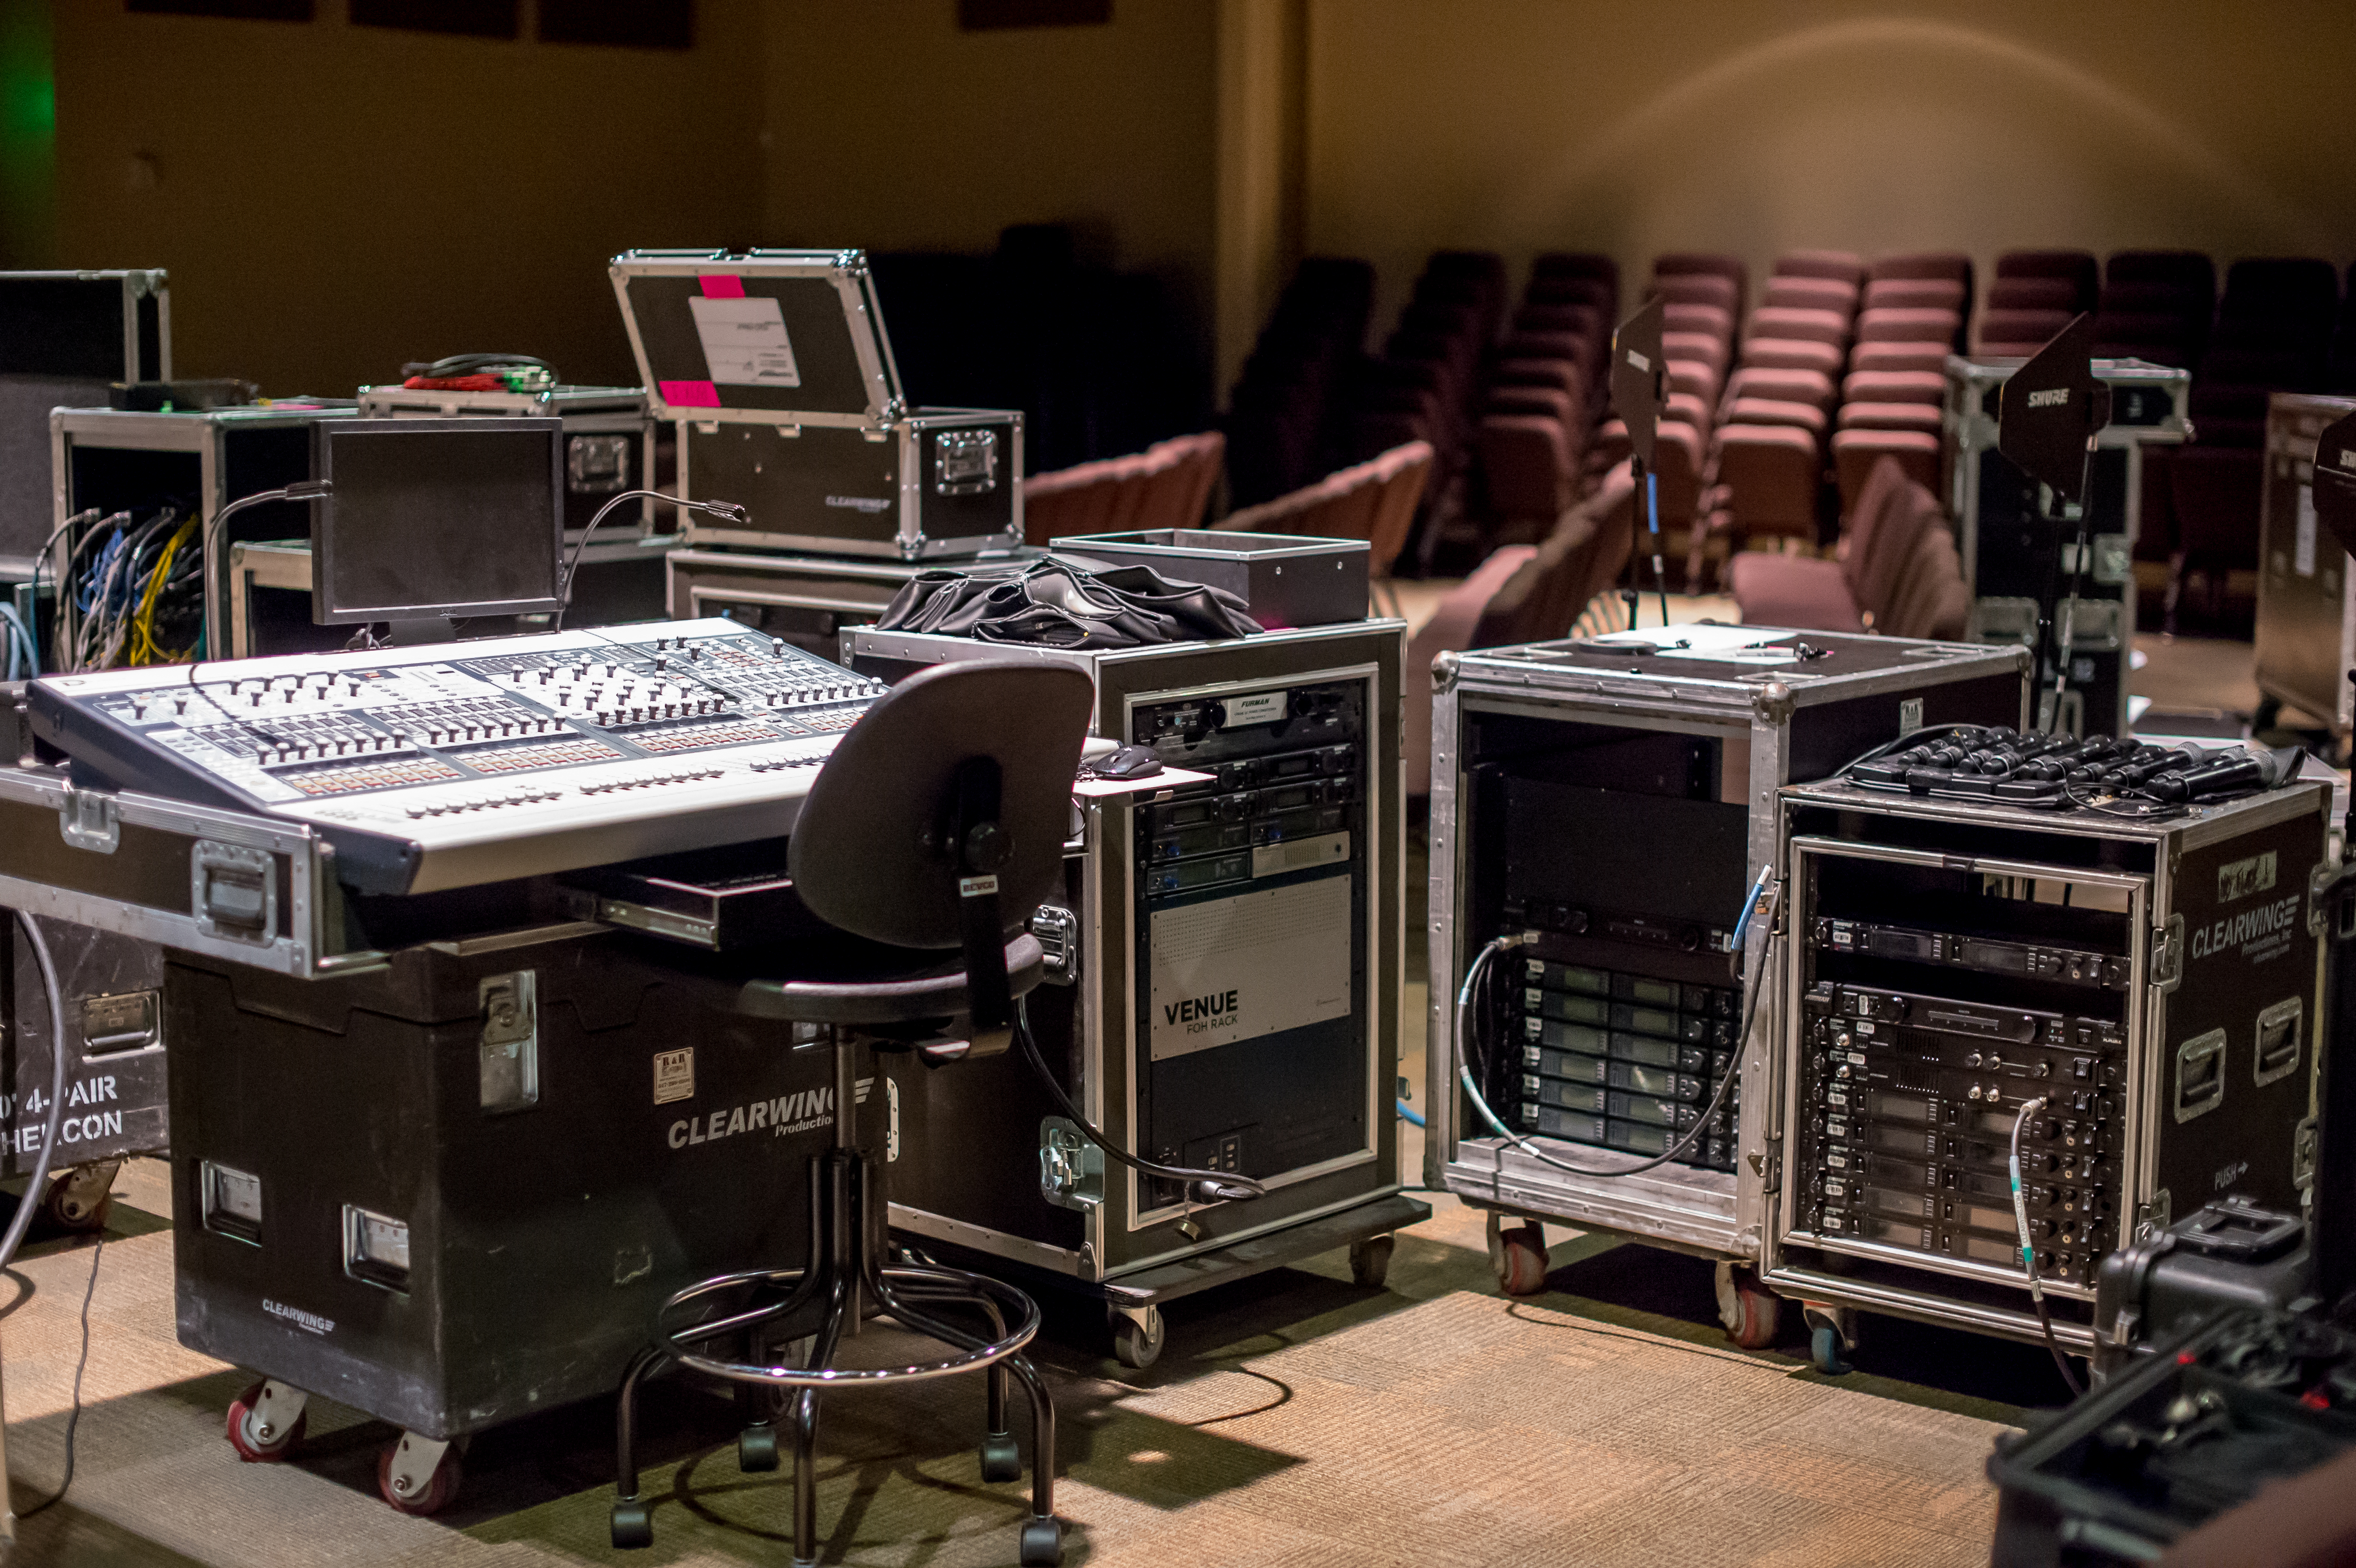
The 2 weeks leading up to camp, we were able to do a full setup with all three consoles to do a full audio line check of all inputs & outputs along with testing all of the gear.
The setup was roughly 64 inputs ranging from 12 drum mics, 4 drum triggers, samples, 8 tracks, 7 vocalists, 2 guitarists, bass, keys, crowd mics, MD & Talkback mics, and general microphones for CIY Camp.
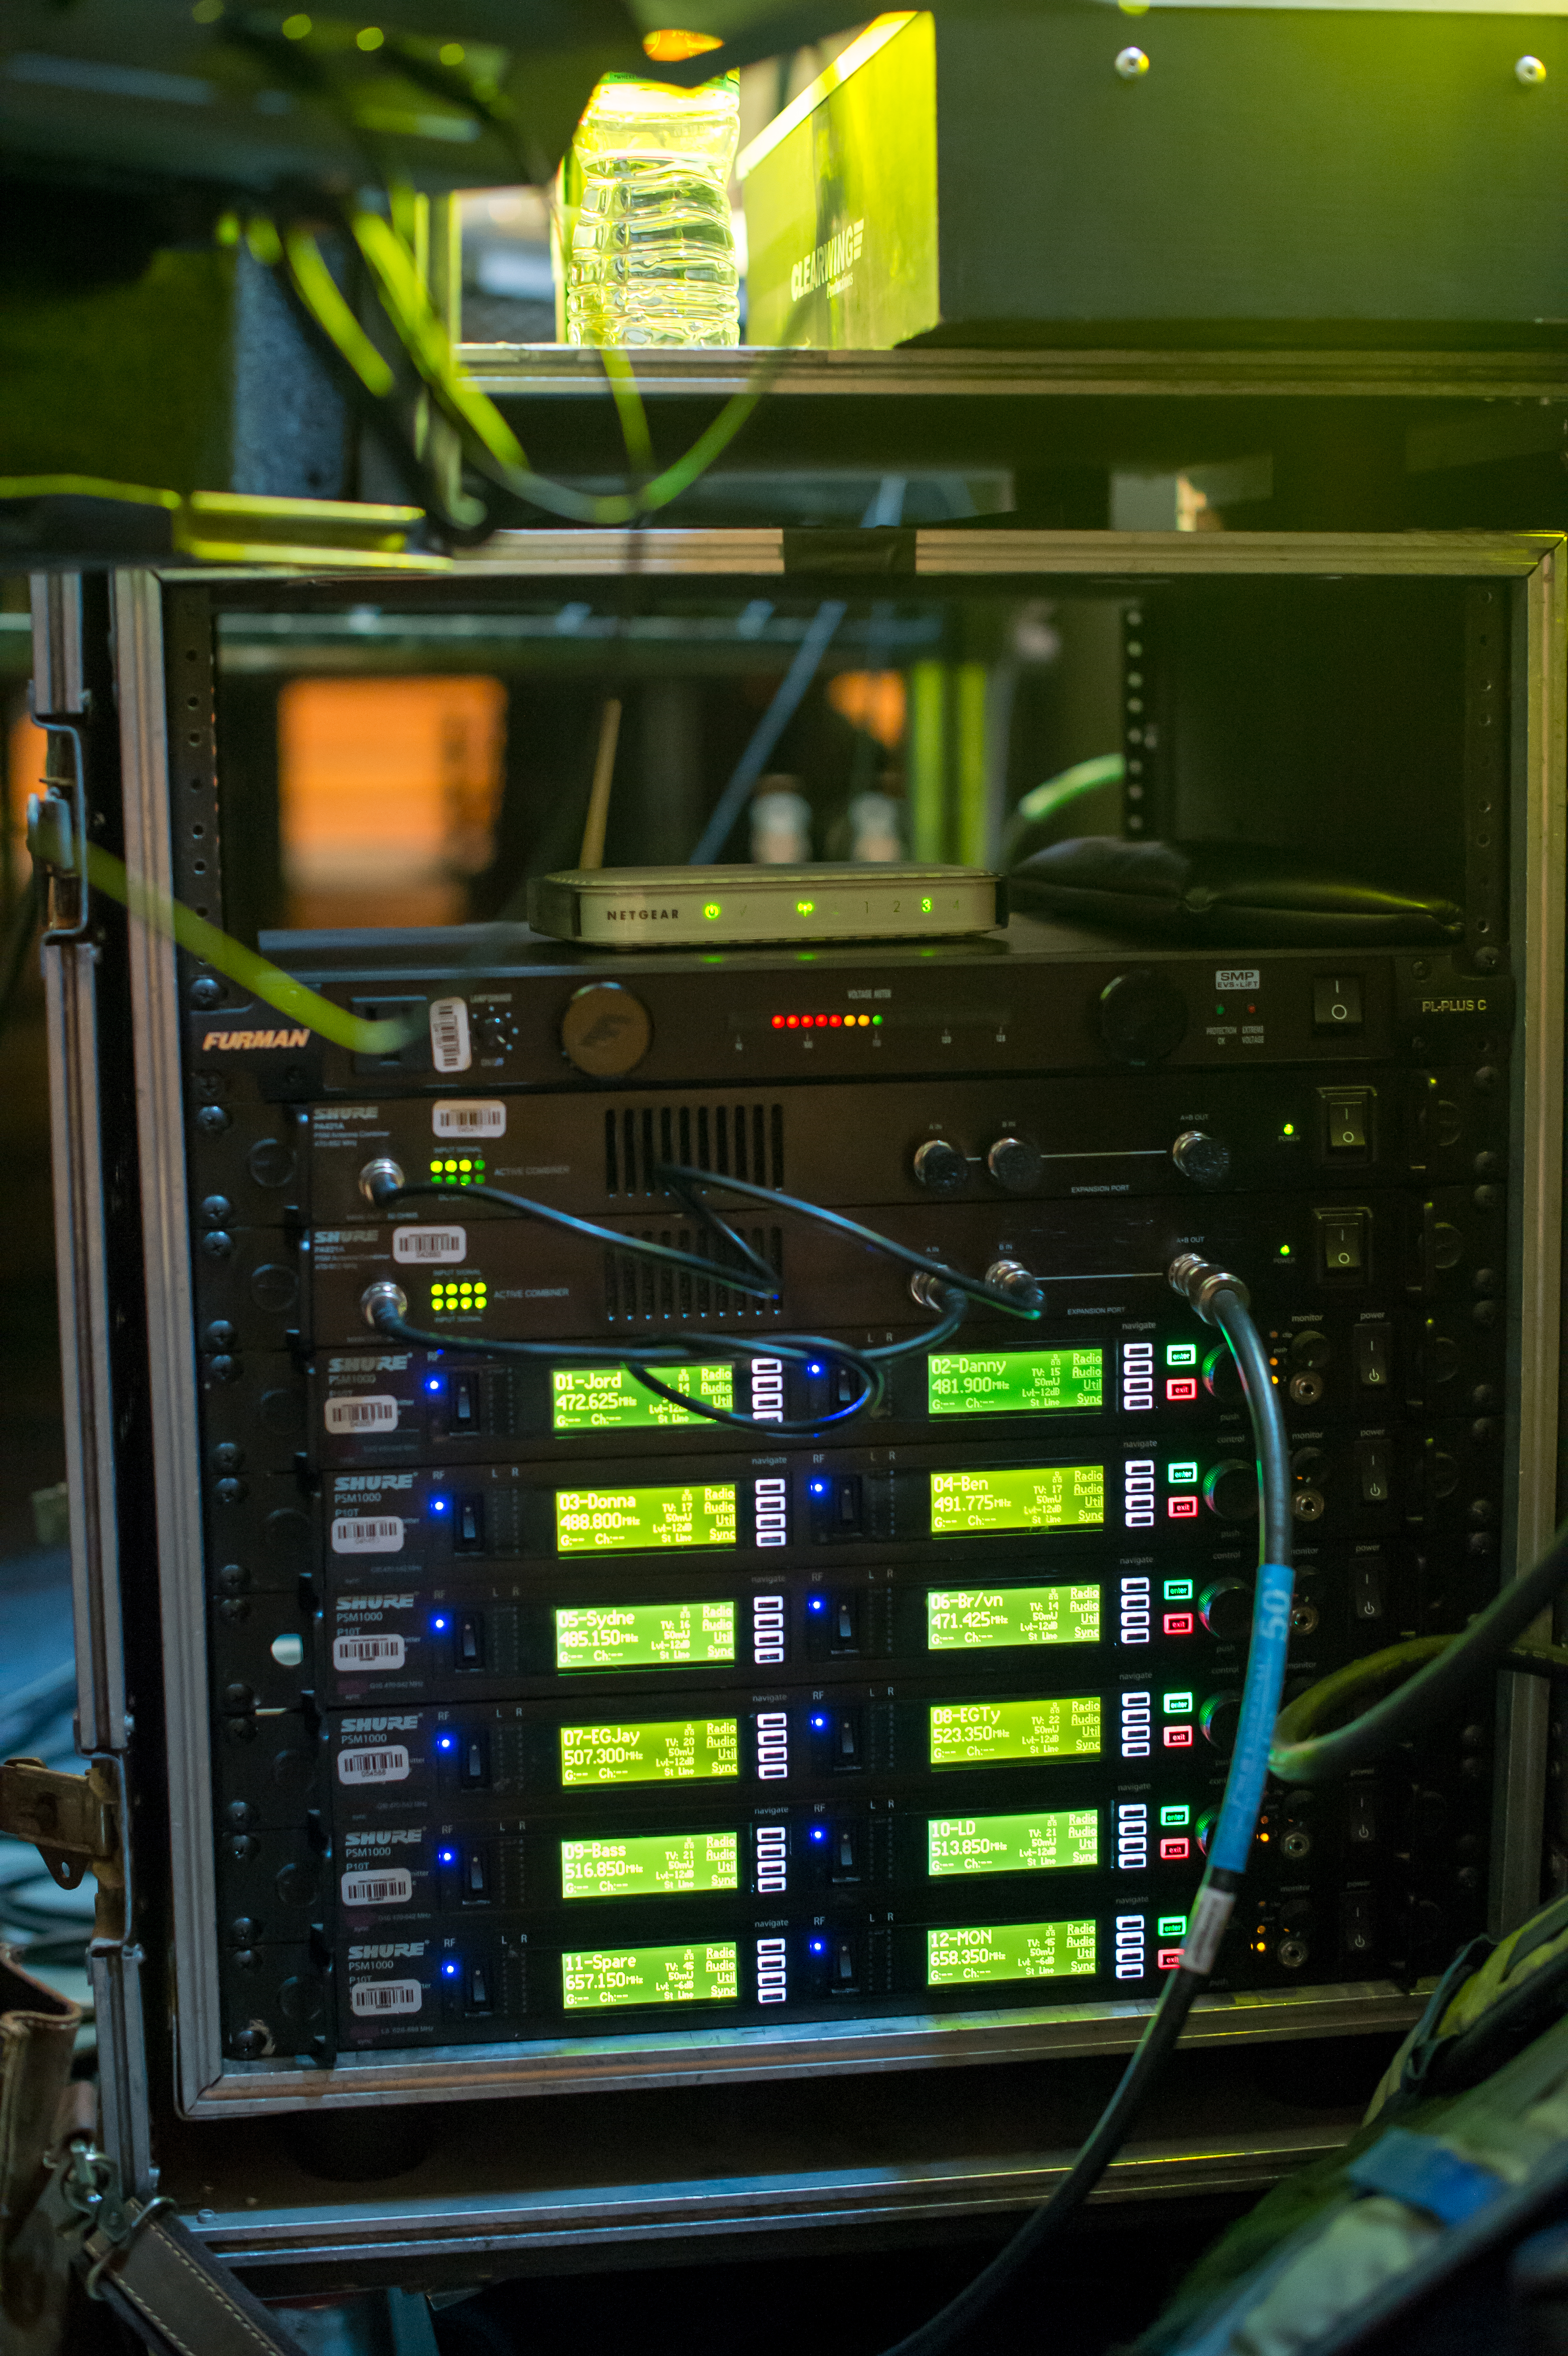
In monitor world, I had the Avid VENUE Profile desk, VENUE FOH Rack, and two VENUE Stage Racks. 12 Wireless IEM’s were used using the Shure PSM1000’s along with an additional two wired IEM’s via Shure PSM900 P9HW. Shure PA821A and Shure PA421A Antenna combiners were utilized for combining the IEM’s to one Shure PA805SWB LPDA antenna. Wireless microphones & bodypacks were accomplished using 10 UR2 Handhelds with KSM9 or Beta 58 heads, and UR1 with DPA headsets. Wireless receivers used the Shure UR4D+ Receivers with Shure Active antenna distribution via two LPDA active antennas.

1 inch acoustic wedge foam is perfect for keeping microphones staged.

RF Coordination
Having clean RF was of utmost importance. Because we were relying on wireless mics for this album, the RF had to be very clean with no issues. Being that this is Los Angeles, the RF spectrum was quite packed!
My tool when it comes to this is using a good spectrum analyzer and Shure Wireless Workbench 6. This program is free, and if you have any networkable wireless devices, you are missing out if you don’t have this!
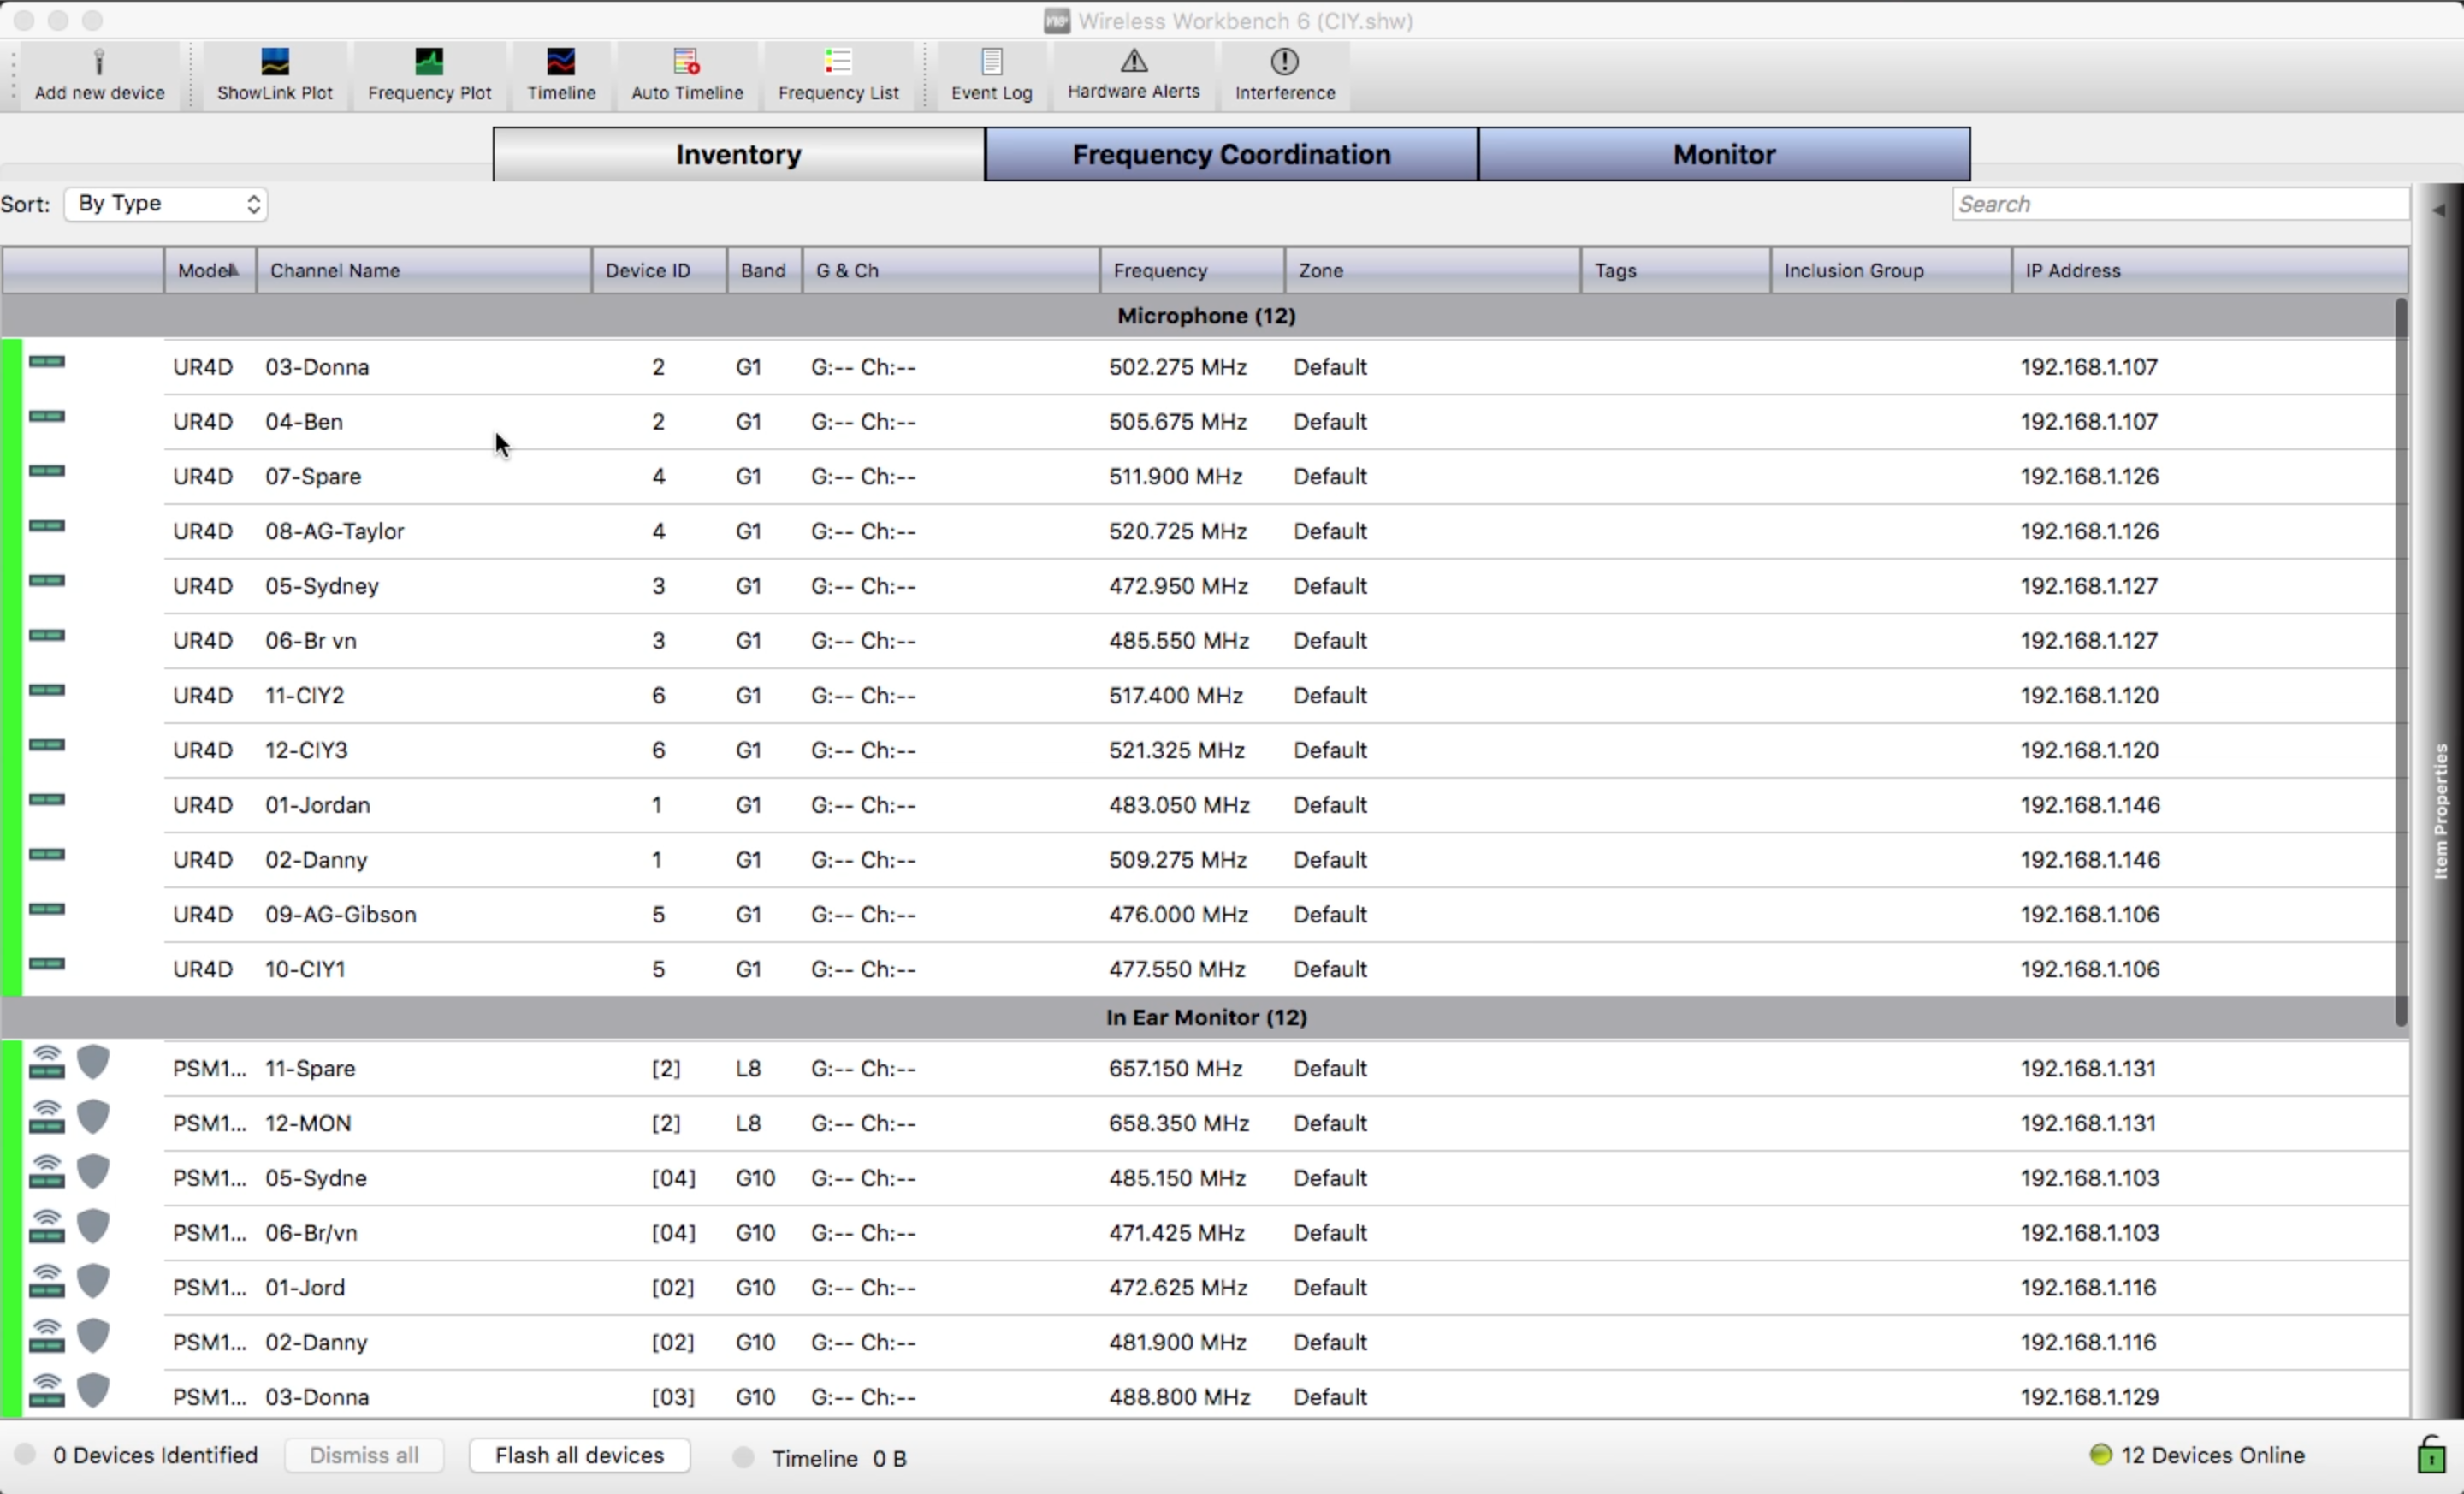
Because the UR4D+ and the PSM1000’s were able to be networked, it was very easy pushing out frequencies to the devices. Then I just needed to sync the remote pack and I was set and ready to go!
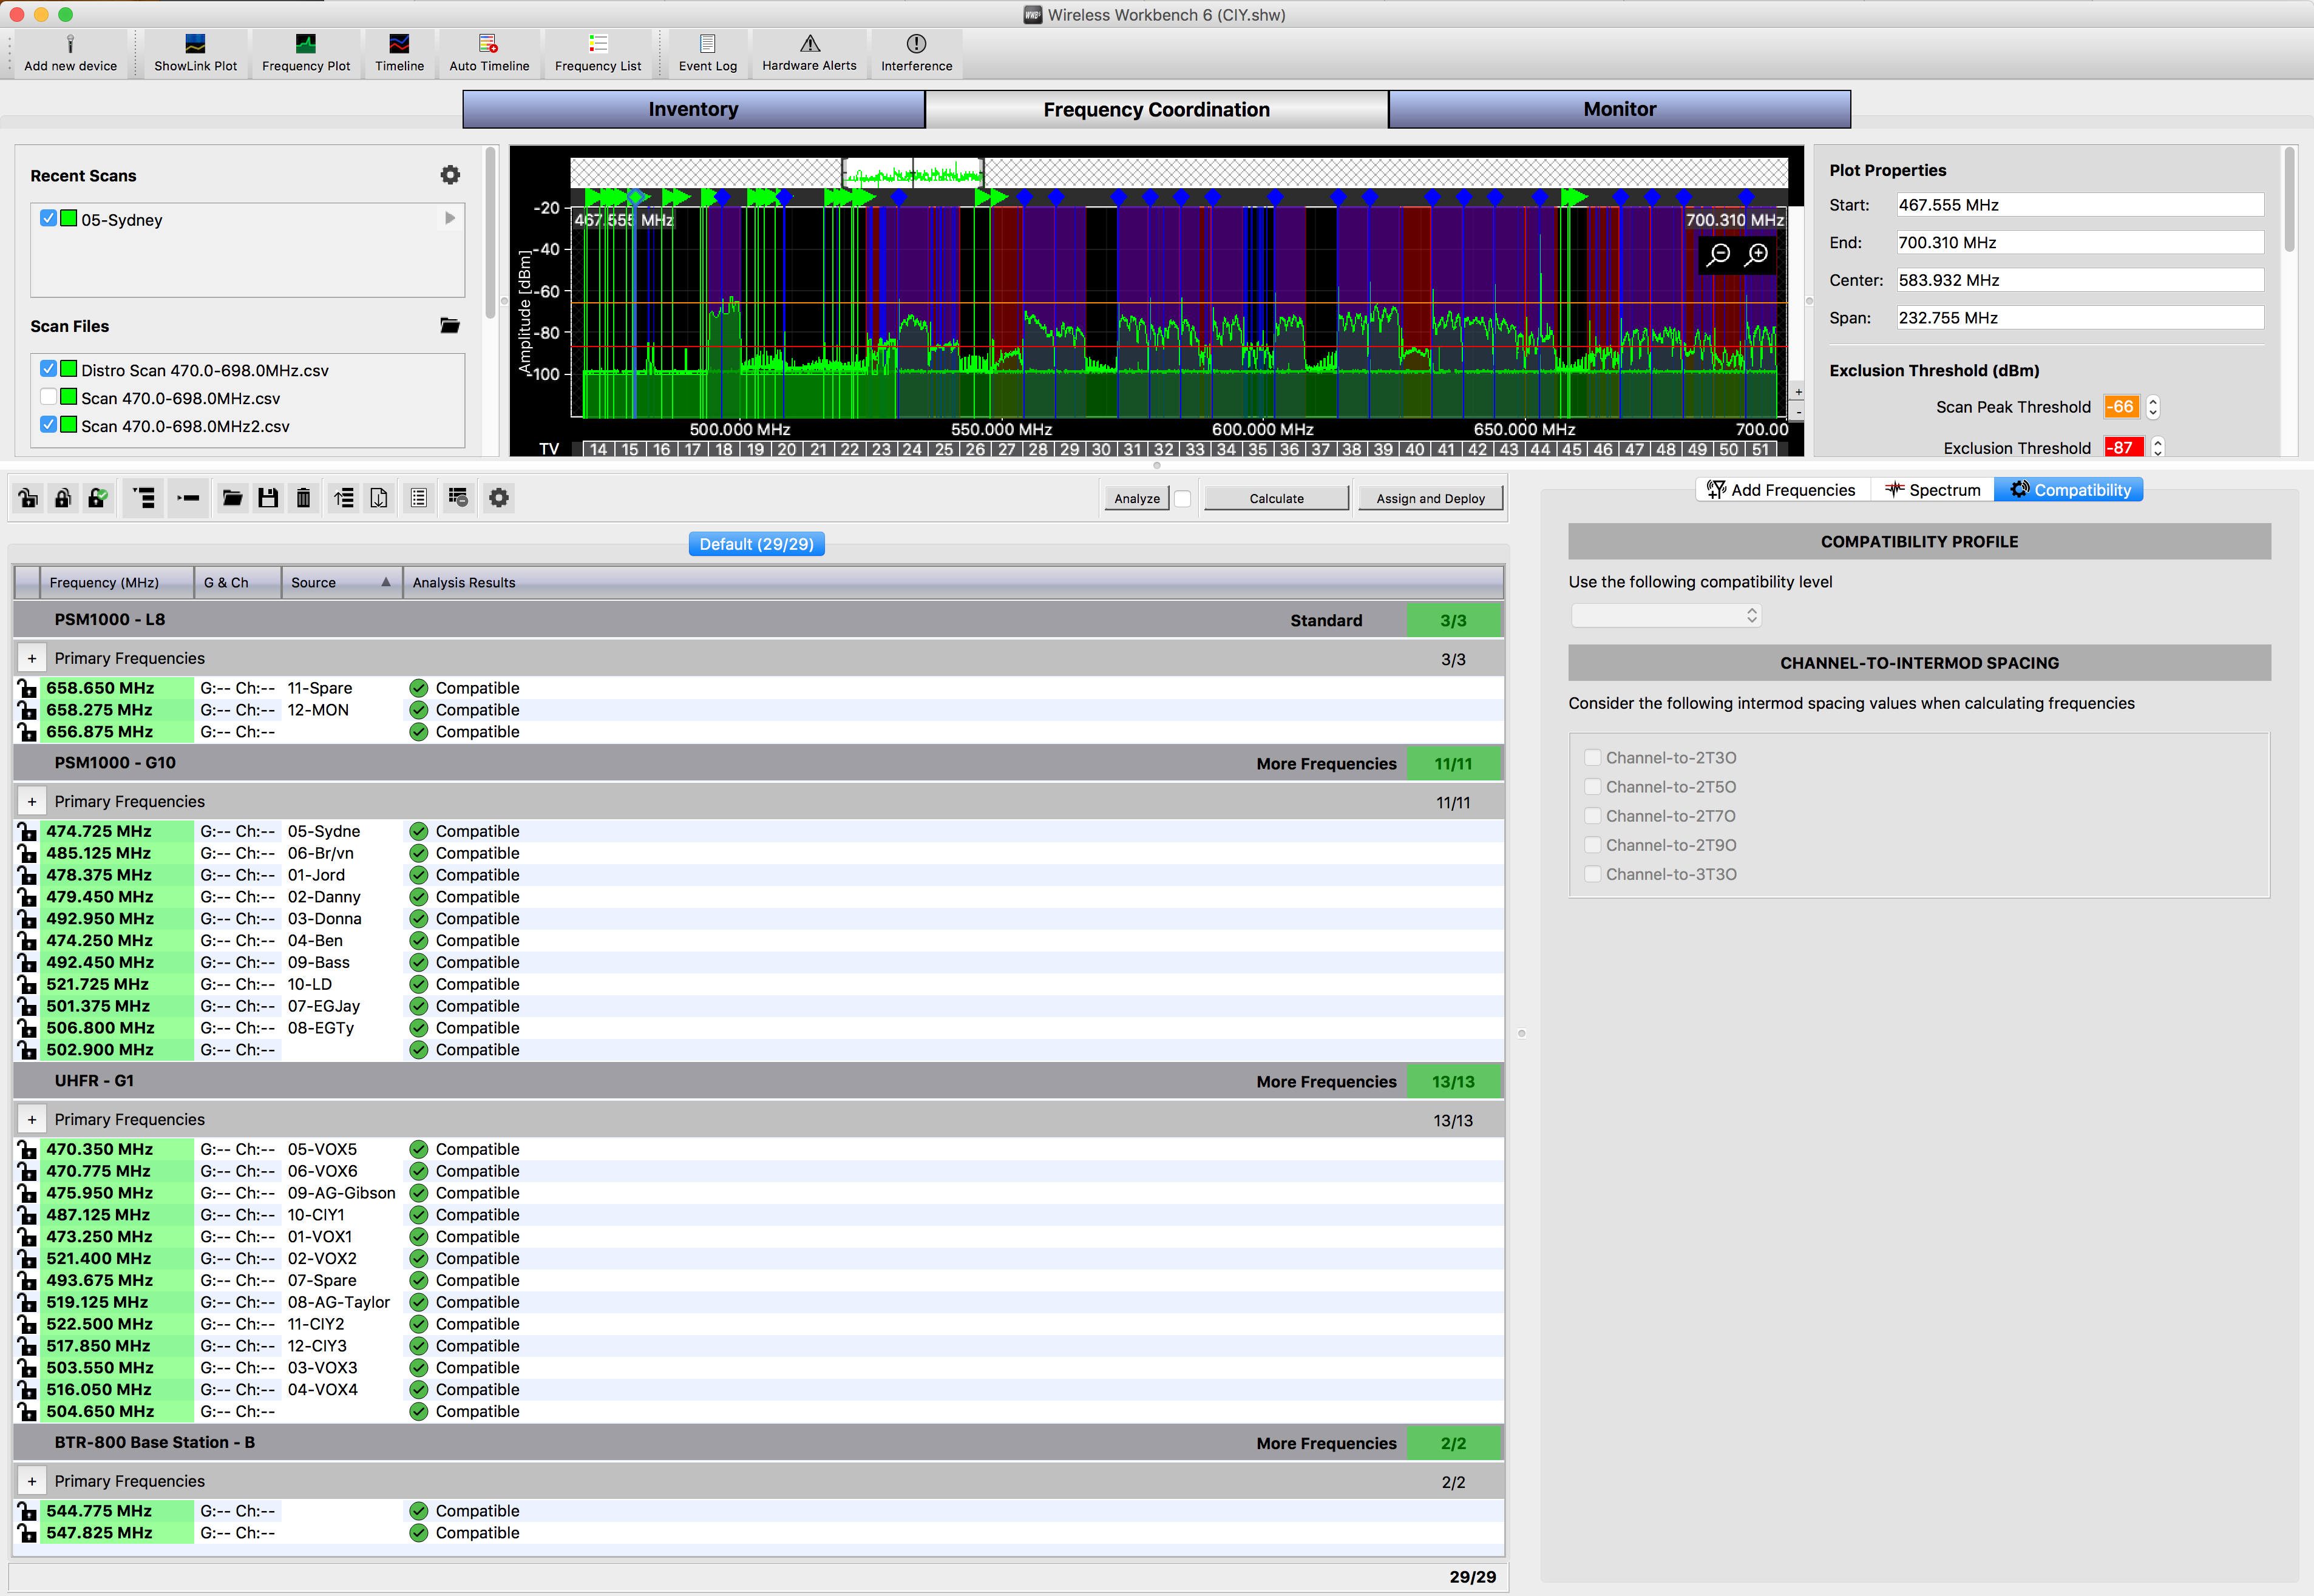
When choosing frequencies, I always start out with a base scan with my spectrum analyzer with an omnidirectional antenna. After reviewing the information, and double checking the location of TV station transmitters on TVFool.com, I will then connect into the wireless distribution and verify the base scan with the directional antenna after placement in the best location. When I choose a location for the antenna, I always want to find the spot where I am rejecting the TV transmitters in the nulls of the antenna pattern (on the rear sides of an LPDA).
After that has finished up, I will run a scan using any networkable devices inside of Wireless Workbench 6, in this case, the UR4D+.
Monitoring Frequencies
After I have all of the wireless programmed and set, I will keep my spectrum analyzer going to watch for any rogue frequencies that will pop up. If any come up that will cause interference, I will act typically with a frequency change unless I know what specifically the interference is and can remove it.
I will also keep Wireless Workbench 6 up and monitor all of the networked wireless. Two really useful tools inside of WW6 is the Timeline and the Alert functions.
The timeline allows you to monitor multiple wireless products for signal level, battery level, audio level and it will report any issues of audio or RF overload or even low battery!
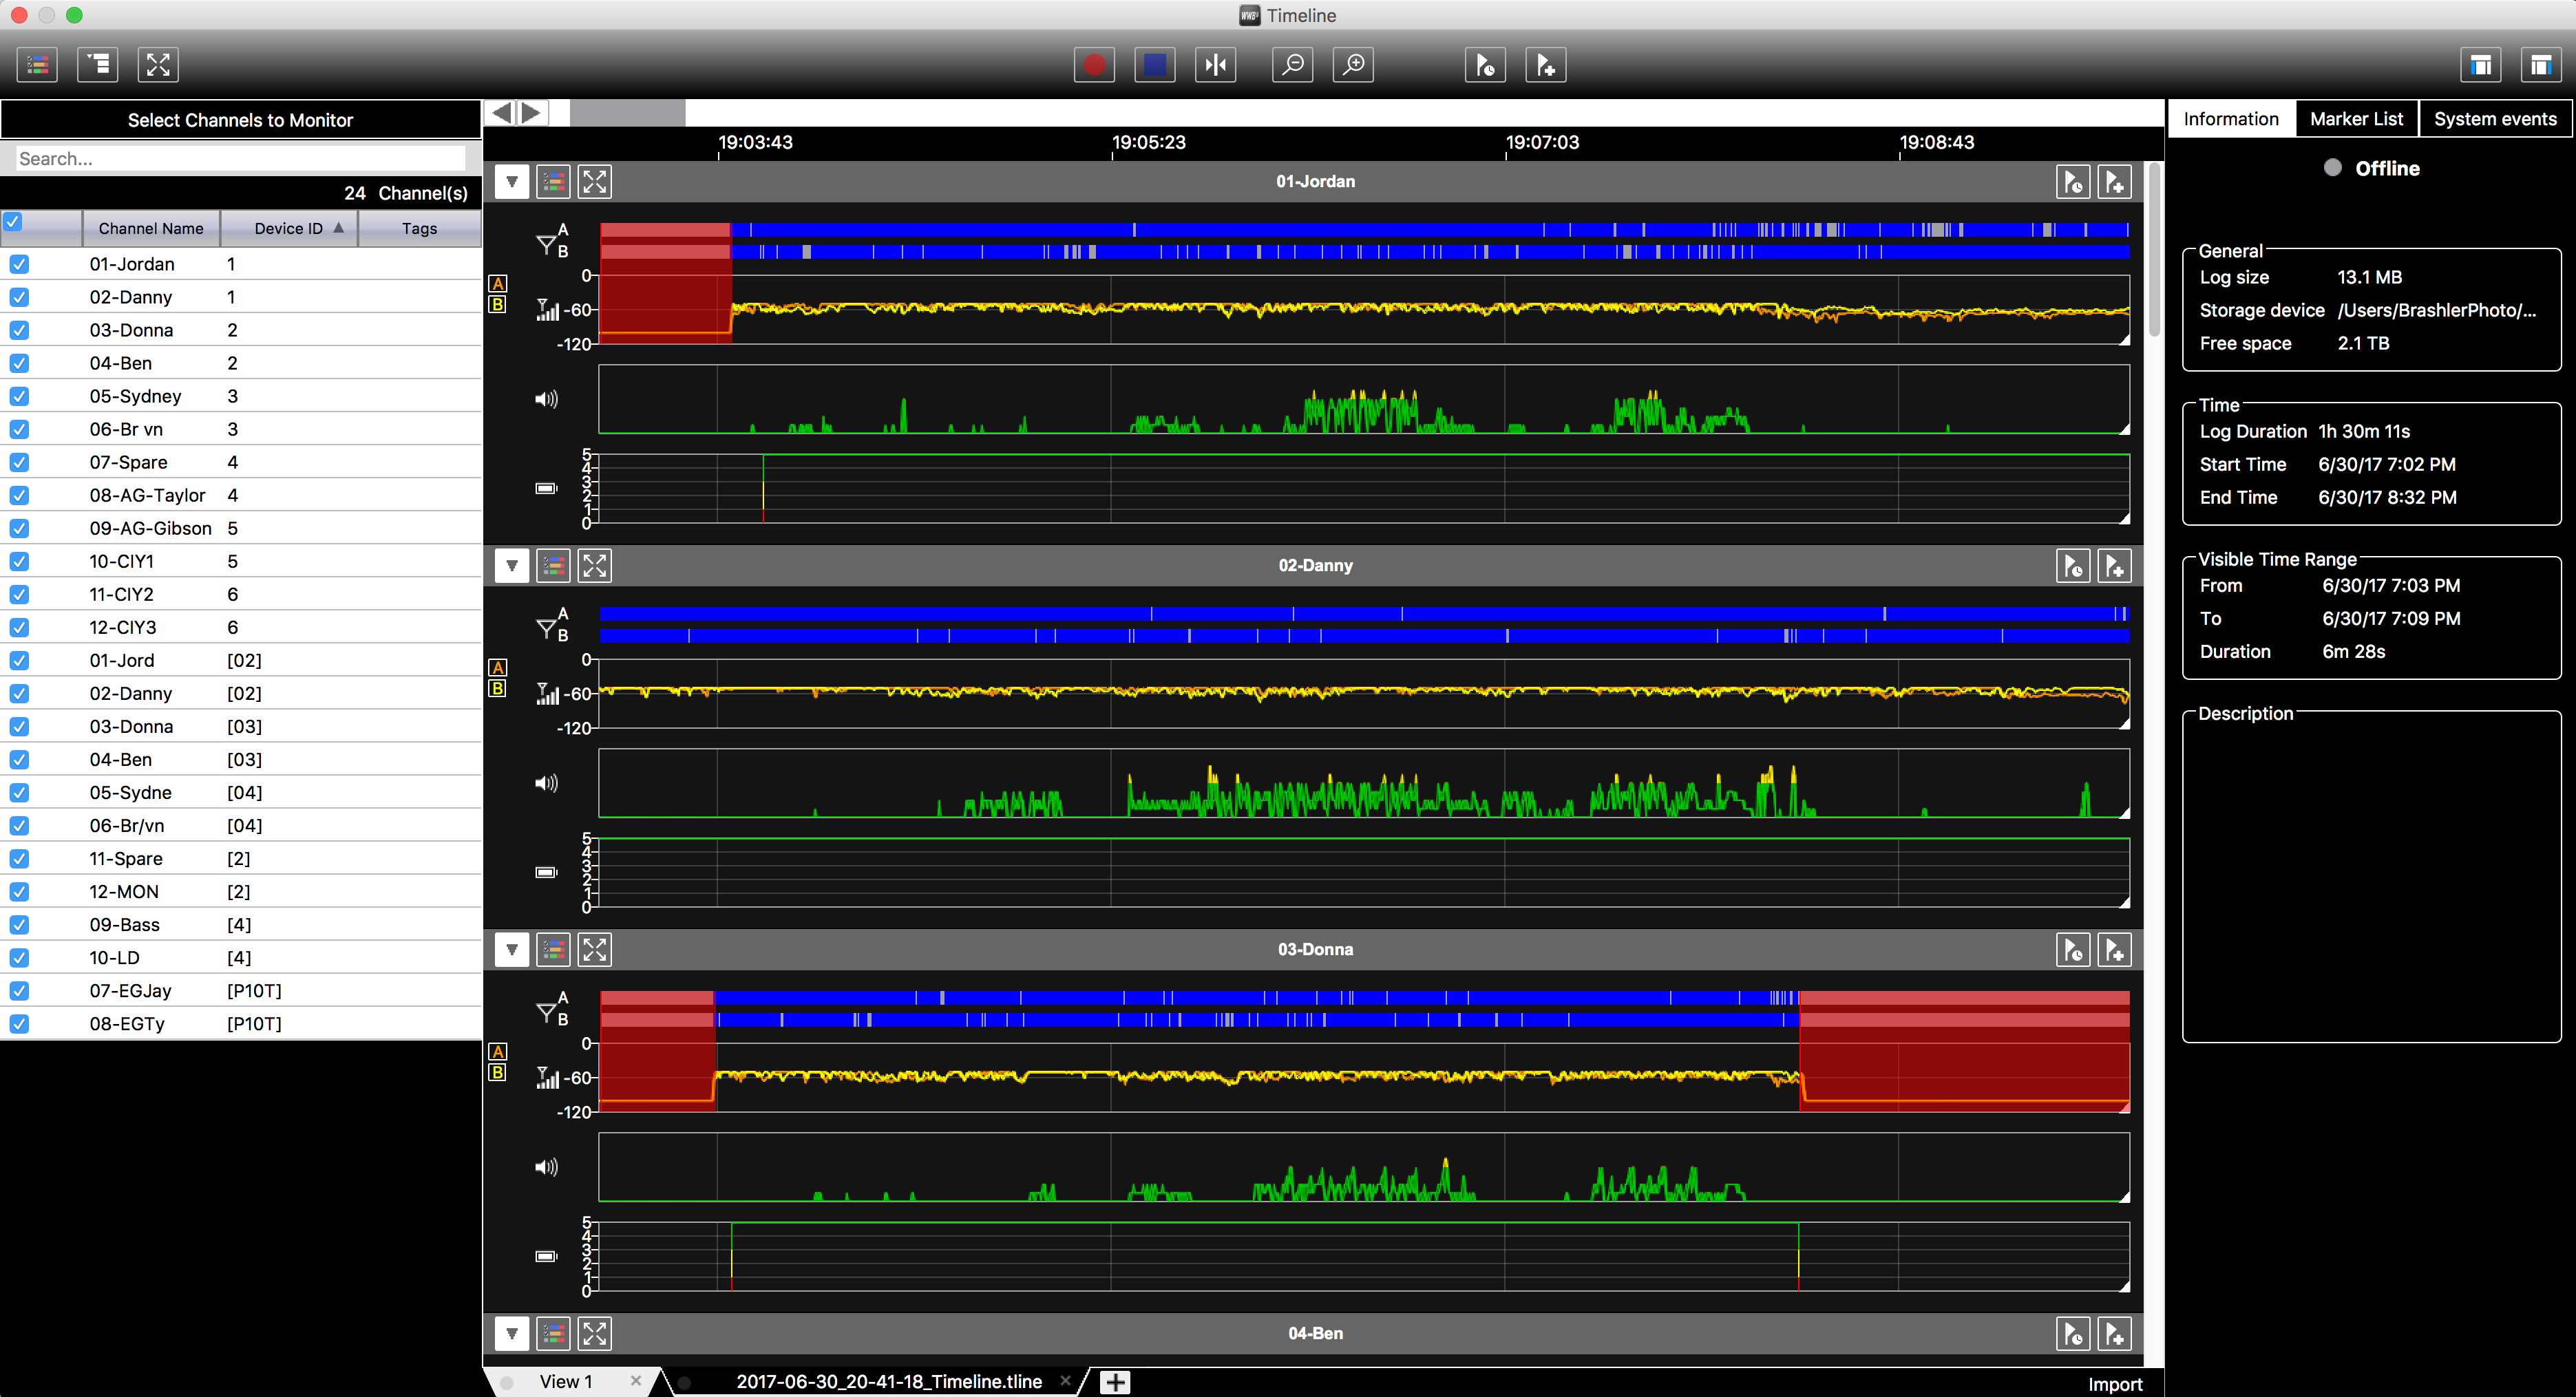
Shure Wireless Workbench 6 Timeline monitoring UR4D+ wireless receivers.
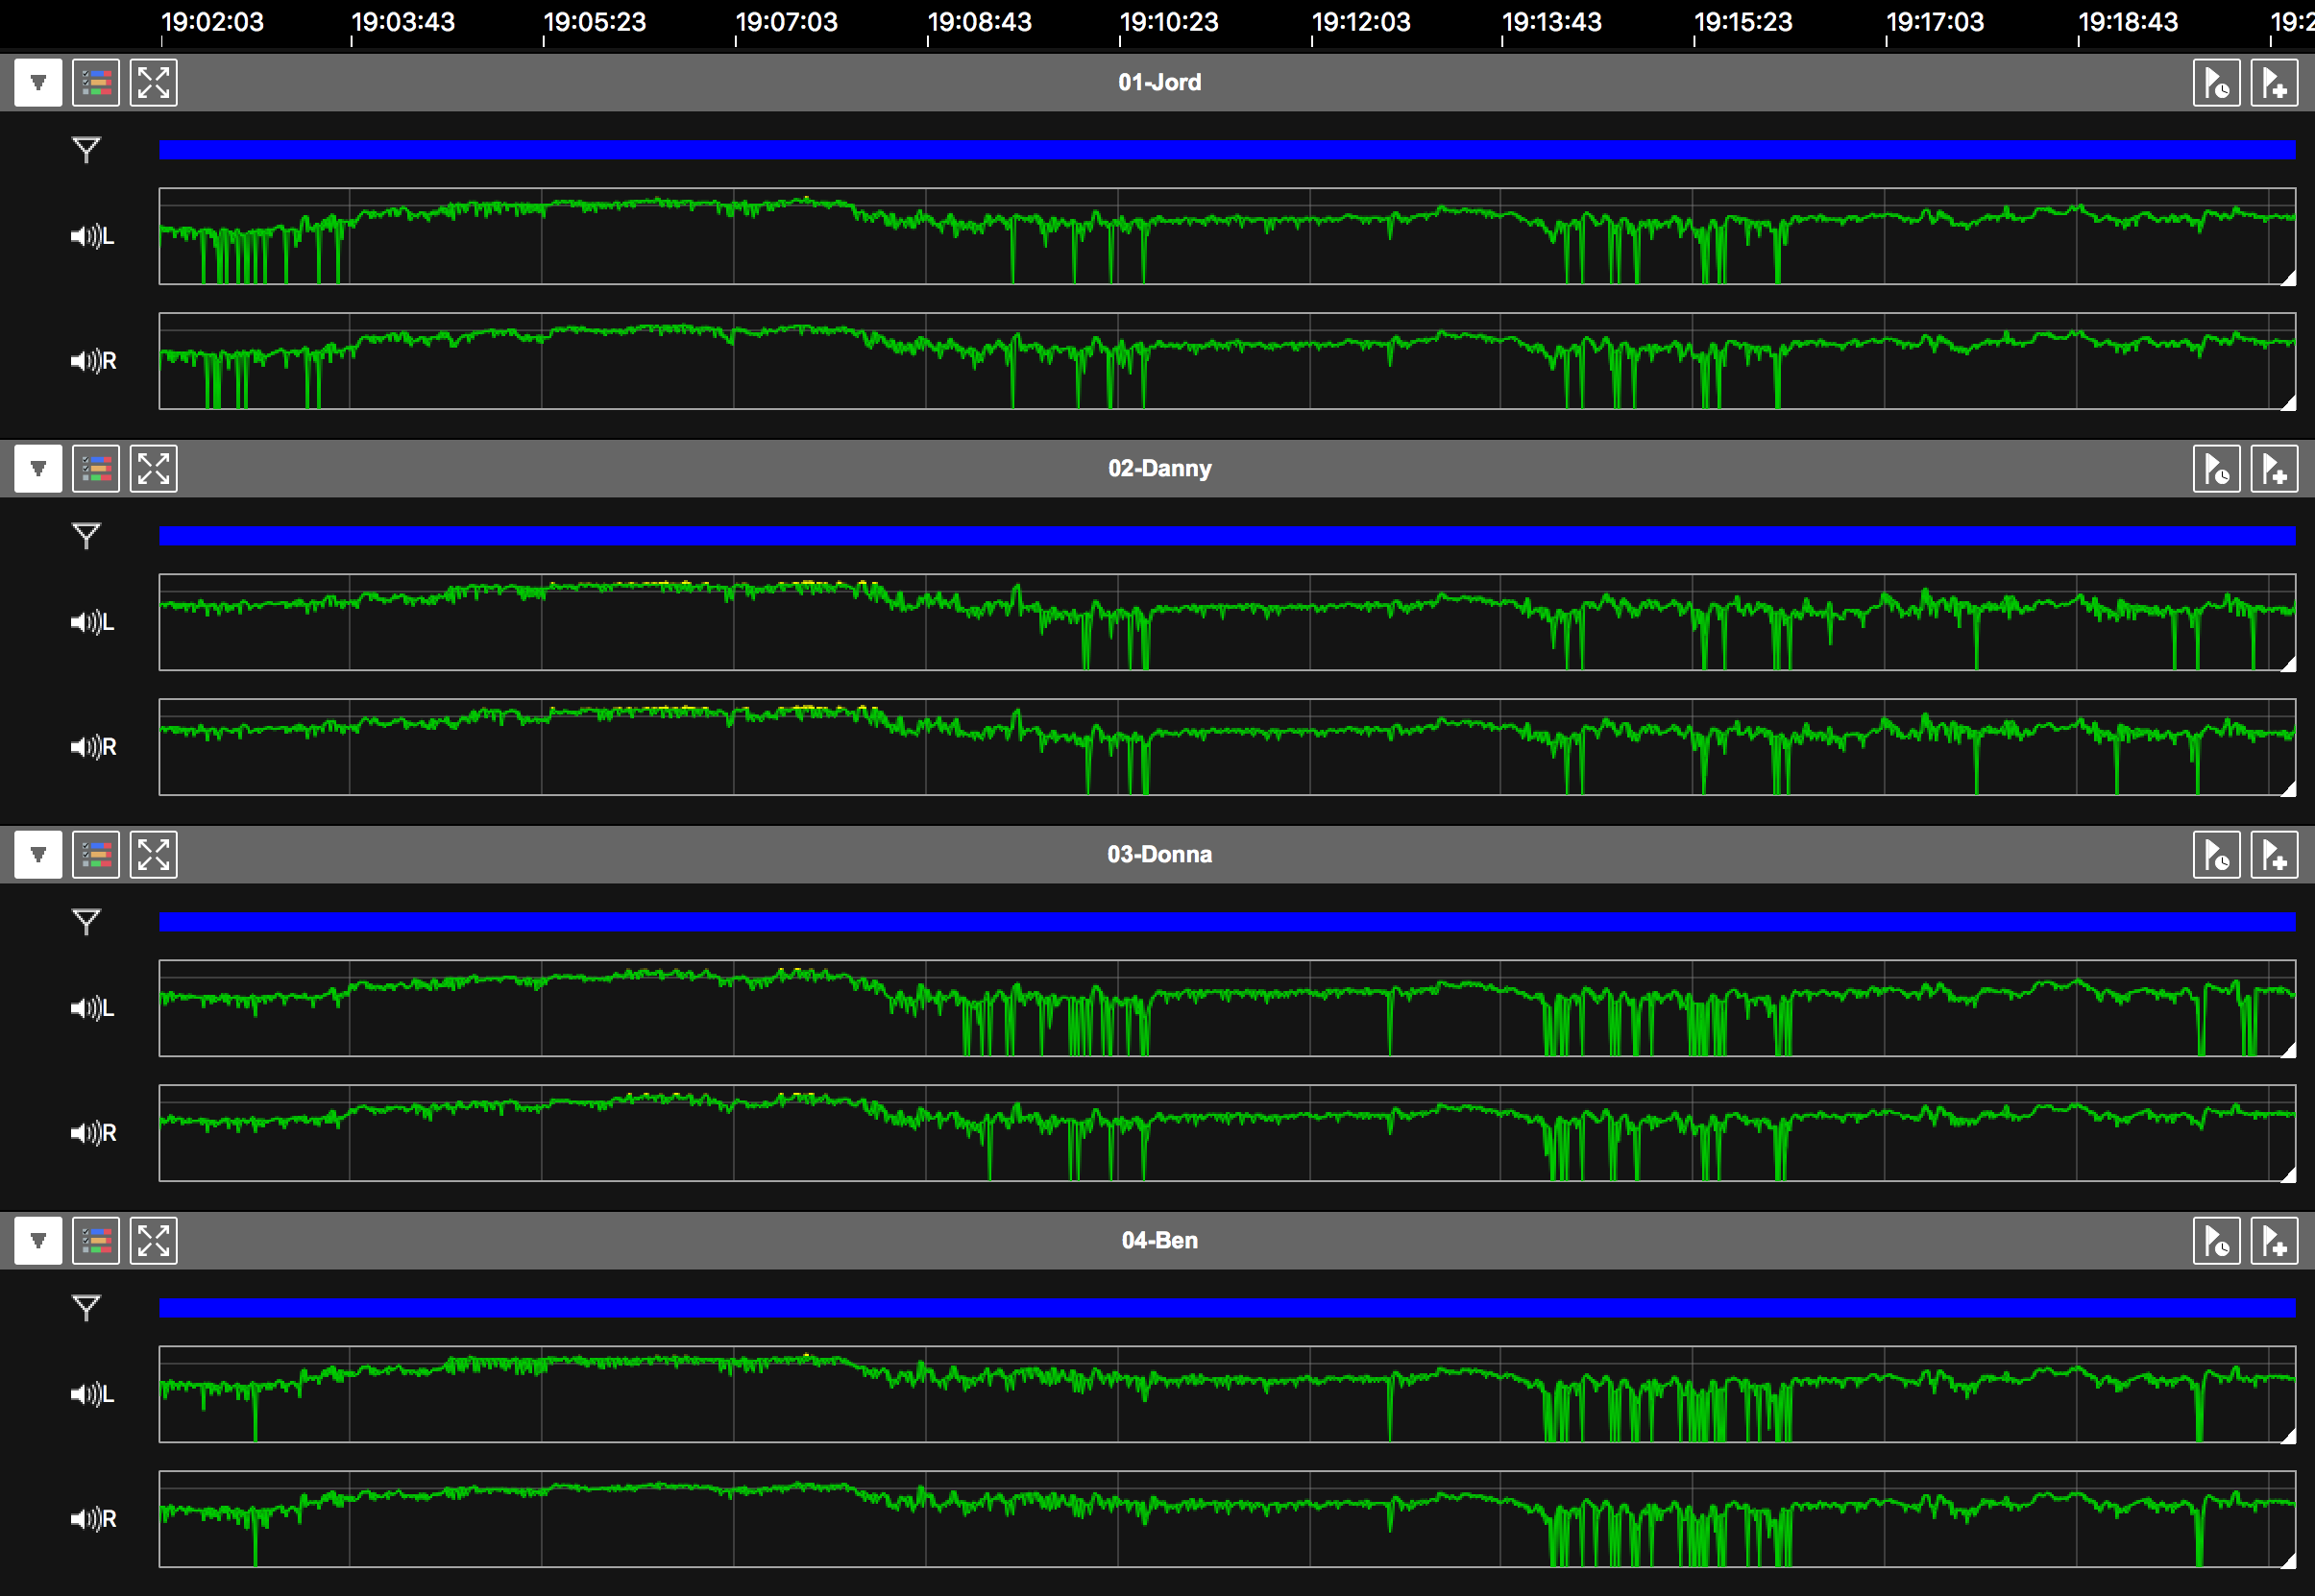
Shure Wireless Workbench 6 Timeline monitoring the PSM1000 in-ear monitor transmitter audio level.
At the end of every show, I will look in the alert log for any unexpected actions that may be in there like AF overload or interference.
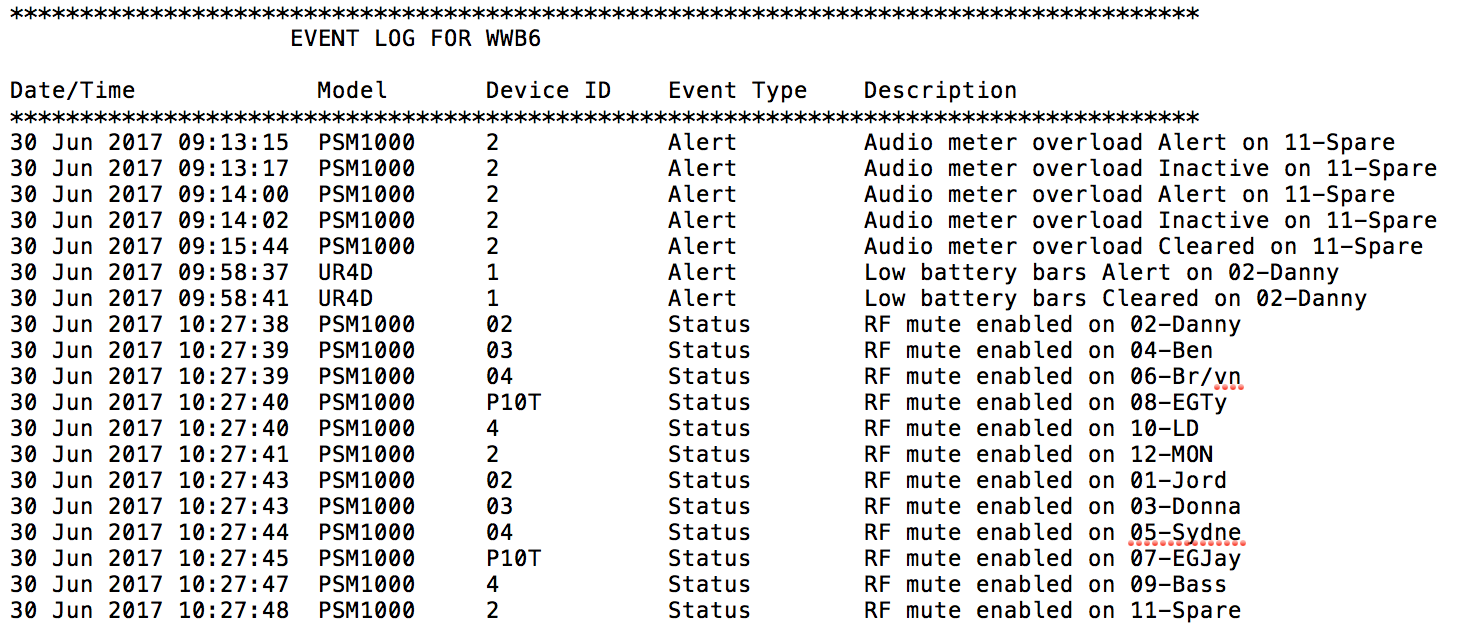
One of the most useful parts of monitoring the frequencies, is being able to see if a microphone is turned on or not. There were a few times that I had to get on the talkback and remind a singer to turn on their microphone!
Monitor Engineering for 7 Lead Vocalists!
The challenging part of monitor engineering for this week of camp was that the lead vocal was changing on every song, many times at the last minute. This made the mix for 14 stereo in-ears always changing. I didn’t have to just worry about the lead vocal changing, but all of the other 6 vocalists that were not taking lead, were singing backup & harmonies to the lead. So it was a constant battle of time management during the songs.
Because this was a really crazy week, and knowing that there isn’t much information out there about learning monitor engineering, I wanted to pass out a few of my favorite tips that I think will help a few people who are just starting out.
7 Tips for New Monitor Engineers
1.) Board Workflow & Layout
Having a consistent board layout, naming structure, and detailed input & output list is crucial. The consistency of keeping your drums, guitars, bass, vocals, etc. in the same location every time you use a board is important to stay fast. I will always put my drums, bass, guitars, and vocals on the first layer. Then keyboards, backing tracks and any additional music director/talkback mics on the second layer. I do this if mixing FOH or monitors because it is the layout I am used to.
A printed input/output/patch list will save you more times that you can imagine, trust me.
2.) Pre-Fader vs. Post-Fader
There are really two ways of mixing monitors, Pre-Fader sends or Post-Fader sends. I typically mix monitors on a post-fader sends setup. On initial setup, I will pre set the sends in terms of ratios before the band even gets there.
Talking to the musicians in the days or even hours before getting on stage is an easy way to get an understanding of how they like their mix laid out in terms of volume, placement in panning, or even tonality of their mix.
Let me give an example: if we have a vocalist that is also going to be playing their guitar and wants a general mix of everything with the click a bit above the band. I will set his vocal to +0dB, his guitar at -18dB, the click track at -15dB, and all of the band faders at -20dB.
I will do this same thing with all of the musicians and what they wanted in our conversations and get everything pre set. Once that is finished, I will set all of the channel faders for the main mix at +0dB. During sound check, I will then listen to the main LR mix in my ears, bringing up the gain on each instrument to the point where I create a good leveled mix in my main LR mix on the monitor desk. This is my base and I know that if I am getting a good mix in my ears, that will typically translate well to the other musicians who are set up as a post-fader send. Once that is all set I will then go tweak things that the musicians want/need. Because remember, you are here for them, not your own mix!
Another benefit of post fader monitor mixing, is if there is any feedback, you can take the single channel down in ALL of the mixes at the same time, which can save some hearing!
Just FYI, only use a Post-Fader mix setup when running a dedicated monitor console! You will be quite disappointed if you are running monitors from FOH and have them set up as Post-Fade!
3.) Vocalists using IEM’s will require a lot more volume than you think!
It is surprising how much a lead vocalist will need of their own voice in their IEM. Don’t be surprised by having the vocal microphone 15-20dB above the rest of the band in their own in-ears.
4.) Encourage Good Microphone Technique
A lot of monitor issues are caused by bad microphone technique. When a singer is in a very live room and they do not get close to the microphone, they will often complain of lots of room noise or ask for all of the overhead and crowd microphones to be turned off. This is why some people use in ear monitors for singers so they can hear the music, even if the room is loud. At CIY we had a stage trust that went out 50 feet or so in front of the PA, this wreaked havoc on the singers IEM’s with TONS of noise from the PA. When a singer is in a high volume position like this, the only cure for reducing that noise in their in ears is really digging into the microphone. One can only imagine a light volume singer in front of a loud PA!
5.) Use compression sparingly
Remember that you are not creating a record for playing on the radio, so don’t have the mindset of limiting compression. Use vocal compression sparingly, but use it! An uncompressed vocal will be painful in IEM’s, but an overcompressed vocal will cause bad microphone technique! 3-9dB of gain reduction should do the trick, but keep an ear on it, and maybe have a few converstations with the musicians to make sure they are getting what they need.
6.) Look up!
Don’t keep your eyes buried in the console! Unless you are doing something specific, keep your eyes ALWAYS moving around to the musicians on stage. Often times if something is needed in one of their mixes, they will be looking at you! If you are always looking down at your faders, you will most likely miss these moments.
7.) Have a servant attitude
This goes for a LOT more than just being a monitor engineer. And honestly should be at the very top of the list. Helping your musicians out by serving them in the best possible way will only help them get in the right mindset for leading thousands into worship. Anything that I can do to help make practices or performances go smoothly, I’m up for it.
I ended up being the “keeper of the ears” as some of the musicians called it, basically taking all of their in-ears and coiling them up into their pelican cases. These Pelican cases stayed at monitor world so that throughout the week of camp, they would not have to worry about holding on to those.
I would hand the microphones and IEM packs out to each of the musicians when they would arrive or as they were walking on stage. Keeping gaff tape and sharpies handy came in useful a few times when one would ask for it.
Standing at the exit of the stage to be ready to collect all of the gear as they were coming off stage is one of my favorite things. During this time, not only do you save yourself time from tracking down all of the gear, you get to have eye contact with each musician and debrief quickly of any issues as they are coming off the stage.
Matthew 20:28 – just as the Son of Man did not come to be served, but to serve, and to give his life as a ransom for many.
Having a servant attitude is something that we should do in more than just engineering. But do remember that you are here to do a job for a musician, don’t let your own taste and ego get in the way of the mix that your artist wants. However, if you think that a change will make a difference in their mix, have that conversation with them. They will most likely be excited to try something out and be happy knowing that you are thinking of them!

The album itself is being released in the next few weeks, but in the meantime, you can check out these YouTube videos of two of the songs!
Such a big blessing to be part of the CCV Production team and it was amazing being a part of 2000 kids experiencing God in a different way. Also it was quite fun being a part of a CIY camp, which was one of the things that brought me to knowing Christ over 16 years ago.
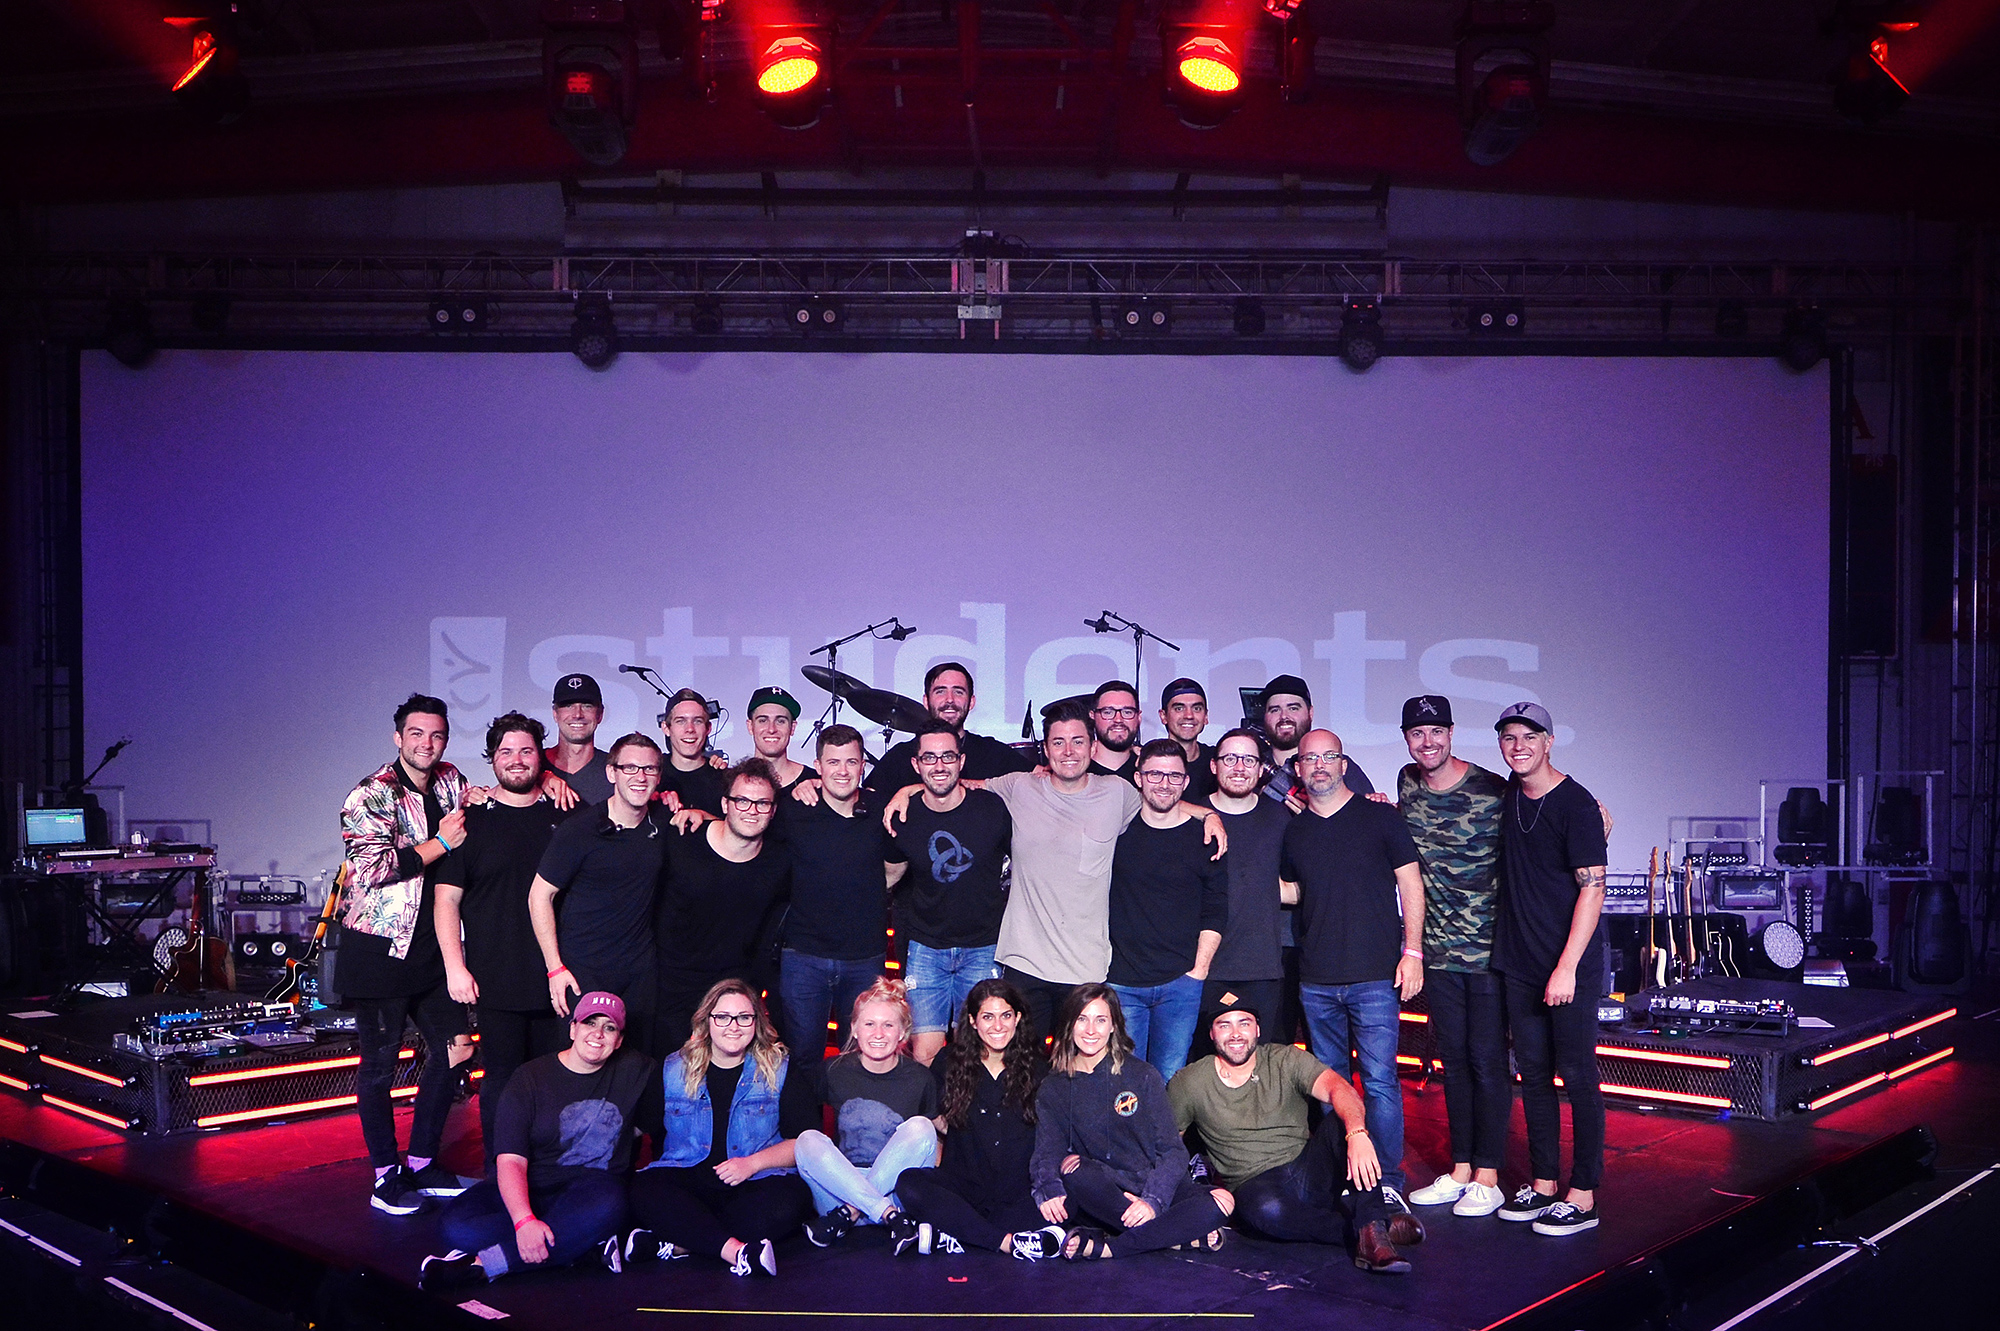
To find out more about Christ’s Church of the Valley check out www.ccv.church