Last week I covered the Scenes Tab in my X32-Mix App Tutorial series, if you haven’t seen the blog post, check it out here: X32-Mix App Tutorial Scenes Tab. This week we look into the ‘Meters’ and the ‘Recorder’ Tabs of X32-Mix.
X32-Mix App Tutorial Meters Tab
The Meters tab gives us 4 different views that we can select from. All of them showing a bit of different and some similar information. My favorite view is the Channel view.
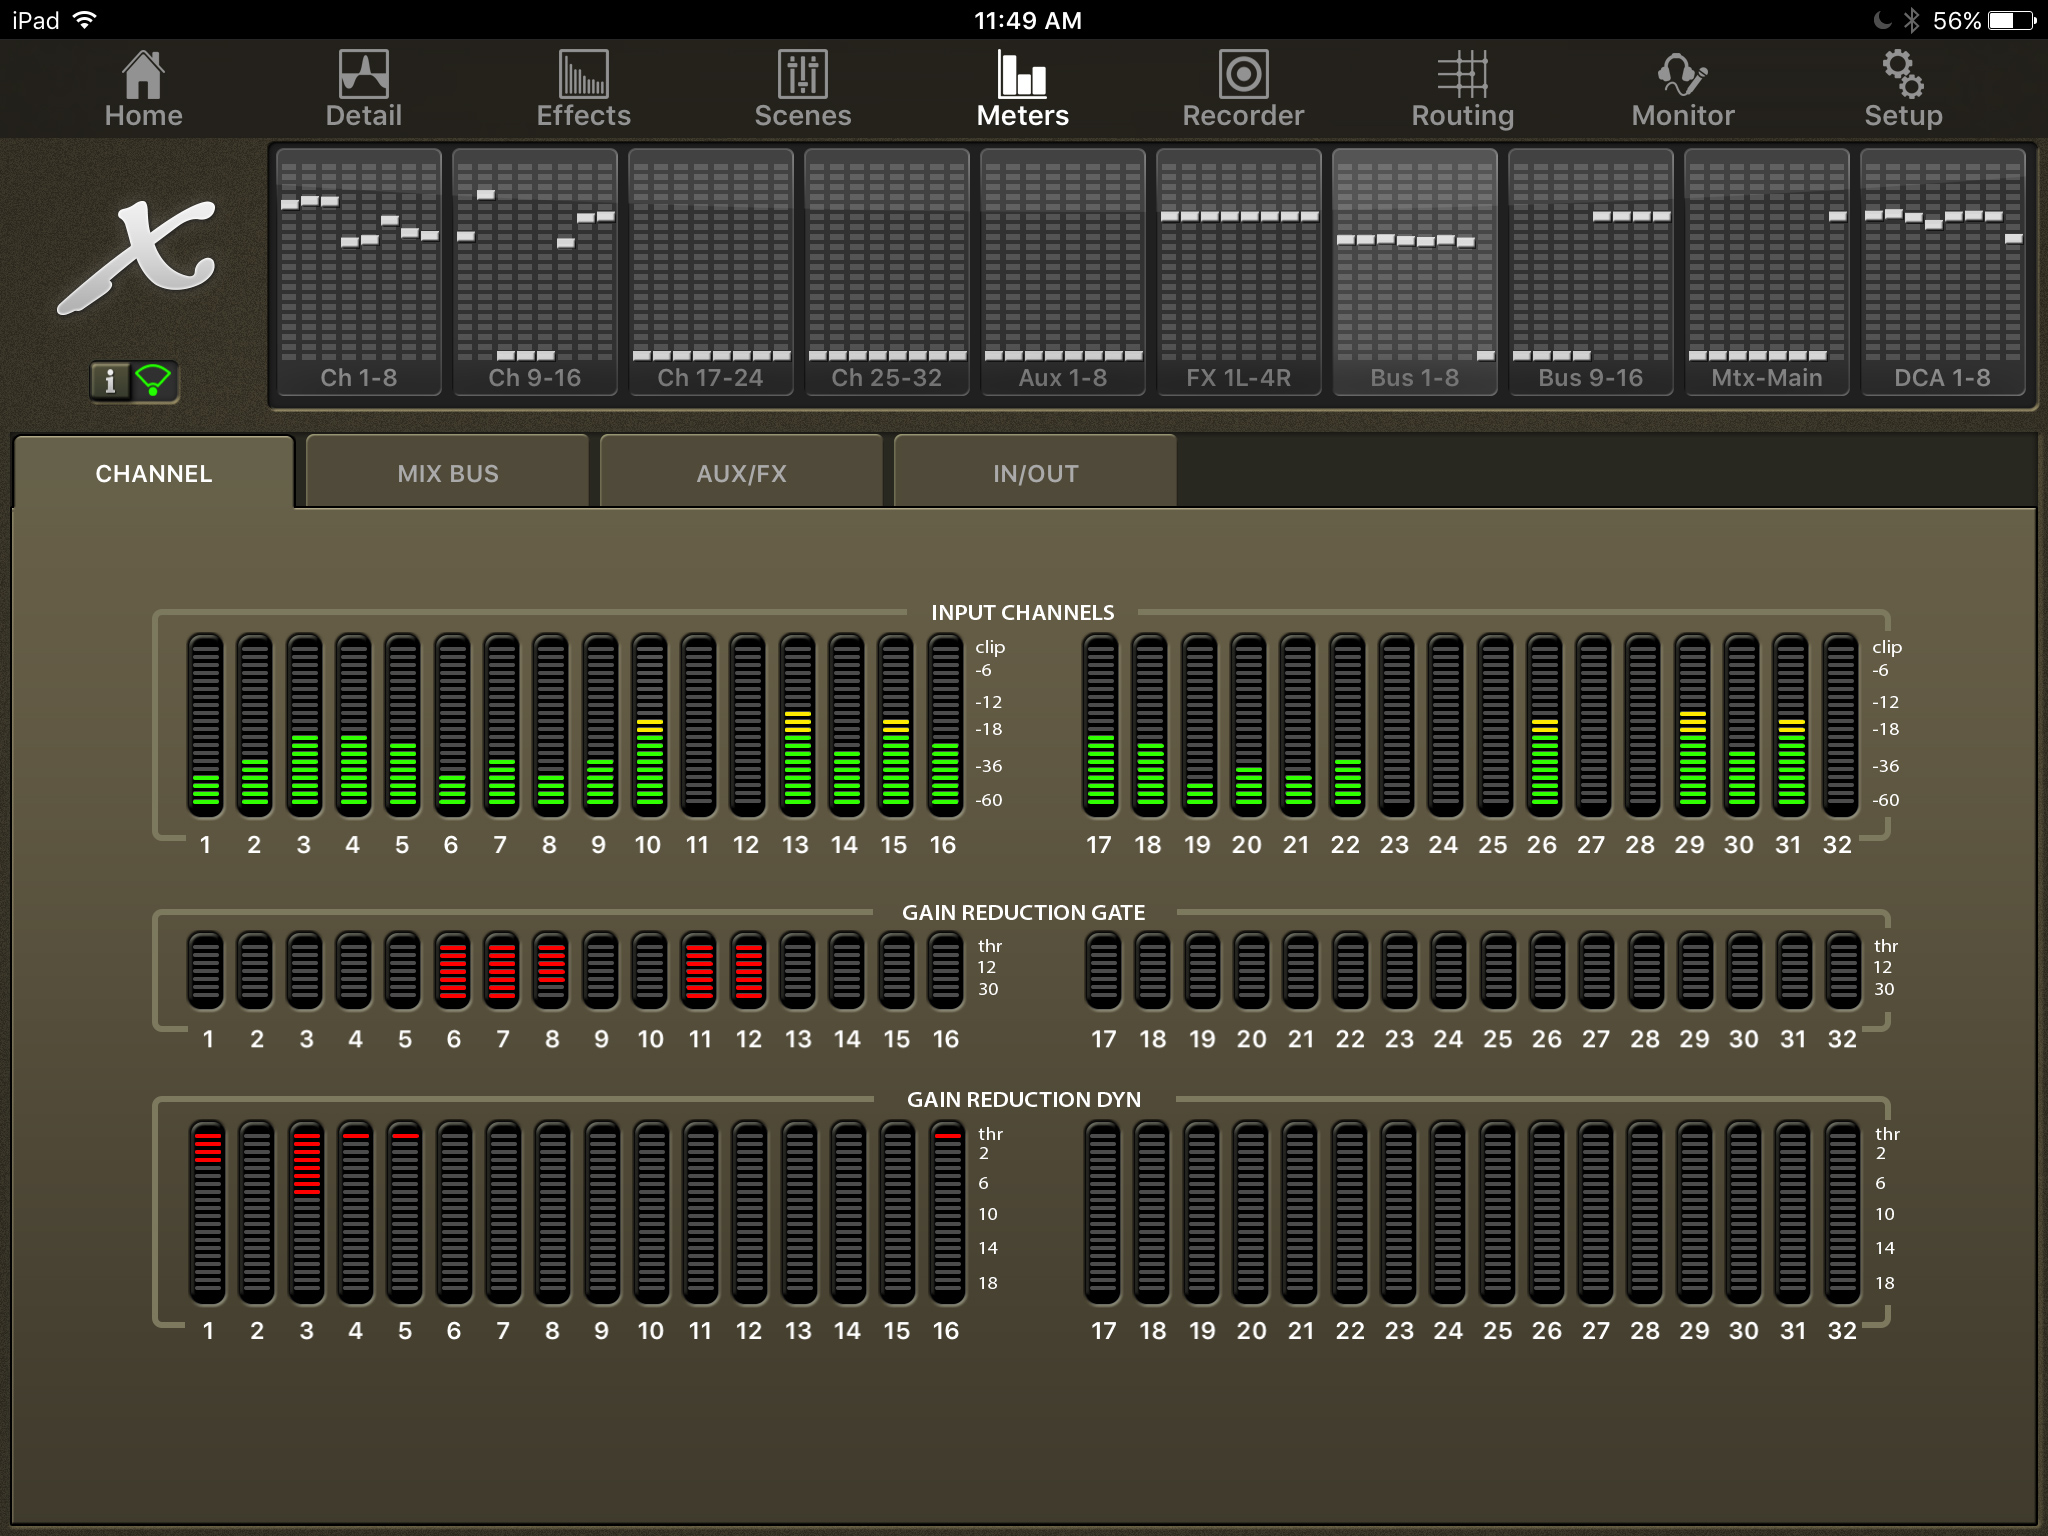
Channel Meters
This is my favorite view because it not only shows you metering on all 32 channels on your board, but it also shows gain reduction for gate/expansion and your dynamics.
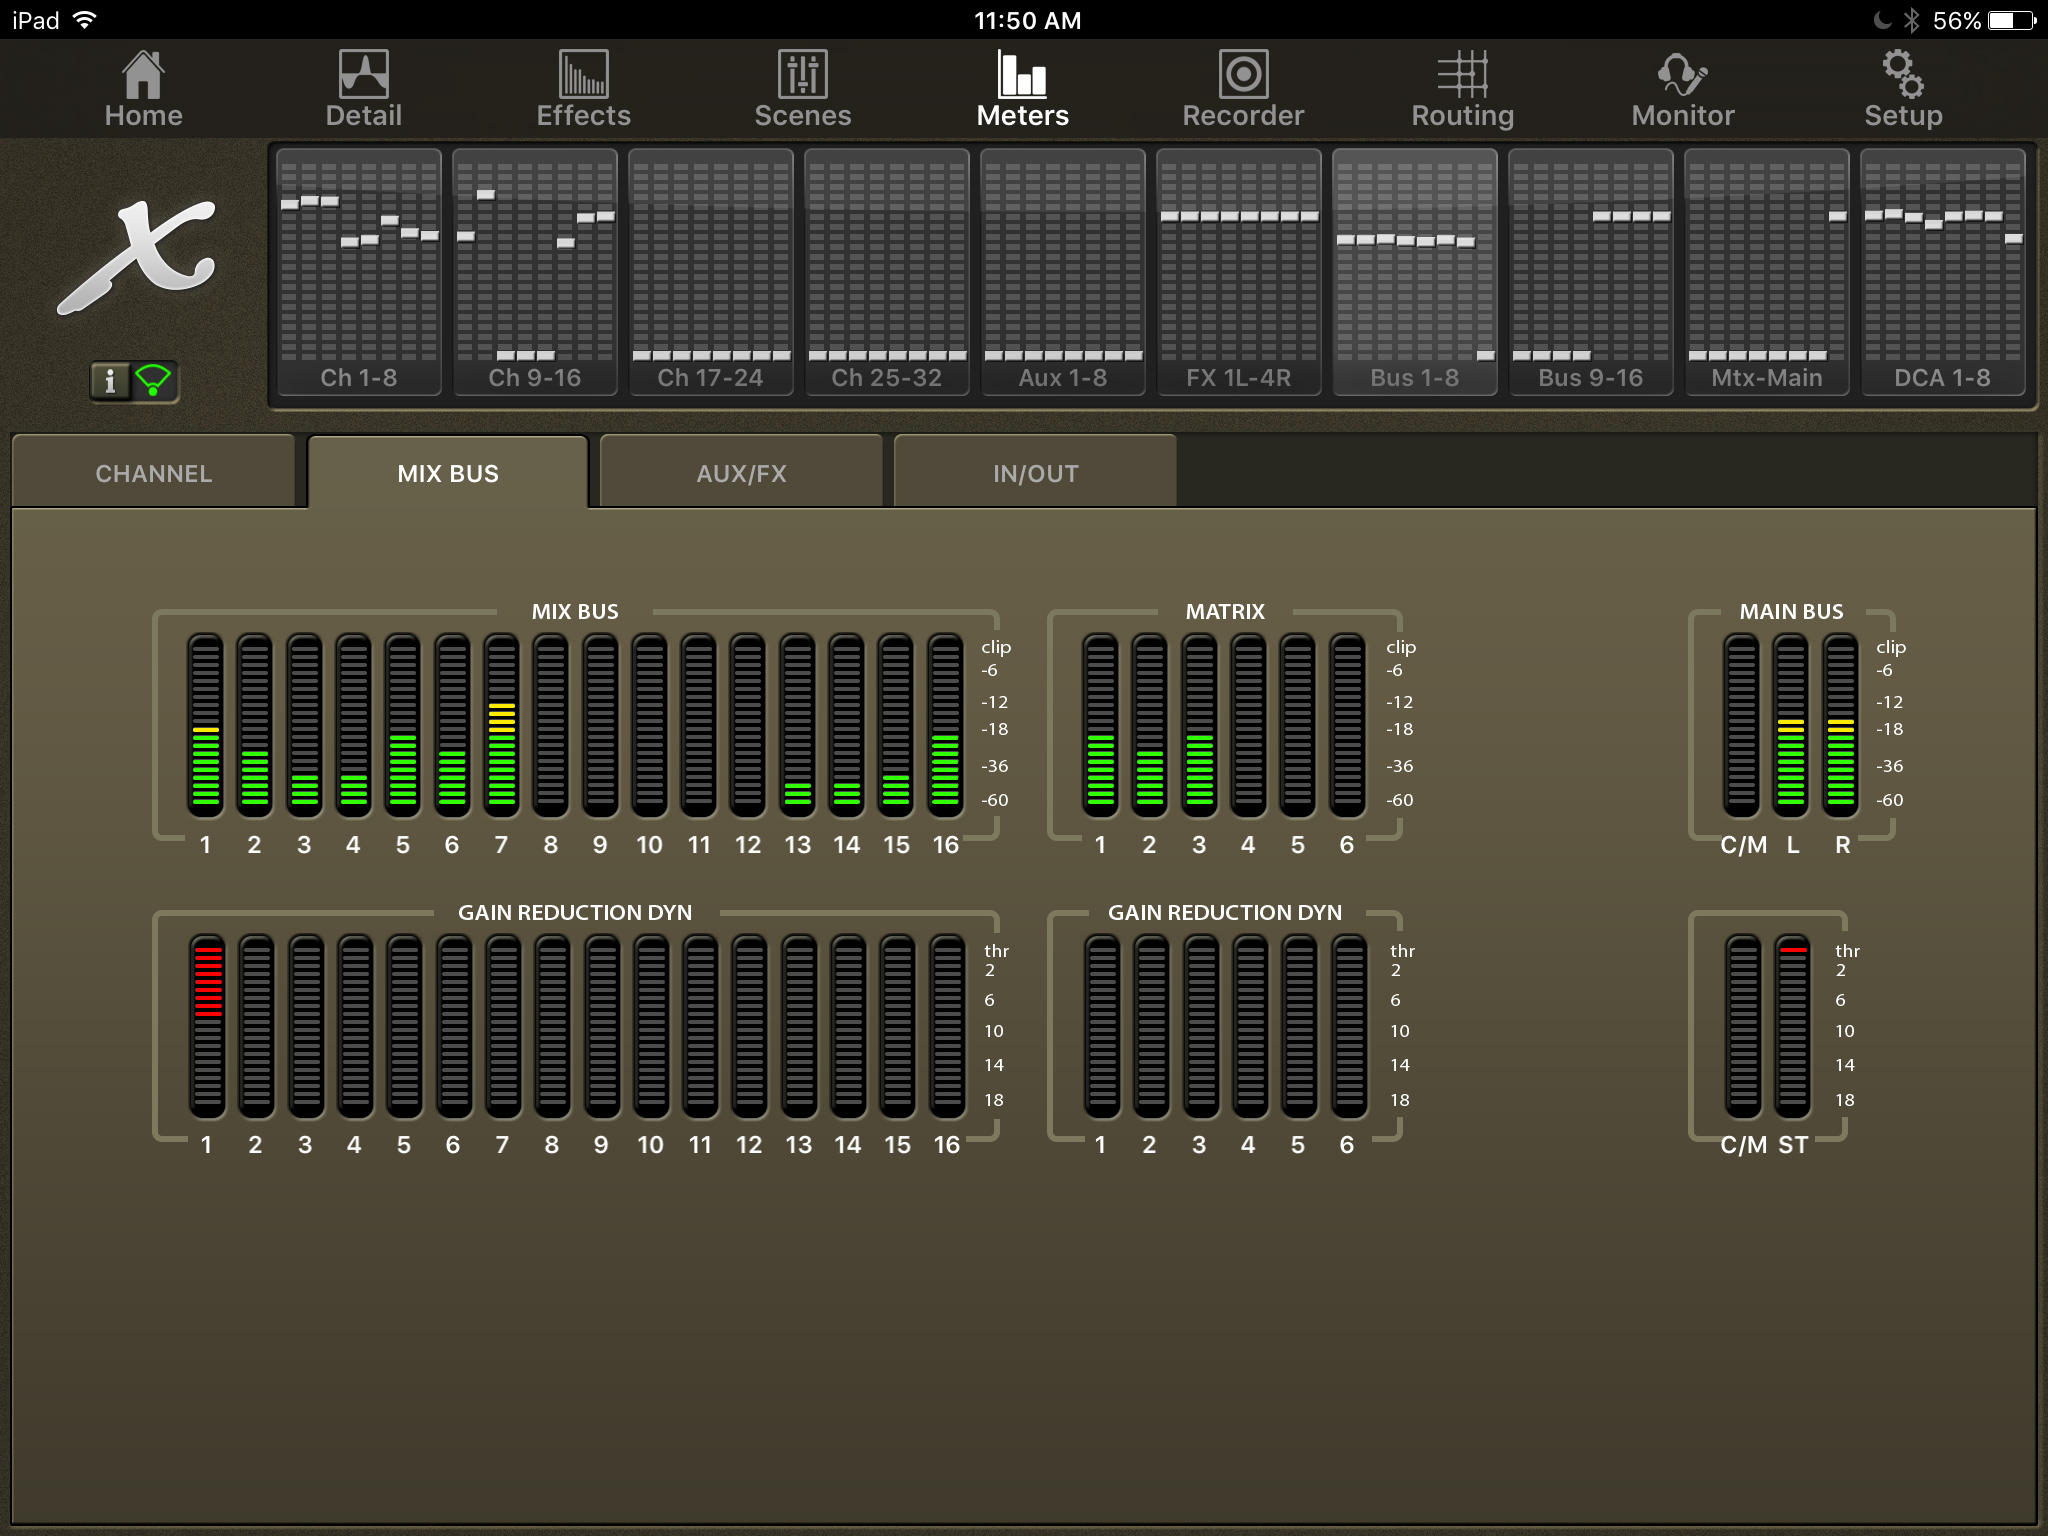
Mix Bus Meters
The Mix Bus Meters shows Mixbusses 1-16, Matrix 1-6, the Mono/Center Bus and the Main LR Bus. Again we can see the metering for the master levels and the gain reduction of the dynamics section for each individual item.
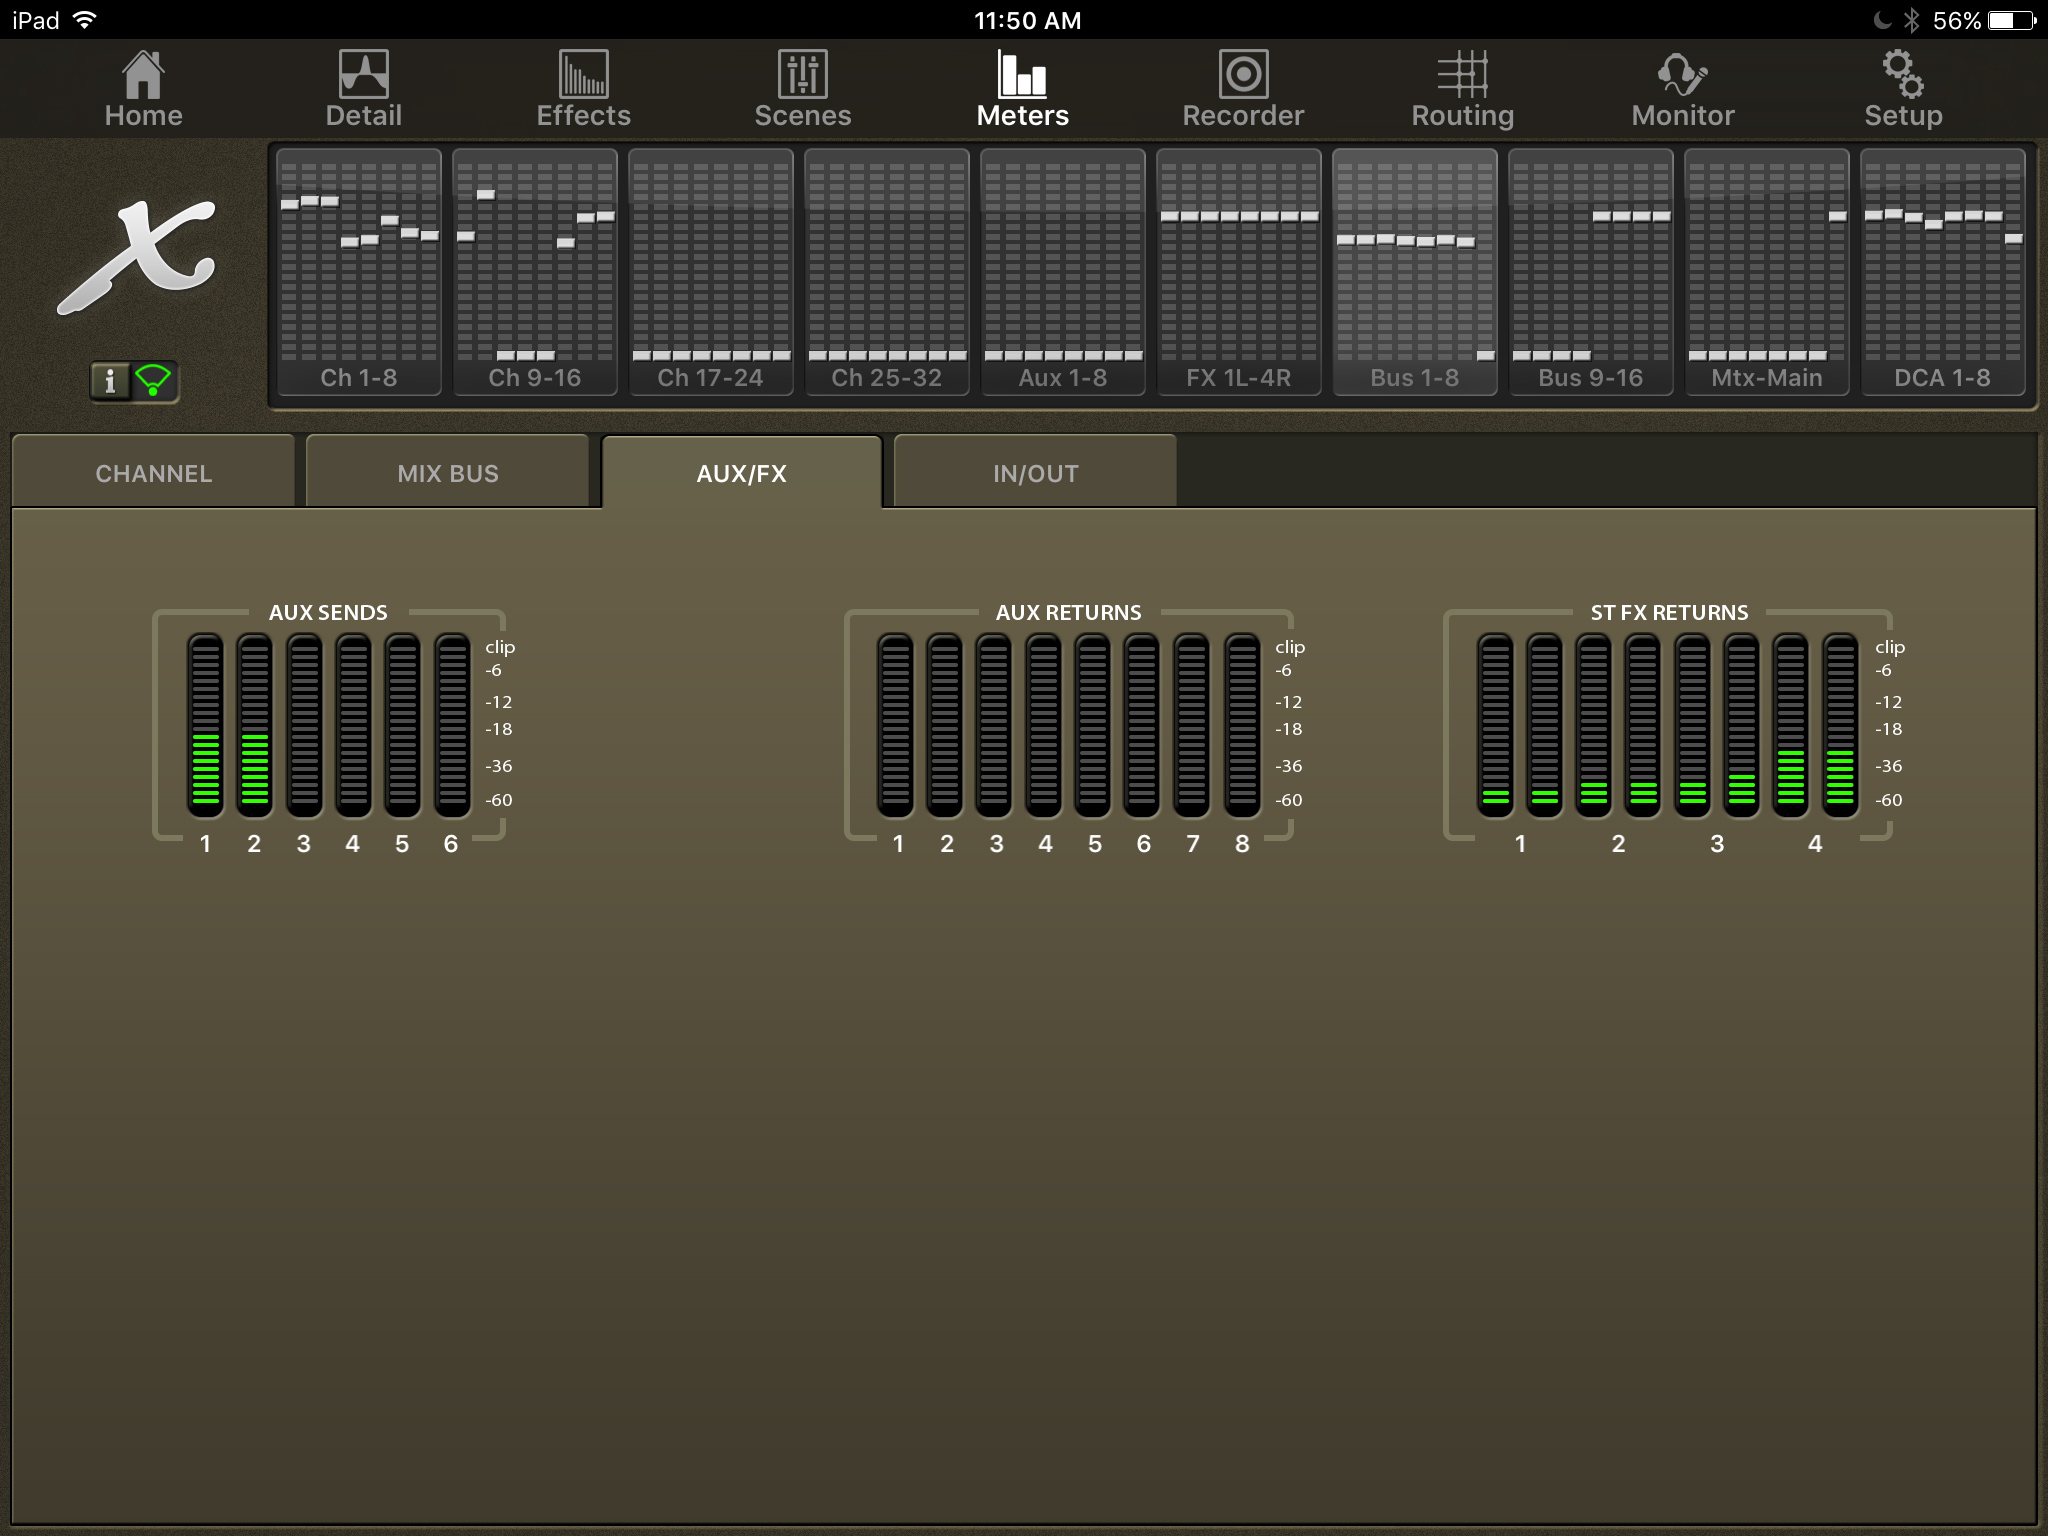
AUX/FX Meters
This screen shows the least amount of information. It gives you the metering for your Aux Sends (outputs), the Aux Returns (inputs), and the Stereo Effects Returns.
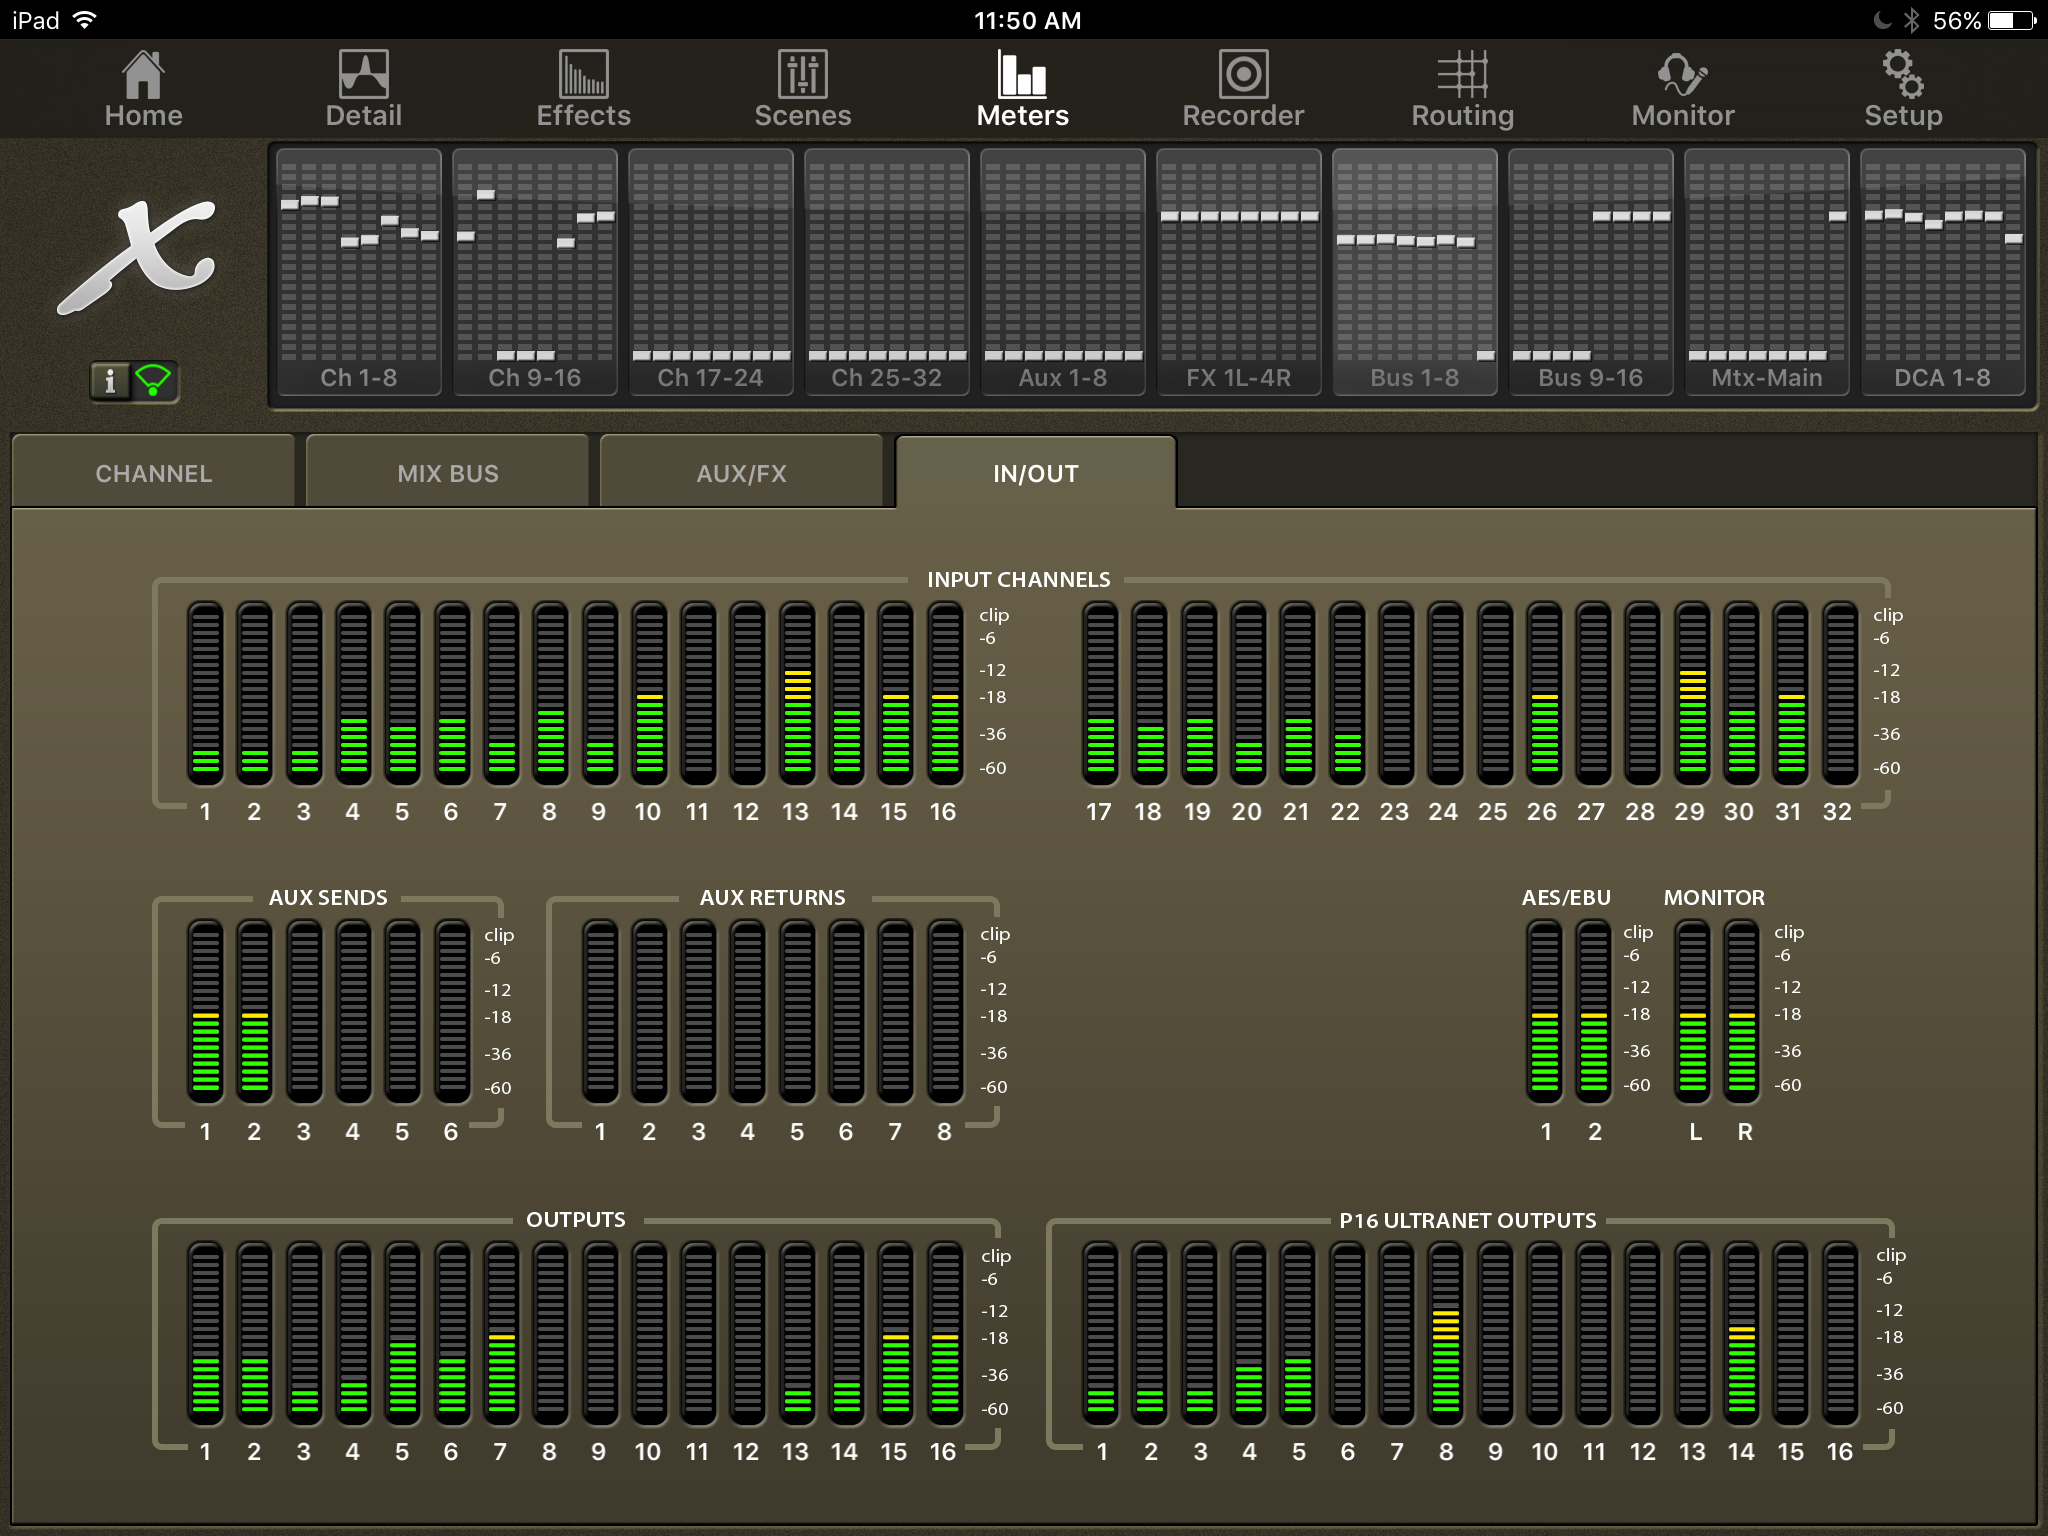
IN/OUT Meters
The In/Out Meters give us a lot of useful information as well. This shows us not only our Inputs on Channels 1-32 and Aux 1-8, but it also gives us our Aux Outs 1-6, AES/EBU Out, Control Room/Monitor Out, XLR Out 1-16, and lastly P16 Ultranet Out 1-16. If you are trying to diagnose some distortion or clipping in your signal chain, I would start here on this screen, then hop over to the Mix Bus Metering.
X32-Mix App Tutorial Recorder Tab
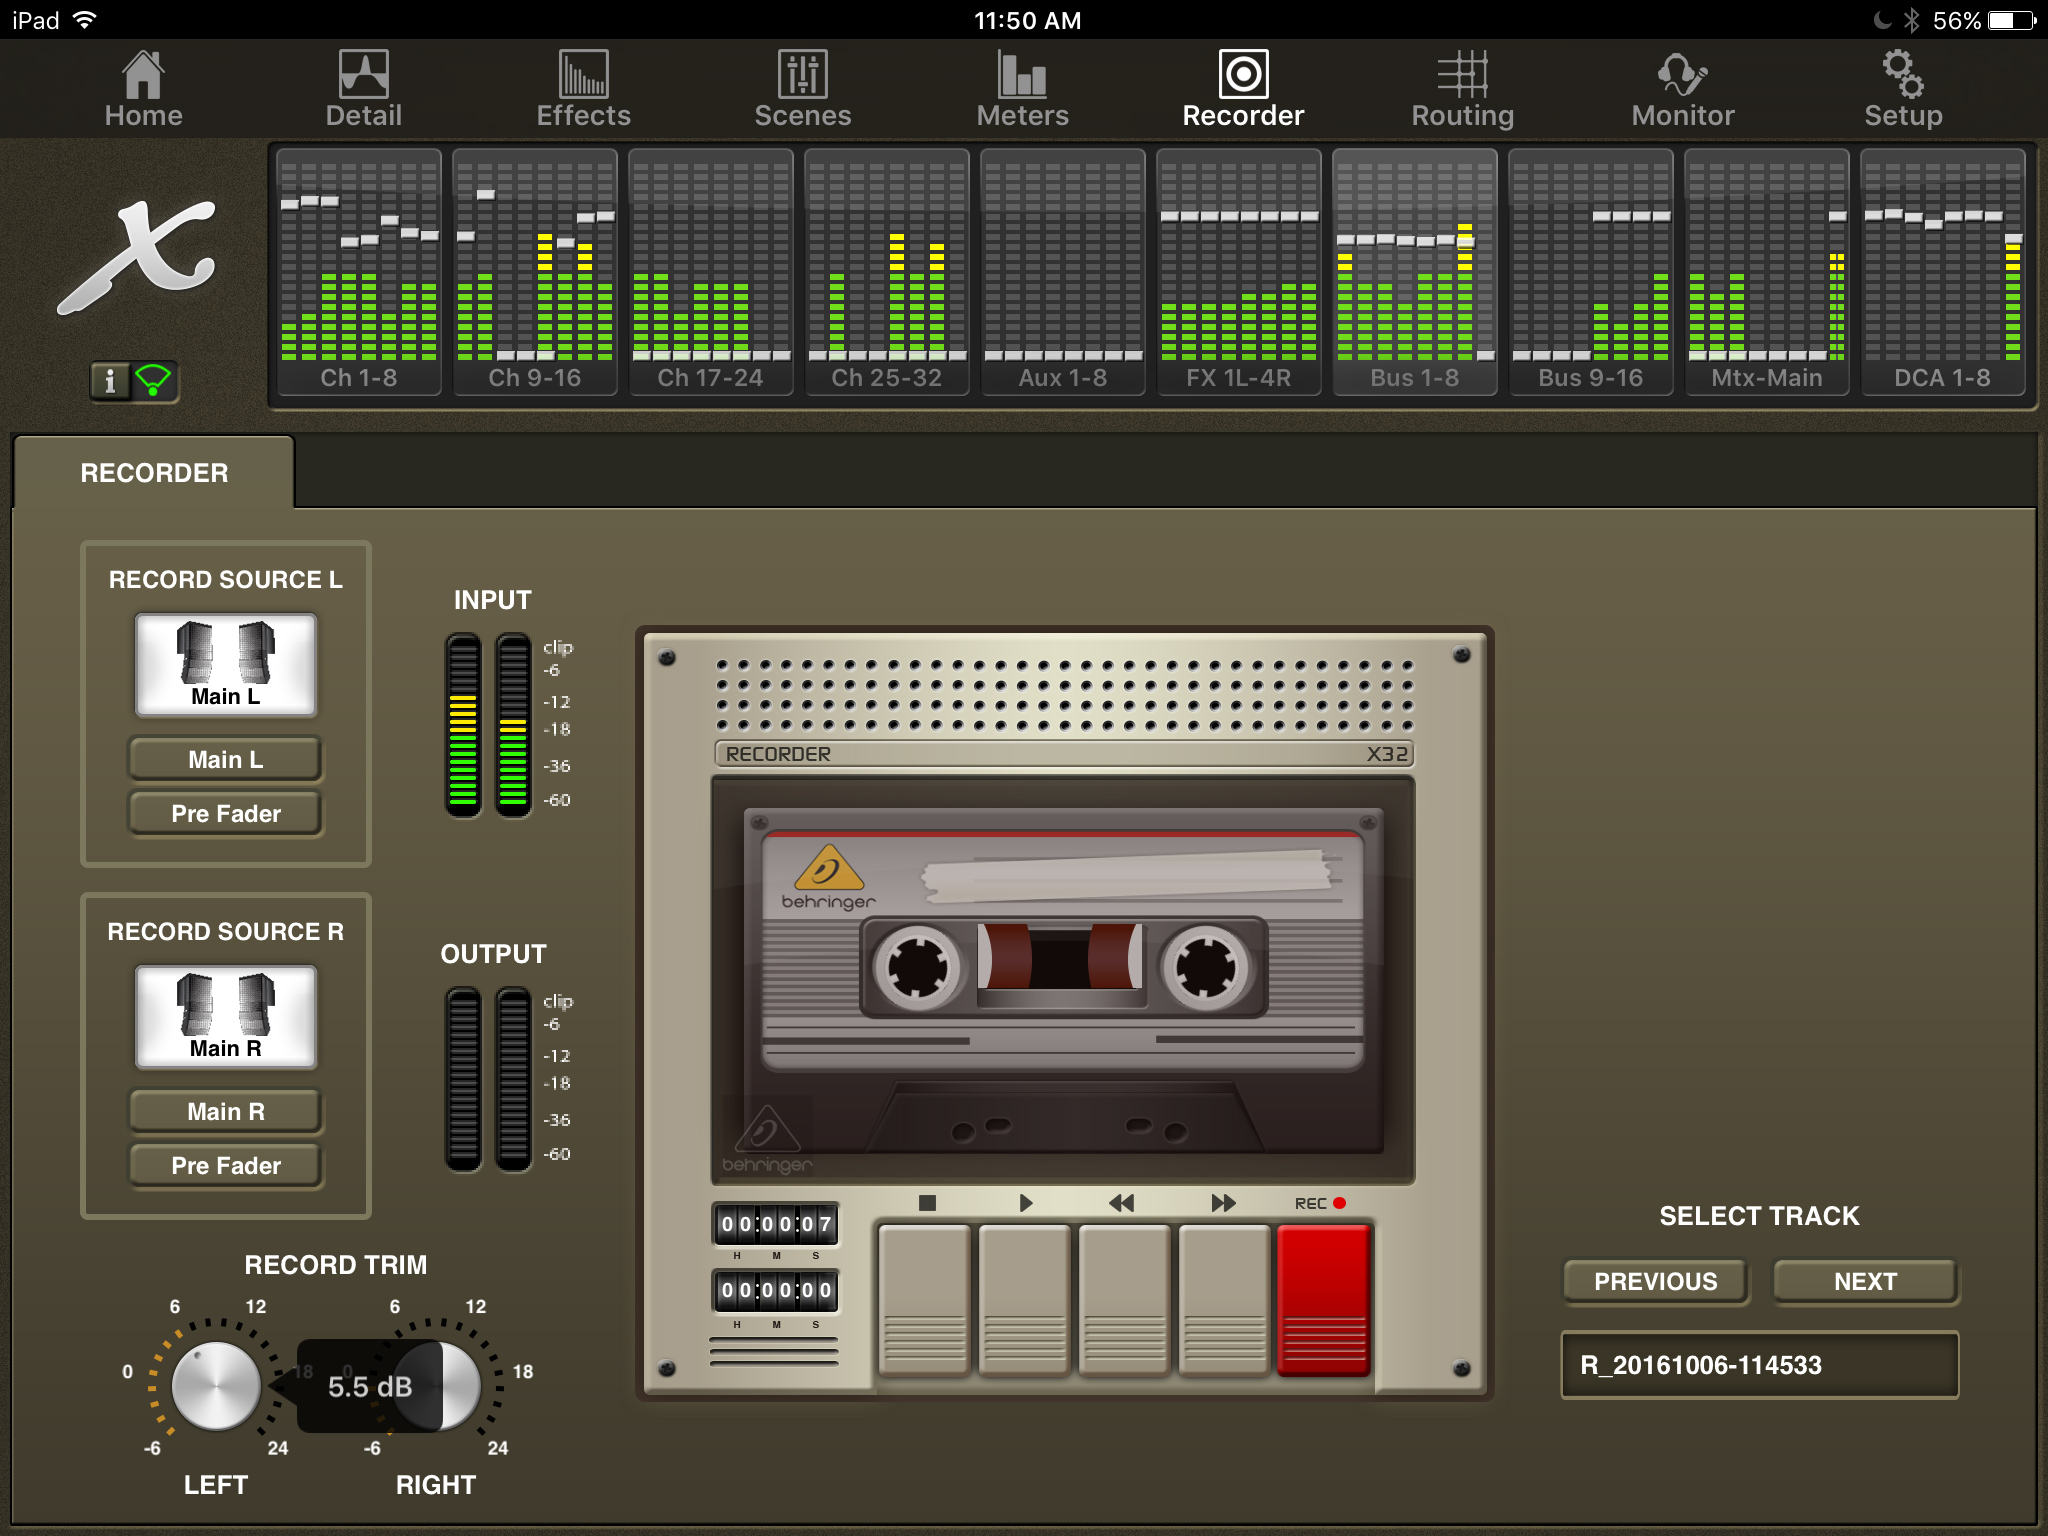
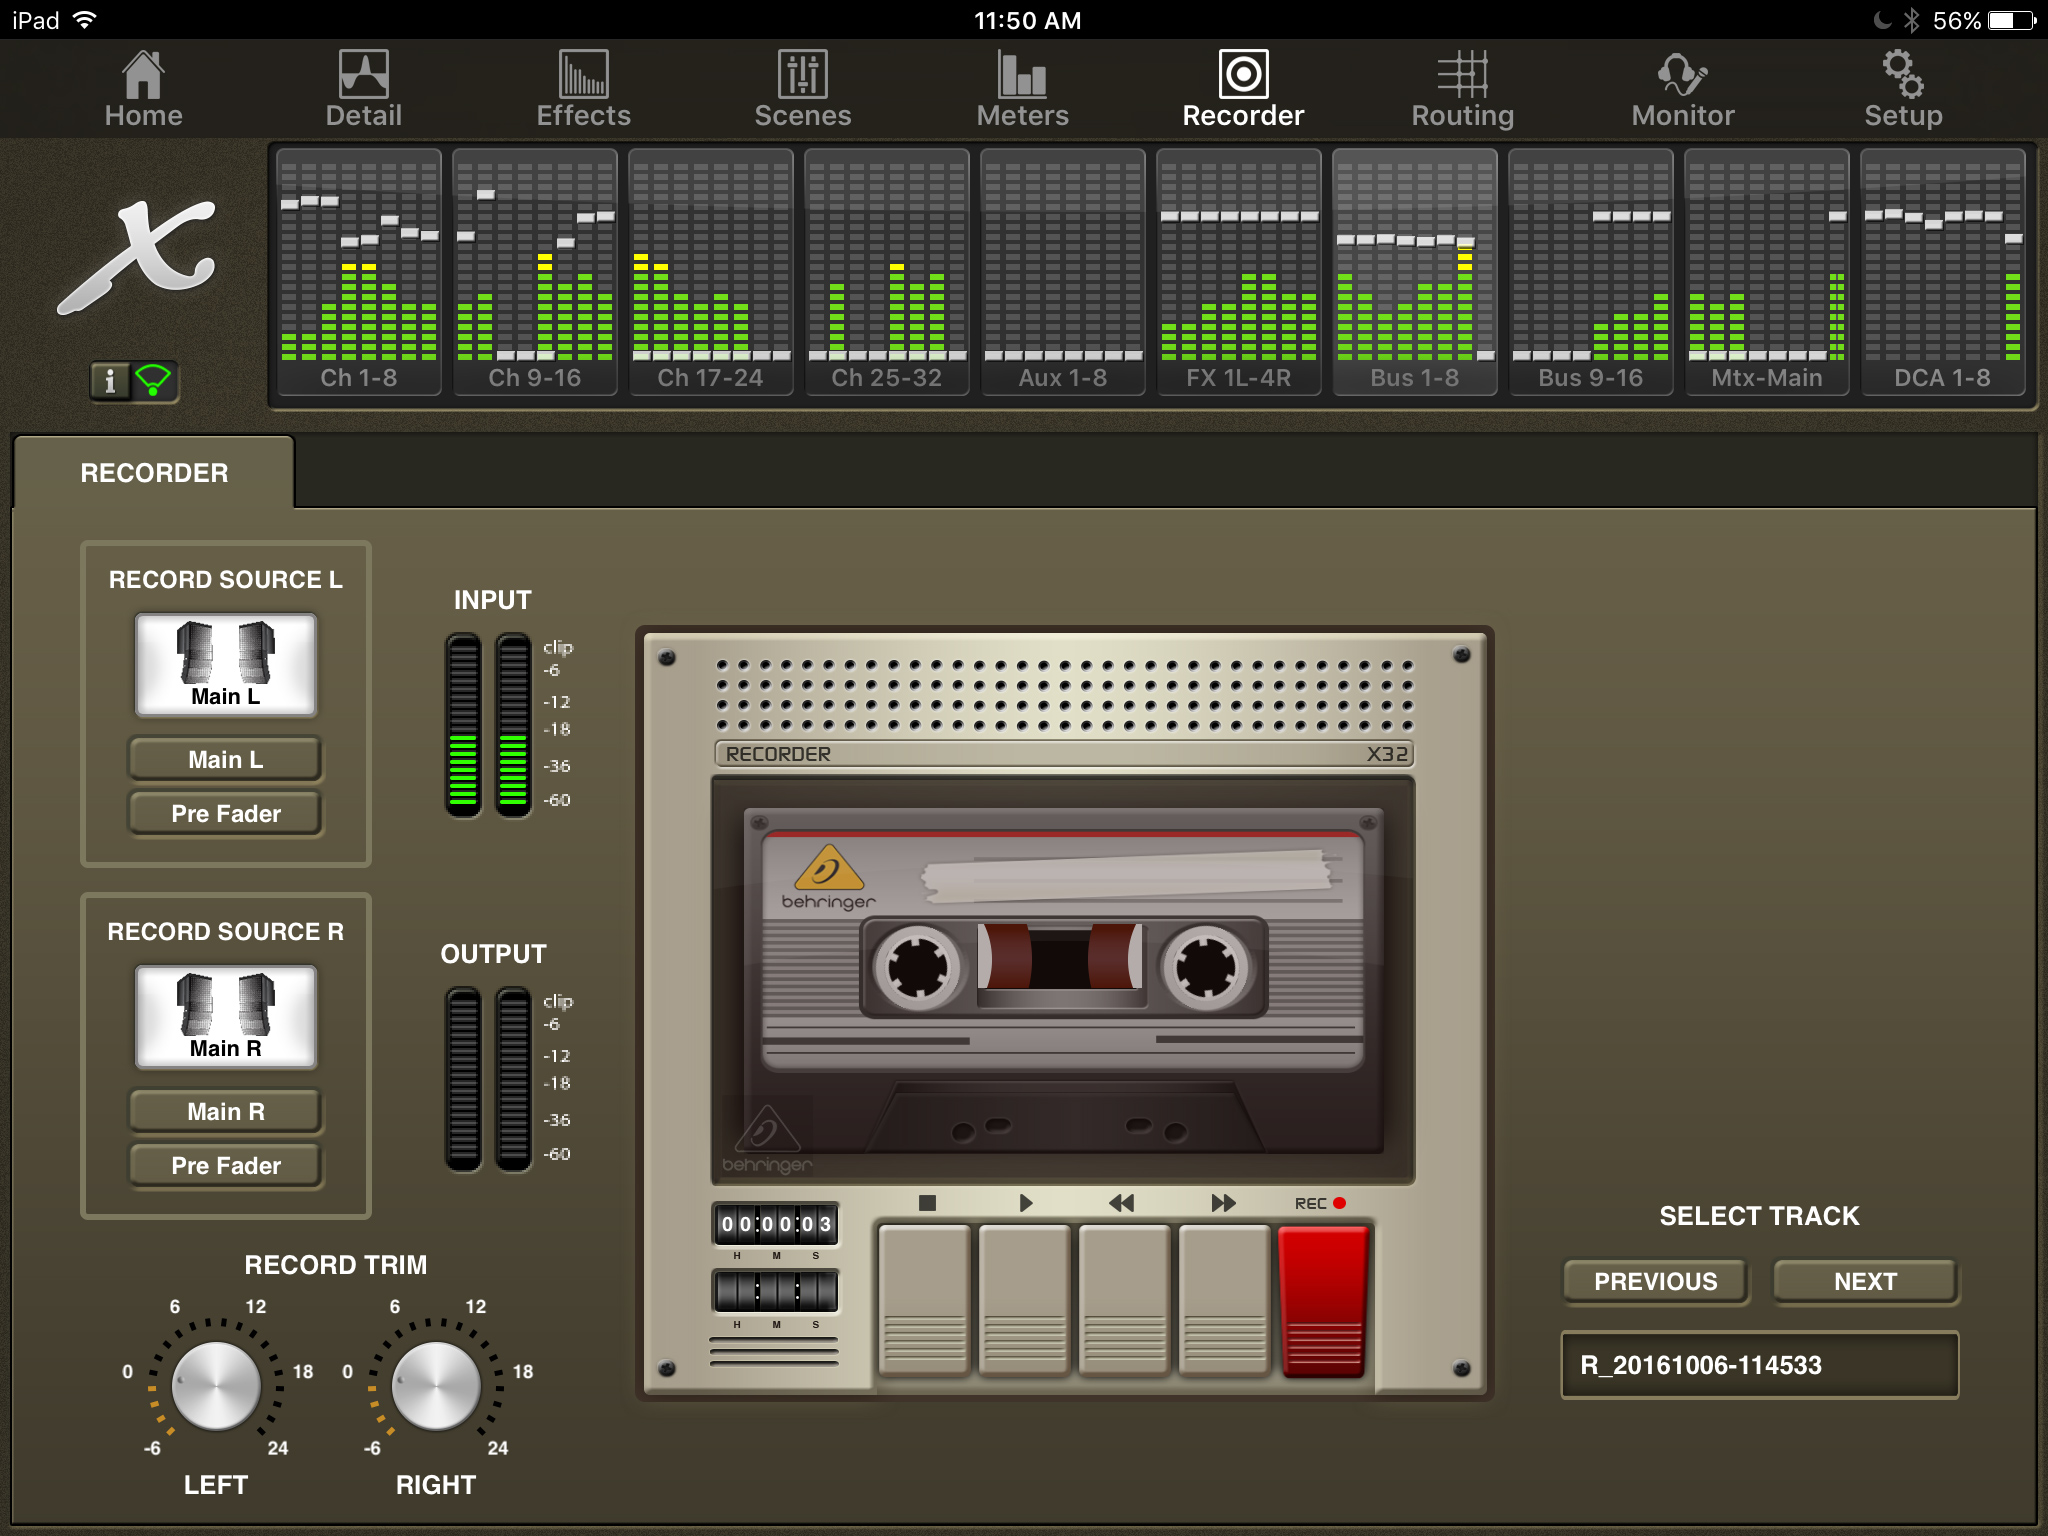
One great feature of the Behringer X32 and Midas M32 is the ability to record a stereo .wav file directly from the console to a USB thumb drive! The recording of this .wav is controlled in the USB recorder portion of the console, which in the app we have access to with the ‘Recorder’ tab.
With the stereo .wav file, we can specify where to pull the source for both the right and the left channel of the .wav file. So technically, you could record two different channels, then later separate the stereo .wav into two mono .wav files using your computer. Our Record Source L & R offer us the following selections:
- Off
- Main L
- Main R
- Main C/M
- Mixbus 1-16
- Matrix 1-6
- Direct Out Channel 1-32
- Direct Out Aux 1-8
- Direct Out FX 1-4 L&R
- Monitor L
- Monitor R
- Talkback
To change the source, simply click on the box below the scribble strip in the app and make your selection. The next thing you can select is the recording tap which we have the following options:
- IN/Low Cut
- IN/Low Cut +M
- Pre EQ
- Pre EQ +M
- Post EQ
- Post EQ +M
- Pre Fader
- Pre Fader +M
- Post Fader
The +M portion gives the ability if a channel is muted to not pass audio even when the signal tap is anything before Pre Fader. Lastly, we have our Record Trim which allows us to trim -6dB to +24dB in gain on either the right or left recording channel.
To Record
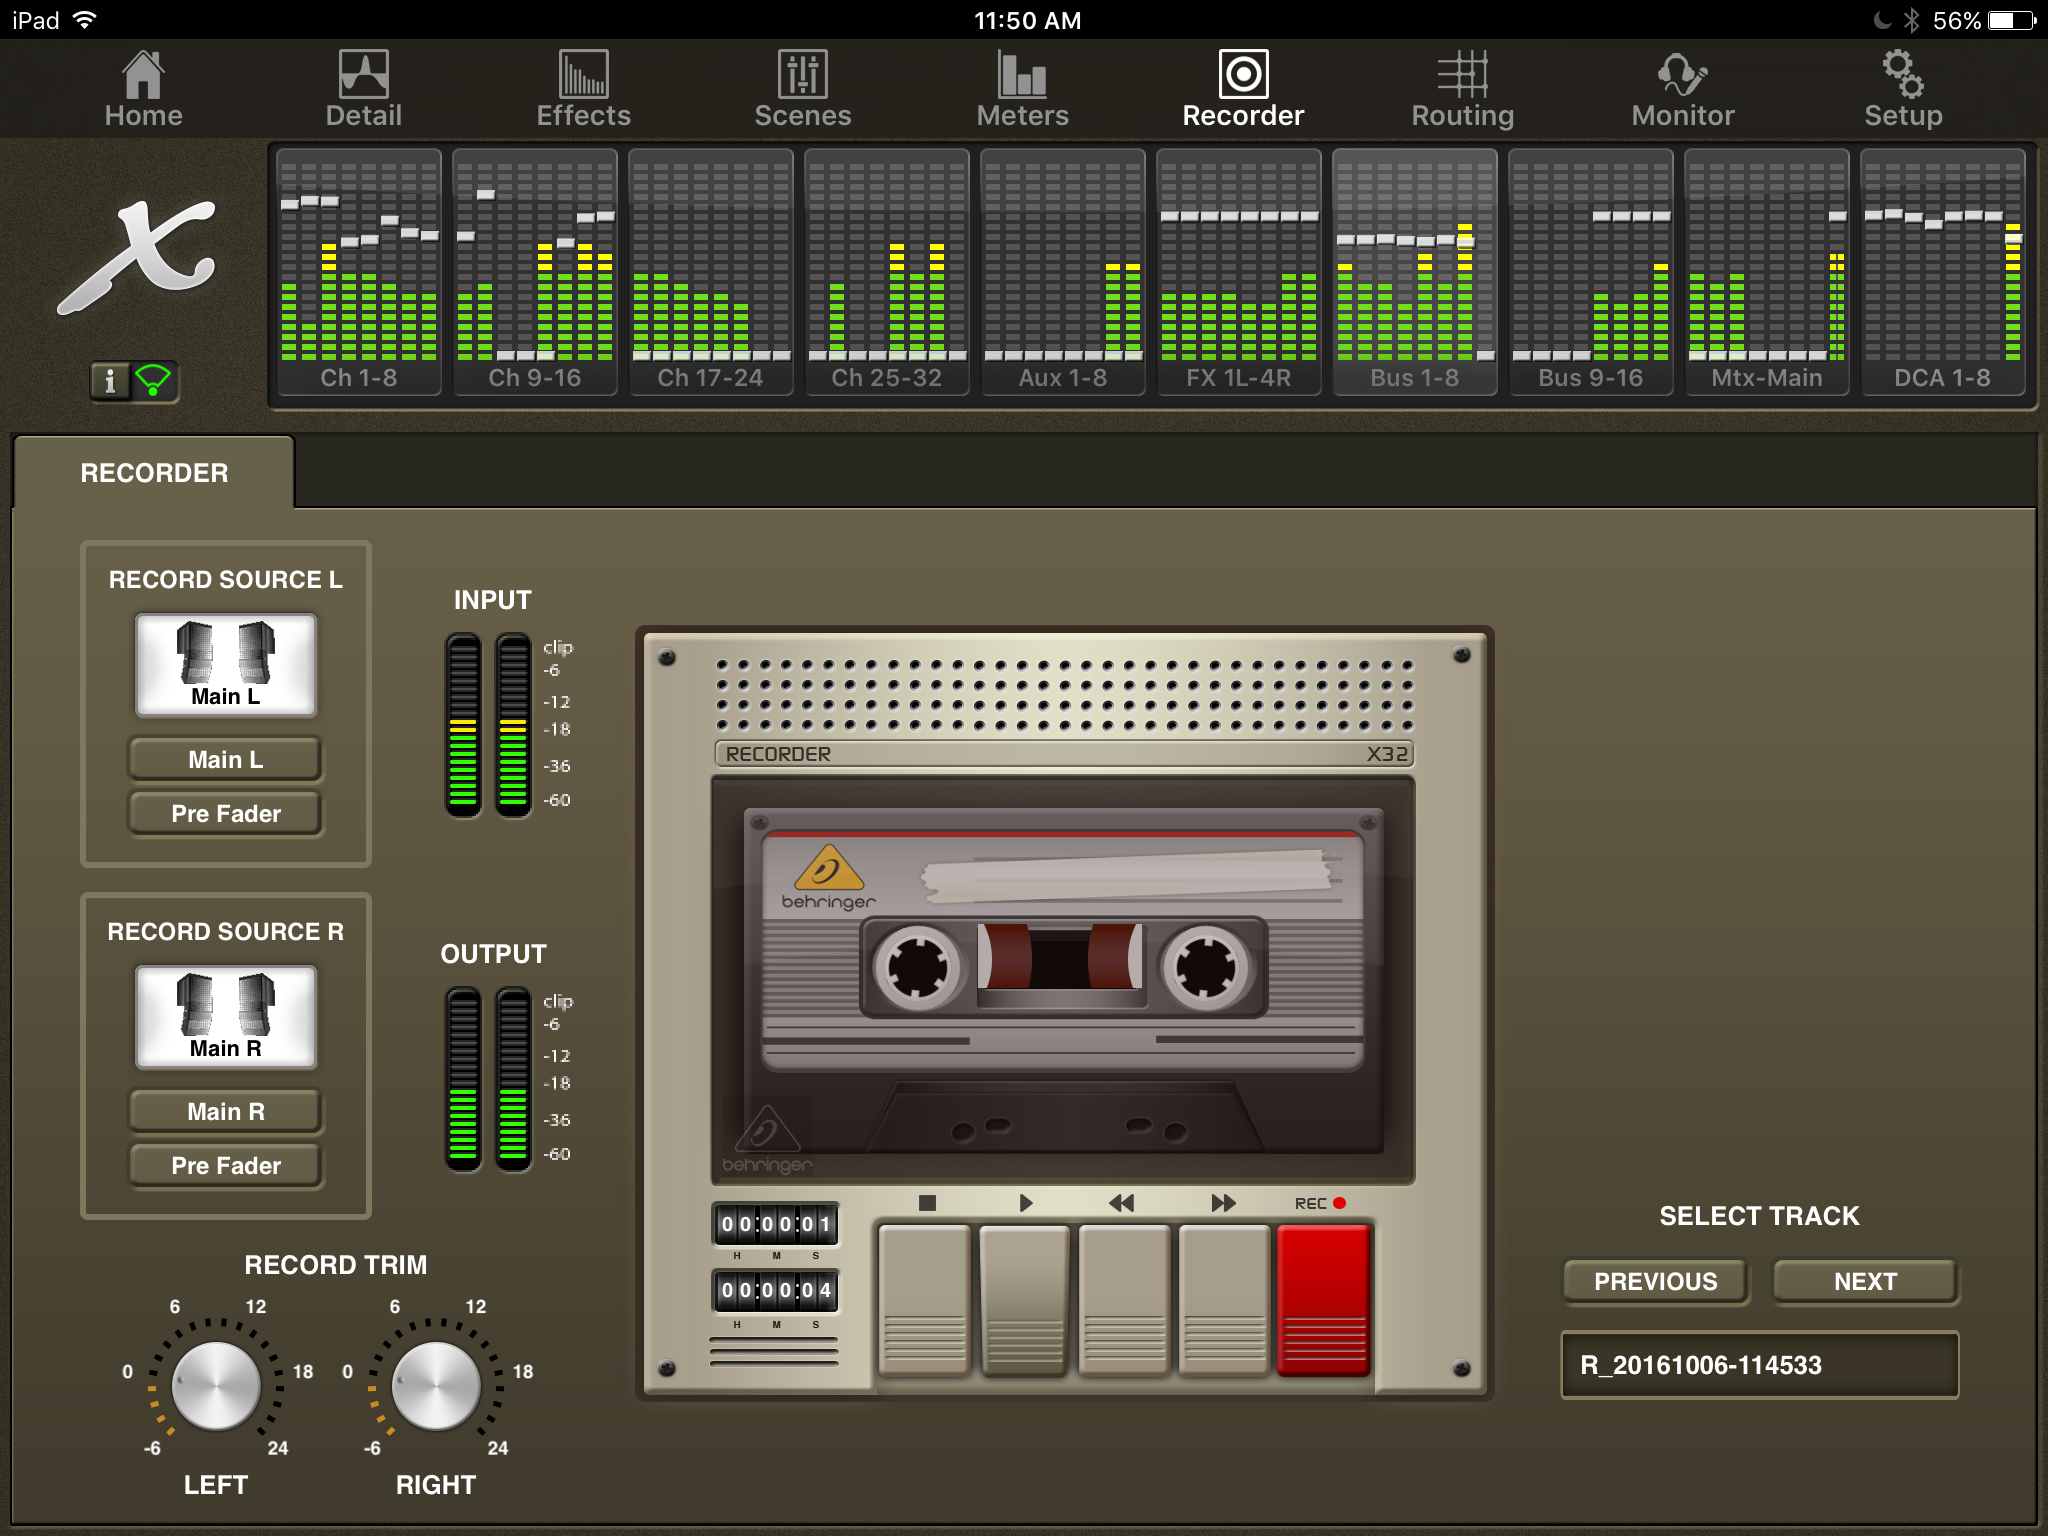
To Record, plug a USB thumb drive into the USB slot at the top of your console and simply press the red REC button just like the old cassette tape decks! (Remember those?!) You will see a count up timer appear to the left of the stop button that will keep a running total time of your recording.
Playing Your Audio File
If you want to play the recorded .wav after you are finished recording, just press the play button! You will see a count down timer and a count up timer to the left of the stop button appear. Also, you can change the selected track to play using the Previous and Next buttons.
Next time!
That is all for this week’s X32-Mix App Tutorial Meters Recorder Tab! Next time, we will take a look at the Routing tab of the X32-Mix App!
