You know that sinking feeling when the band is ready to go, the clock is ticking, and suddenly channel 14 has no signal? You’re scrambling to figure out if it’s the cable, the snake, the routing, or something else entirely—while everyone on stage is waiting.
Here’s the thing: most of these problems are completely avoidable. A simple audio line check before the band arrives will eliminate surprises, reduce wasted time, and make you look like you actually know what you’re doing (because you do).
Whether you’re preparing for a high-stakes Christmas service or just a regular Sunday, this workflow will save you headaches.
Why Audio Line Checks Matter
Christmas services are notorious for exposing problems. Stages change layouts. You add a children’s choir, an orchestra, or extra speaking mics. Suddenly you’re using inputs that haven’t been touched in months—maybe since last Christmas.
Those unused inputs? They’re where problems hide. Cables get moved, connections go bad, routing gets changed and never changed back. And when you discover these issues during soundcheck with a full band waiting, it leads to two things: volunteer burnout and embarrassment.
The fix is simple: test your inputs and audio path before the band arrives.
The Simple Audio Line Check Workflow
Schedule yourself and one other person to arrive about an hour before the band shows up. That’s it—just two people and a systematic approach.
Step 1: Grab a Microphone
Get a known working dynamic microphone—something like a Shure SM58. You’ll plug this into every input on your stage to verify audio reaches the correct channel on your console.
Step 2: Follow Your Patch List
Start at Input 1. Have your helper plug the mic into that input on stage while you watch the console. Verify you see signal on the correct channel and that the audio sounds clean—no crackling, no hum, no weird noises.
If it works, move to the next input. Repeat until you’ve checked every single channel you’ll be using.
Step 3: Diagnose Any Issues
When you find a problem—and you will find problems eventually—you’ll need to troubleshoot. Common issues include:
- Mis-patched or disconnected cables
- Loose connections causing intermittent audio
- Ground loop hum or electrical interference
- Faulty cables with broken conductors
Trace and test the cables between the console and that input. Swap cables, try different snake channels, or use a different input entirely. The key is finding the problem now, not during soundcheck.
Nine times out of ten, you’ll never have an unexpected issue during rehearsal after completing an audio line check. And when something does come up with the band there, you’ll know your infrastructure is solid—so you can confidently start troubleshooting at the musician’s gear and work backward.
Level Up with a Cable Tester
A microphone works fine for basic line checks, but a dedicated cable tester gives you more information faster.
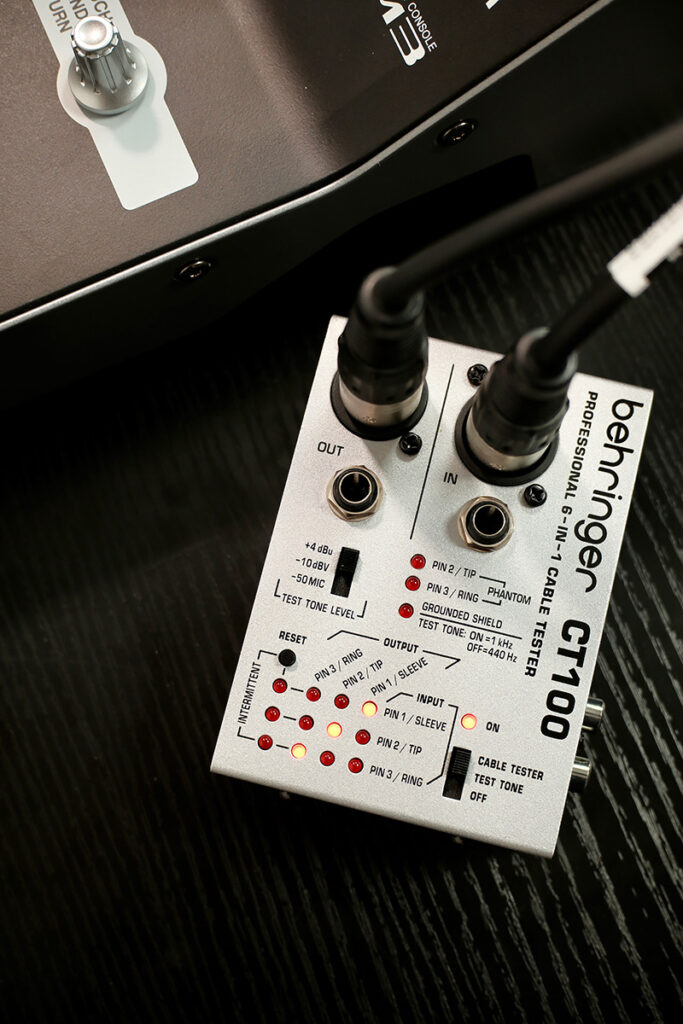
Behringer CT100
The Behringer CT100 is an affordable option that many churches already have in their toolbox. It tests XLR, TRS, TS, RCA, and MIDI cables for continuity and shorts.
One thing to note: the CT100 can also send a tone at specific levels (-4 dBu, -10 dBV, or -50 MIC), which is helpful for verifying your gain staging. Plus, it shows whether phantom power is present on an input—useful for troubleshooting condenser mics that won’t work.
Sonnect Sound Bullet
The Sonnect Sound Bullet takes line checking further. It generates pink noise—a full-spectrum test tone from 20 Hz to 20 kHz—which is better than using a microphone or the CT100’s single-frequency tone. Because it’s the same consistent signal on every input, you’ll immediately notice if something sounds weak or thin.
It also shows:
- Phantom power presence and voltage
- Signal level
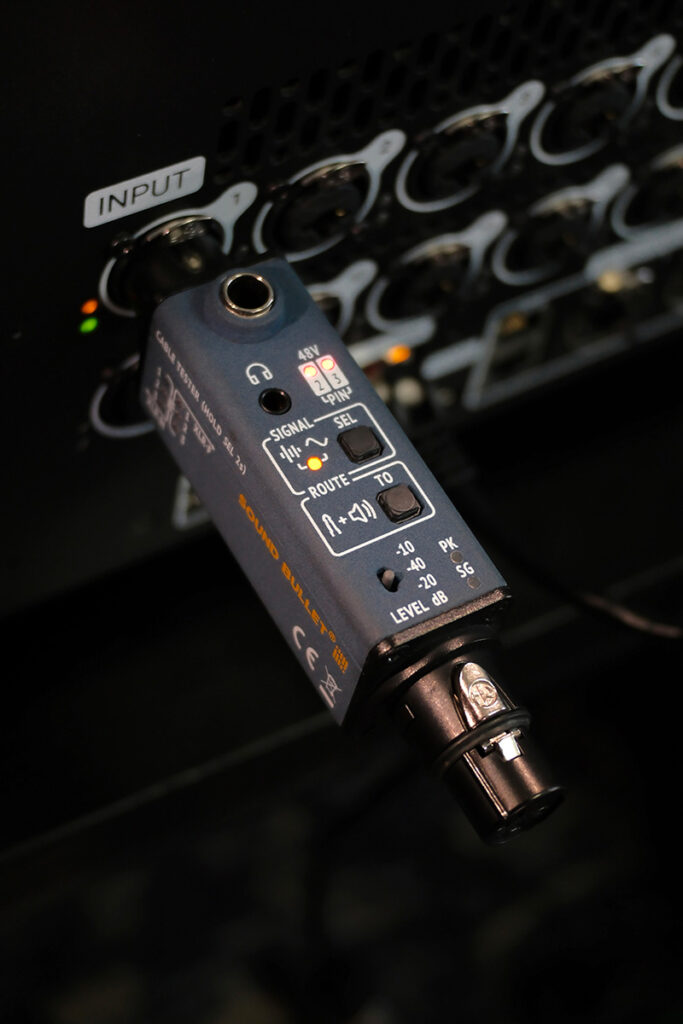
The Sound Bullet showing +48V phantom power is present on the input
This extra information is incredibly useful for diagnosing “mystery” problems. That input with unusually low level? It might be a cable with a broken conductor that’s still passing some signal. The Sound Bullet’s repeatable test signal makes these issues obvious in a way that a microphone tap never would.
The “Mystery Low Level” Problem
Here’s something I see regularly: an input that works but sounds weak or thin. You check the cable with a basic tester—continuity looks fine. So what’s going on?
Often, it’s a broken conductor inside the XLR cable. The cable still passes signal, but you’ve lost one leg of the balanced connection. The result is lower level and potentially more noise.
A cable tester that shows level—or better yet, a full-spectrum pink noise generator like the Sound Bullet—will catch this immediately. Without one, you might spend twenty minutes swapping gear before realizing it was the cable all along.
Document Your Routing
An audio line check only works if you know where everything is supposed to go. If you’re guessing which input is the pastor’s mic, you’re going to have a bad time.
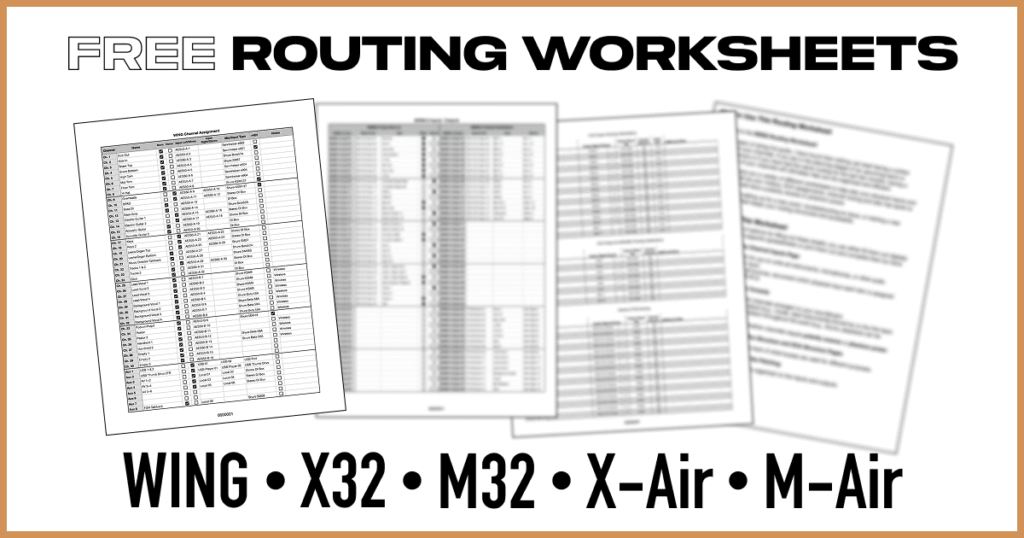
I’ve put together free routing worksheets you can use to document your setup. Use them digitally or print them out and keep them at the console for quick reference.
Download the worksheets:
- Behringer WING: Google Sheets | Numbers + Excel
- Behringer X32 / Midas M32: Google Sheets | Numbers + Excel
- Behringer X-Air / Midas M-Air: Google Sheets | Numbers + Excel
- Any Other Console: Google Sheets | Numbers + Excel
Having a documented patch list means anyone on your team can run an audio line check—even volunteers who are still learning. It also makes troubleshooting faster because you’re not guessing what’s supposed to be where. If you’re new to the X32 and want to understand routing better, my X32 Fundamentals Course covers this in depth.
Want to Be Extra Prepared?
A line check catches most problems, but there’s more you can do to prepare for high-stakes services. I made a video covering common pitfalls I see churches run into—including wireless coordination, adding stage boxes, and AES50 cabling mistakes.
Watch the video: Christmas Service Audio: 7 Common Pitfalls (and Quick Fixes)